
2023-01-03 08:00:00
I have been following this tutorial by Sean Boots on how to install Jekyll on previous versions of macOS. It worked really well and provided a smooth installation process. However, since the latest version of macOS (Ventura) still ships with Ruby 2.6, some Gems started to complain about that. So, I found a new method that uses the excellent rbenv project to install a newer version of Ruby.
brew install rbenv ruby-build
Add this to ~/.zshrc if you are using zsh:
eval "$(rbenv init - zsh)"
rbenv install 3.1.3
rbenv local 3.1.3
Check if you have got the desired version:
ruby -v
It should output something like this:
ruby 3.1.3p185 (2022-11-24 revision 1a6b16756e) [arm64-darwin22]
If you see an older version like this:
ruby 2.6.10p210 (2022-04-12 revision 67958) [universal.arm64e-darwin22]
Check previous steps.
gem install bundler jekyll
bundle config set --local path 'vendor/bundle'
bundle install
If you encounter any issues with any Gems, try deleting the Gemfile.lock and running the command again.
exclude:
- .ruby-gemset
- .ruby-version
- Gemfile
- Gemfile.lock
- Makefile
- README.md
- vendor/
You will also need to add the following lines into .gitignore:
vendor/
.bundle/
bundle exec jekyll serve --watch
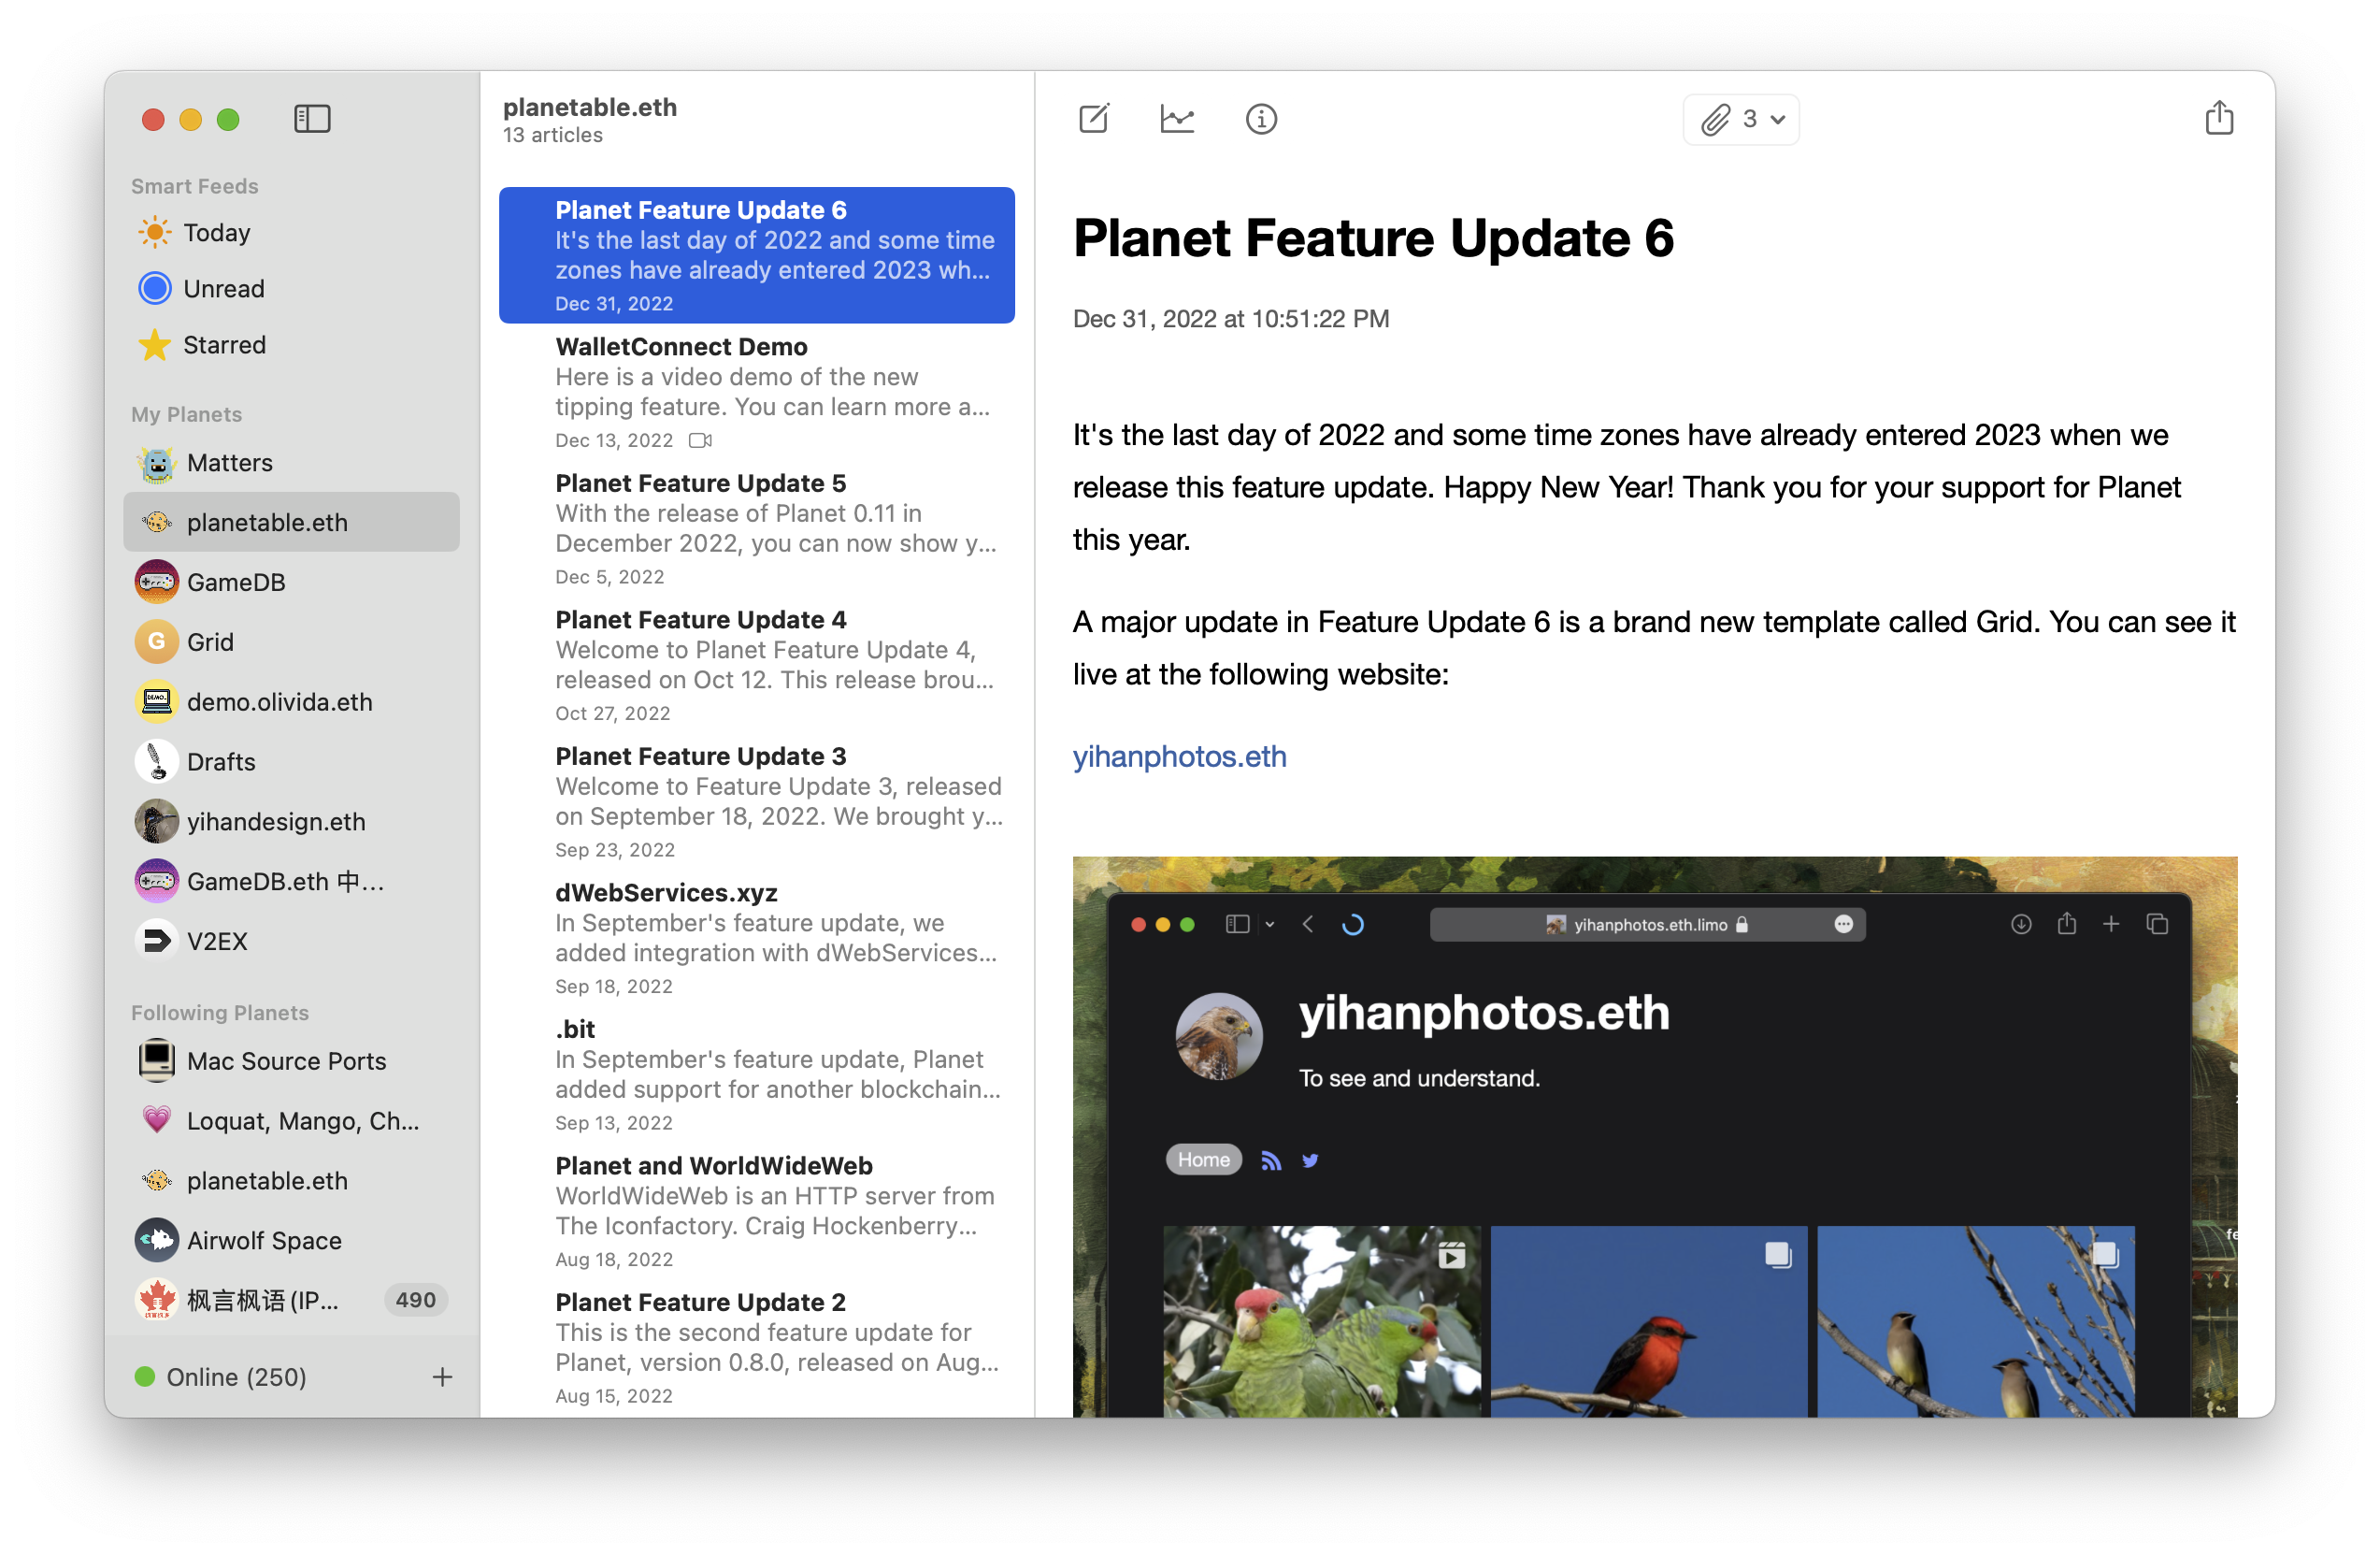
I hope you are enjoying the ride. However, if you found the process complex and difficult, you are not alone. That is also part of the reason I started working on Planetable.xyz, a static site generator with a graphical interface and a built-in IPFS node. With the Planet app, you don’t need any command line knowledge to start blogging and self-hosting on your Mac. You don’t even need an account or cloud because Planet has a built-in IPFS node that can help you publish your blog directly to the Internet as an InterPlanetary Name. You can later link that InterPlanetary Name (IPNS) to your Ethereum Name (.eth name). Since both IPFS and ENS are not controlled by any single entity, you can publish your blog in a fully decentralized way.
2021-05-31 08:00:00
After I started the website for nearly eleven years, V2EX finally got its special treatment from China – China blocked it for the Internet users in the mainland by SNI filtering and DNS poisoning. In those sleepless nights, I lay on my bed and kept thinking about what is really blocked when we are talking about that wall and its blockage.
It becomes obvious that in recent years more and more controls are being imposed there. For dealing with the website hosted in China, they have ICP filing, public security filing, and a brand new Cyber Administration to monitor and act. Individuals and corporations obey. Those websites and apps that are not hosted in China will be blocked in most cases once they got big, especially if it is a website in Chinese.
Thus, control of the usage of the Chinese language is accomplished. That is the sad part. Internet is the most effective way to spread ideas in this era, while the usage of a language used by 1.4 billion people is strictly controlled. Of course, you can write in Chinese on a server outside China, but if what you wrote cannot reach its most potential audience, the meaning of writing itself is reduced.
Such control of a language is probably quite unique if we can have a chance to look back from a historical perspective. Now I just have no idea where that will go.
During the early days of founding Singapore, they chose English as the primary language. It was a pragmatic choice. Also, English is not controlled by any country but shared by a whole world outside China.
2021-05-10 08:00:00
距离这个 blog 最早开始用 Jekyll 已经快过去十年。现在我几乎可以说最早的兴奋感大抵已经褪去了。
这十年间,作为一个静态网站生成工具的那些优点依然成立:
但是:
如果每一个需要做的决定都会让整件事情更可能被放弃的话(一想到要做那么多决定就不想做了的无力感),那么这个过程中需要做的决定数量是大大超过一个简单的文本输入框 + 一个发布按钮类型的系统里所需要做的决定数量。
而同样是在十年间,一个简单的文本输入框 + 一个发布按钮类型的系统,因为浏览器标准及前后端工程技术方面的发展,已经变得非常好用:
这样的系统做到极致,就是 2021 年的 Notion,Twitter 和 Facebook 的发布框。如果想要让个人网站拥有类似的发布体验,是一件极有工程和运维挑战的事情。所以,或许这件事情值得一试?
2021-02-20 08:00:00
DOSBox Pure 是一个可以用于在 RetroArch 里模拟 DOS 游戏的插件。关于 RetroArch 的配置,可以看之前的这篇文章:
相比之前的其他 DOSBox 的 fork,DOSBox Pure 除了可以支持 RetroArch 的状态保存及 Shader 功能外,还可以支持:
用来体验老游戏真的是非常不错的体验。比如这是 DOS 下的经典游戏《仙剑奇侠传》在 DOSBox Pure 里运行的截图(加上了 CRT Caligari Shader 的效果):
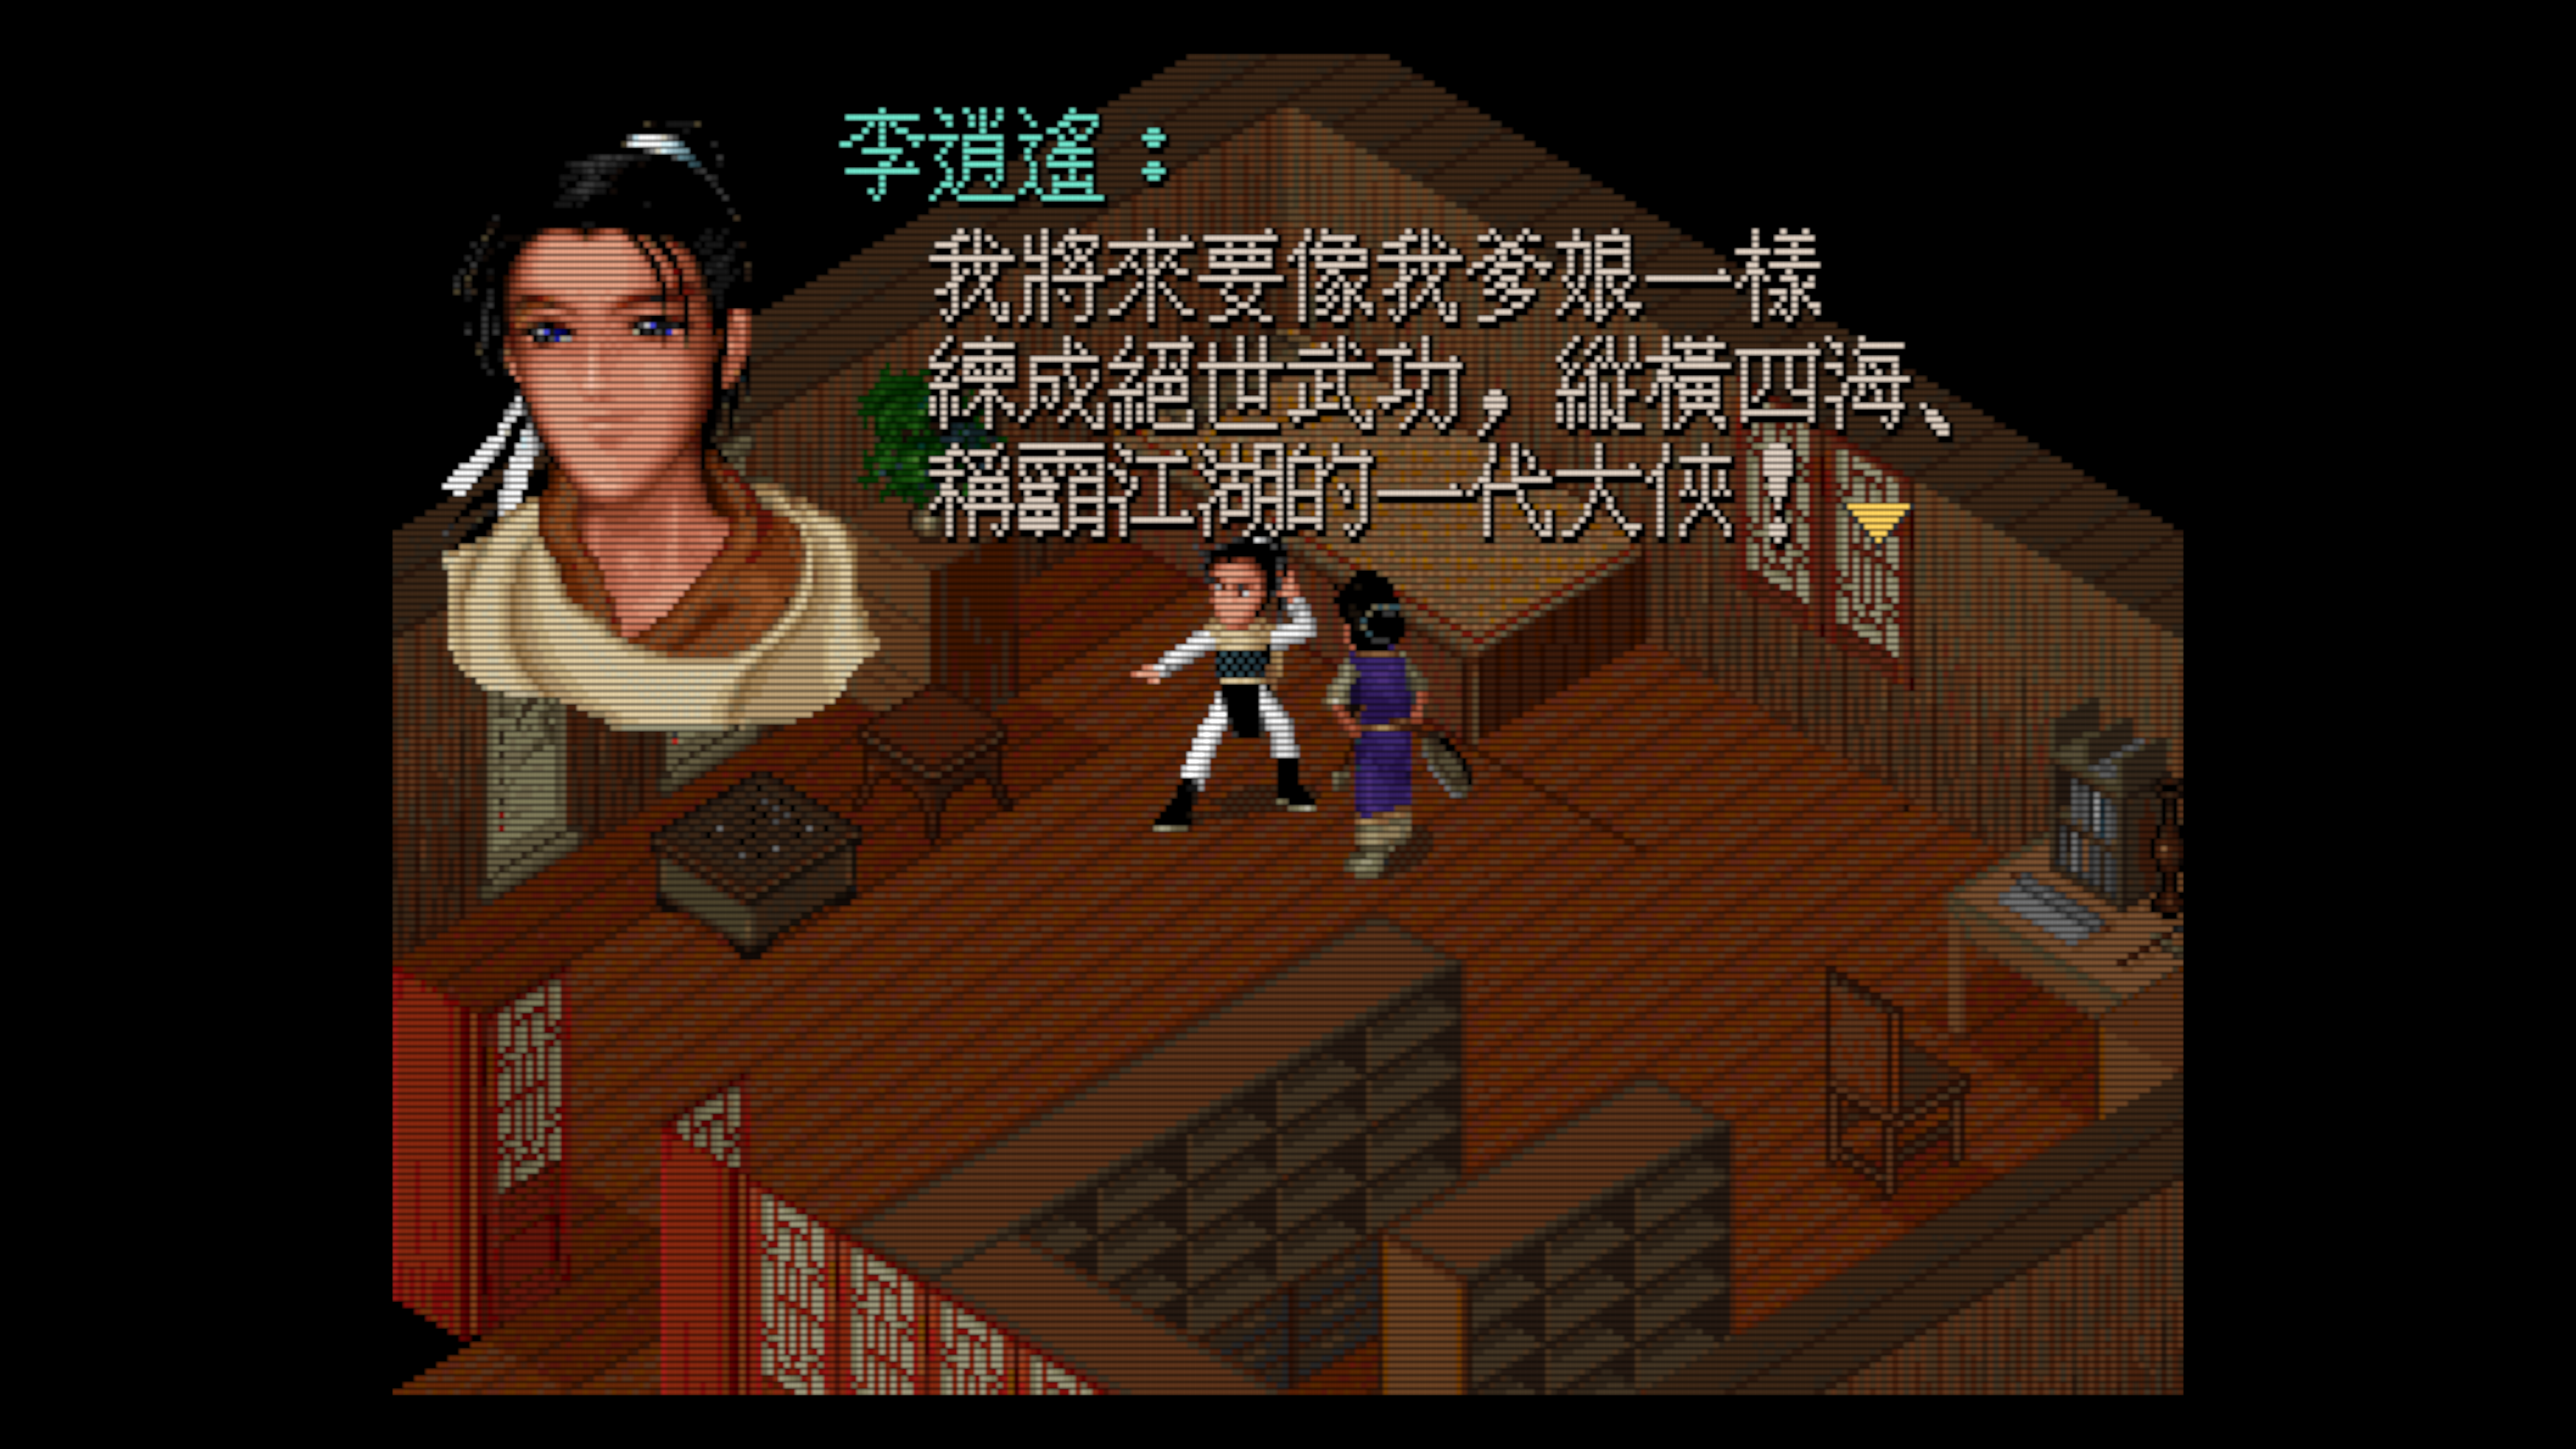
KOEI 的大航海时代 II:
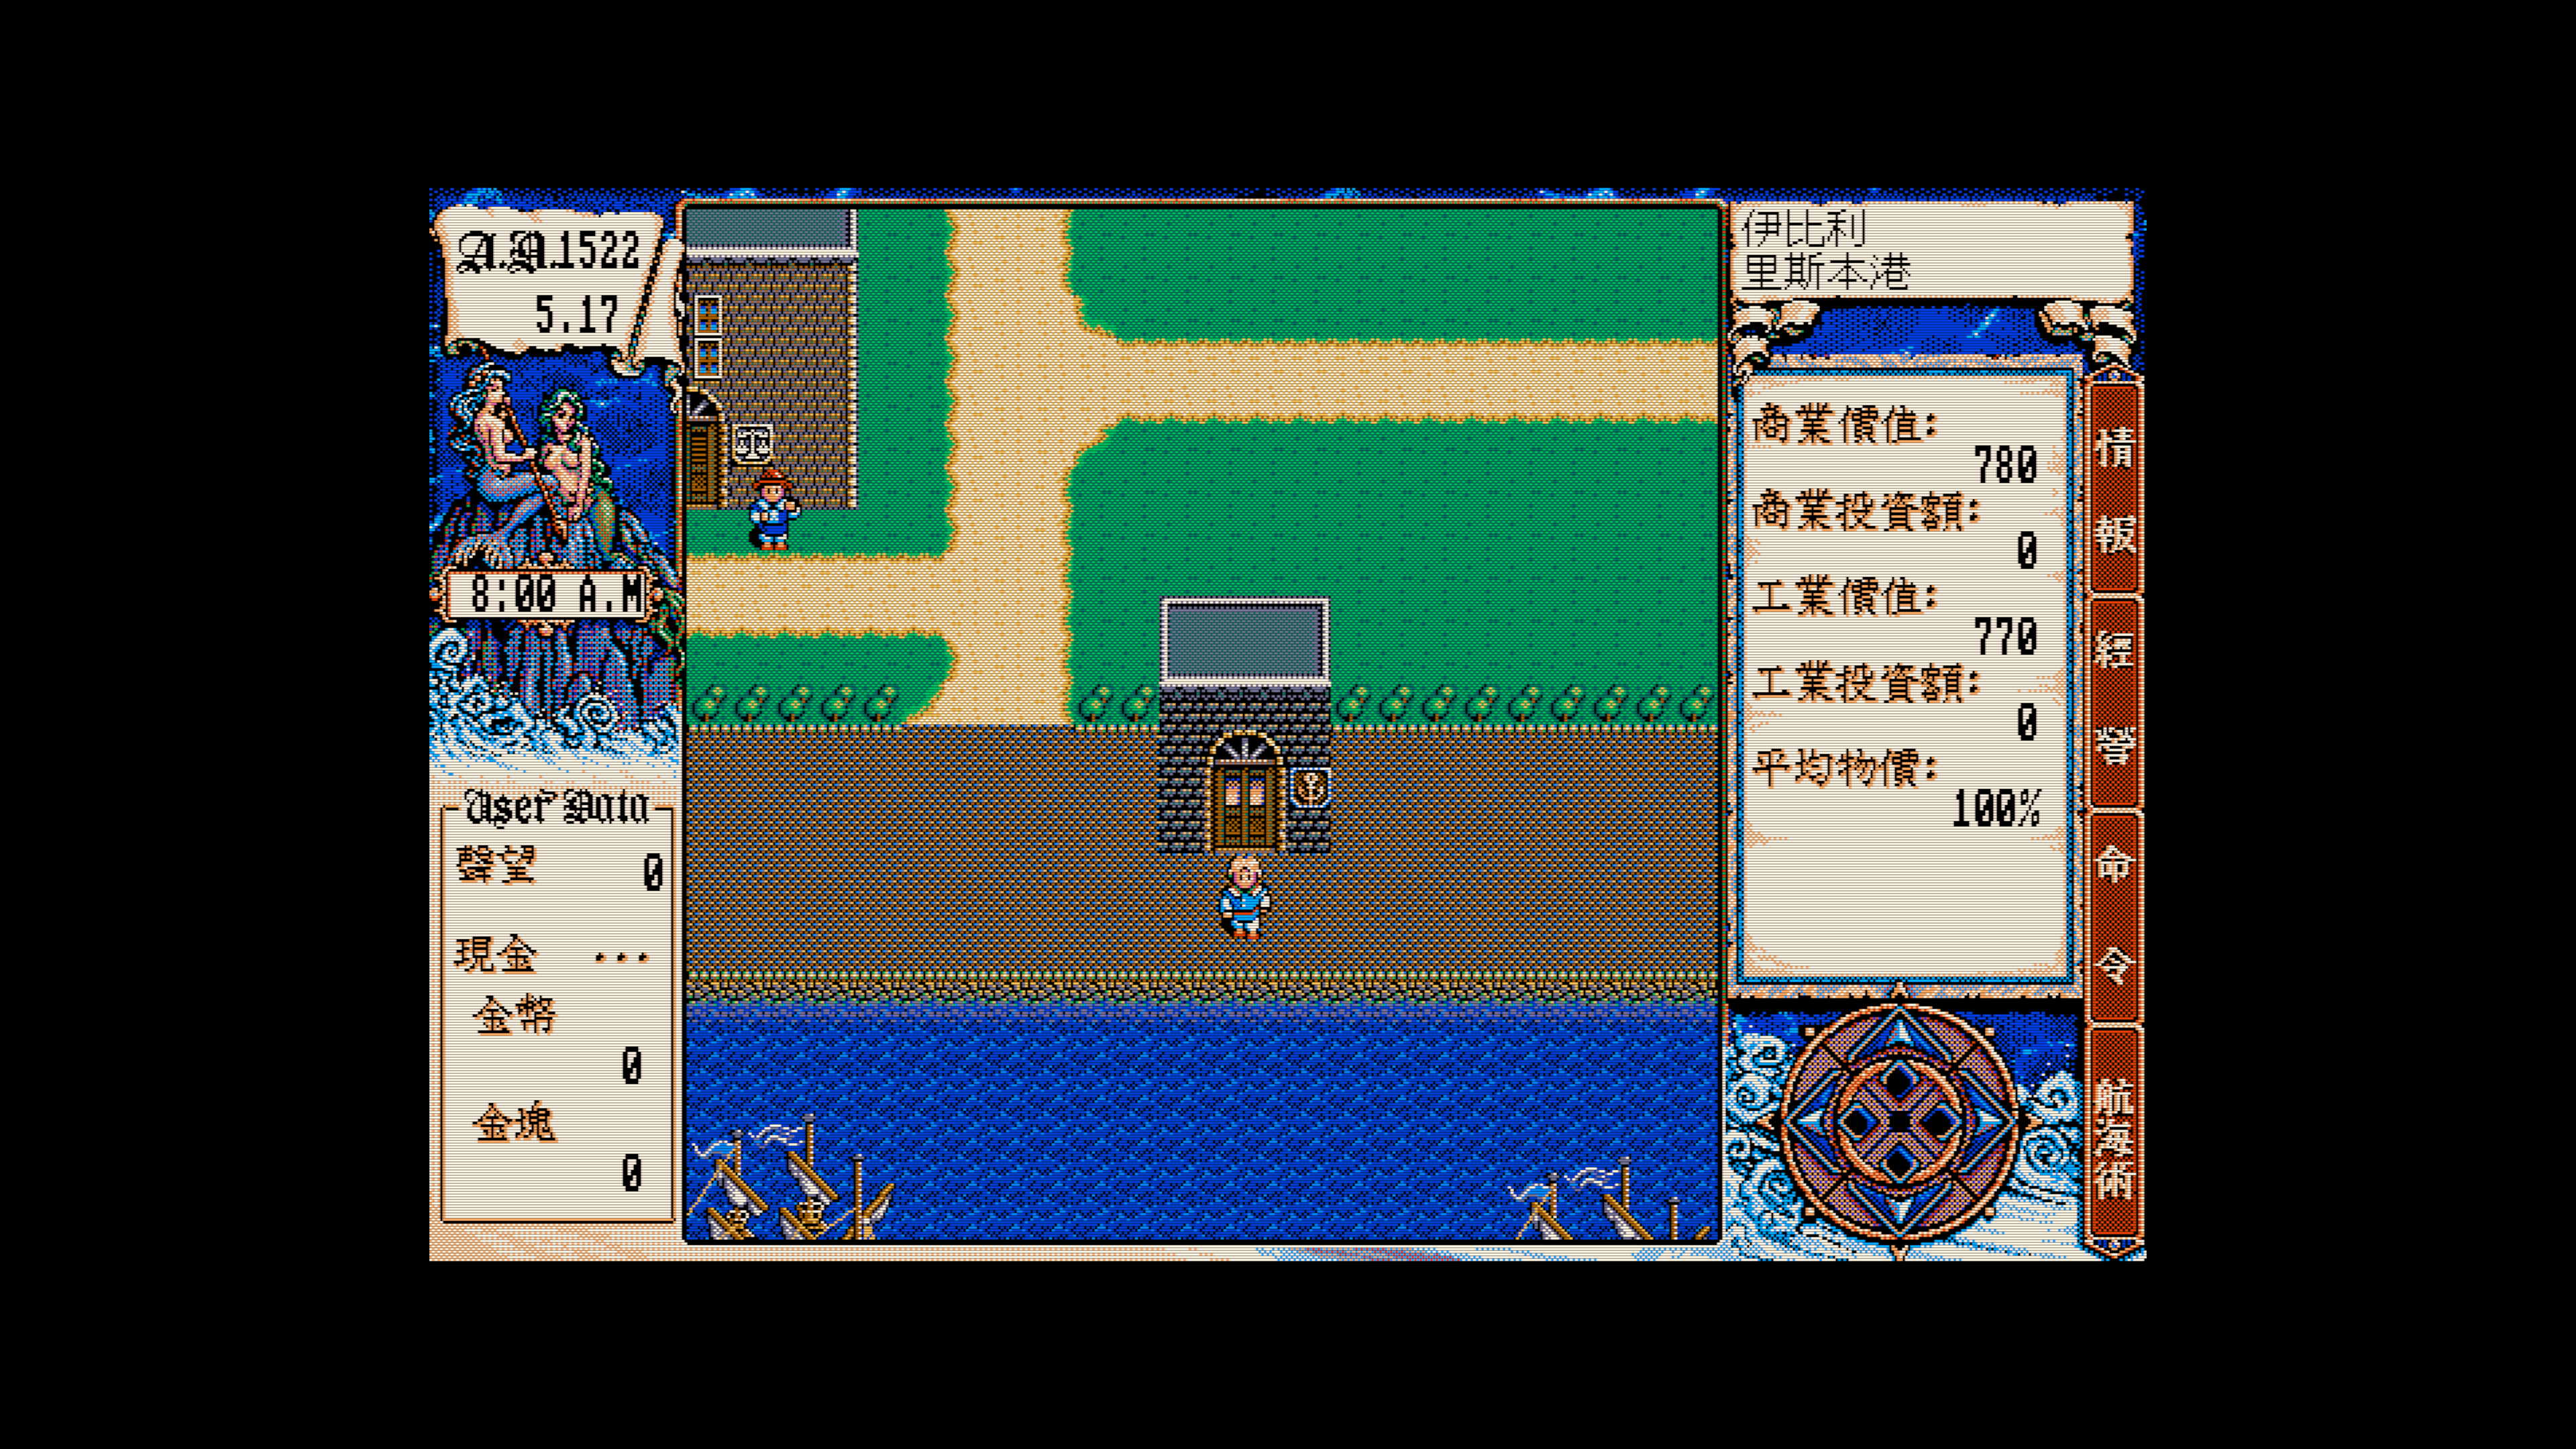
Maxis 的 SimCity 2000:
甚至当年 id Software 的 3D 大作 Quake:
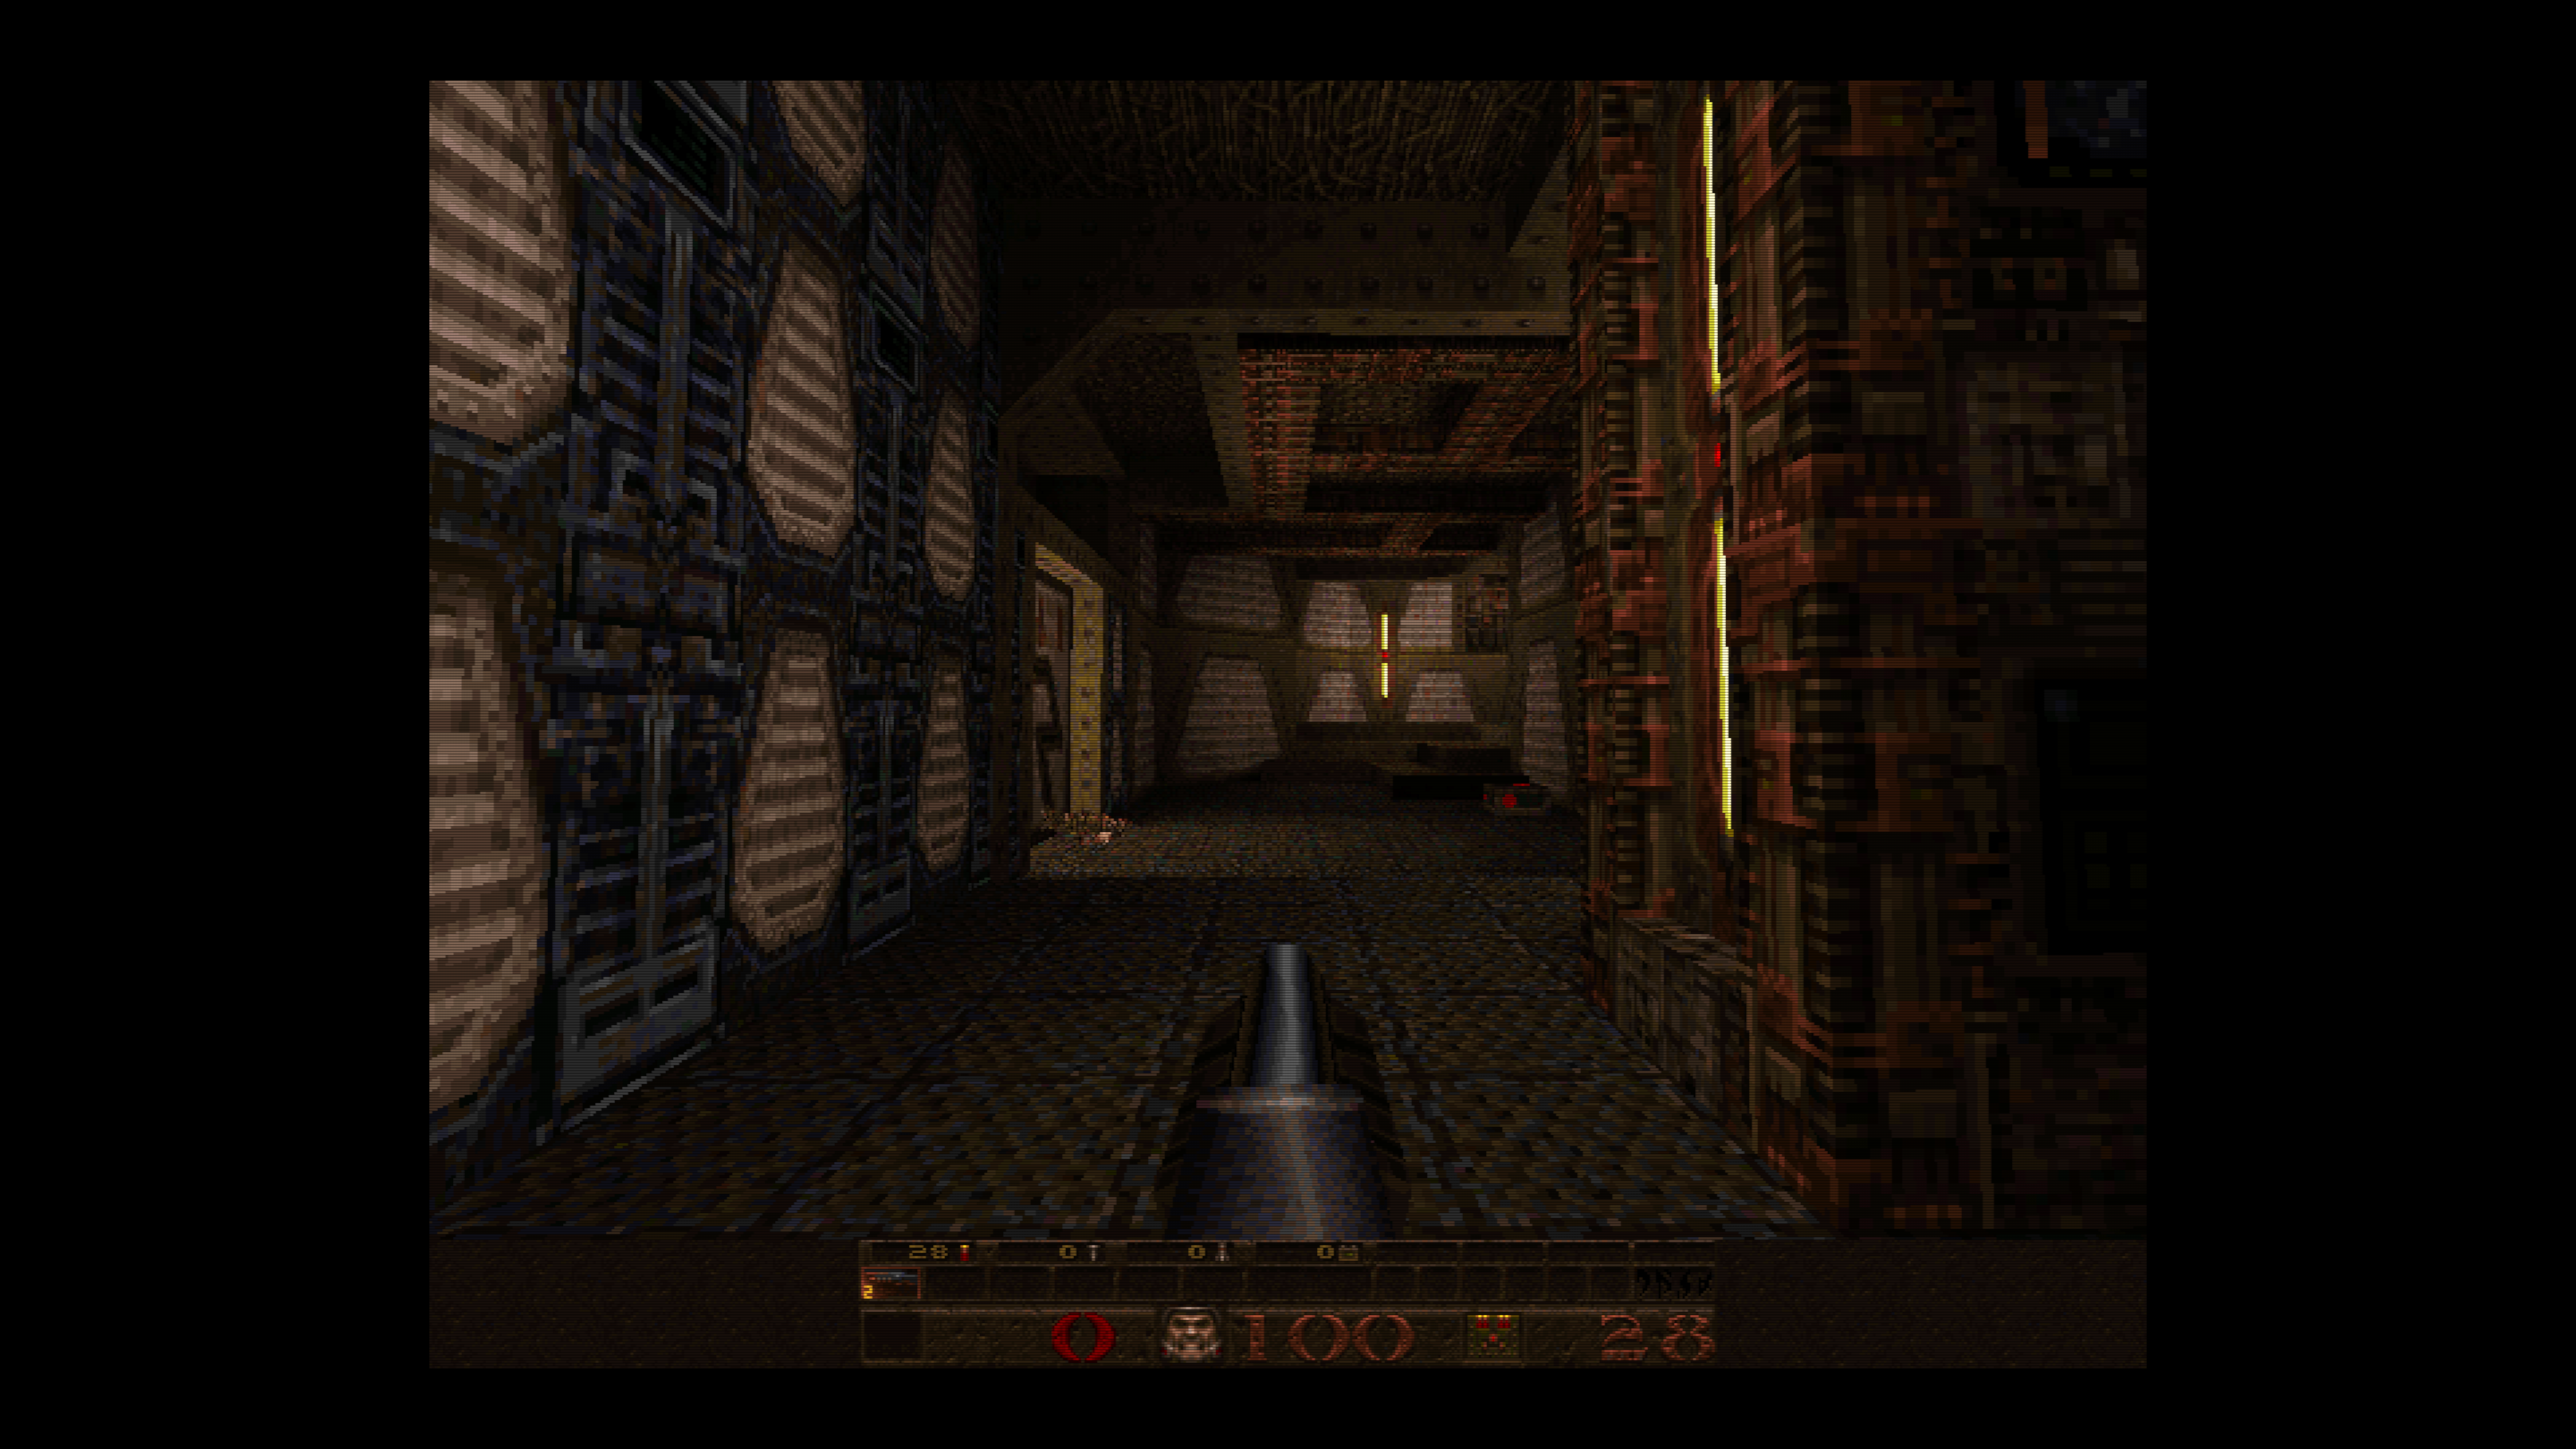
在摩尔定律尚还非常有效的 1990 年代,不同的 DOS 游戏对于性能的需求非常不一样。Bullfrog 的 Theme Park 需要 DOSBox 模拟一台 386 电脑,否则就会因为一切动画过快而造成游戏根本没法玩。而 Quake 这样的游戏则需要 DOSBox 尽可能快地运行。
因此,你可能需要在游戏开始运行之后,根据具体的游戏选择需要的性能级别:
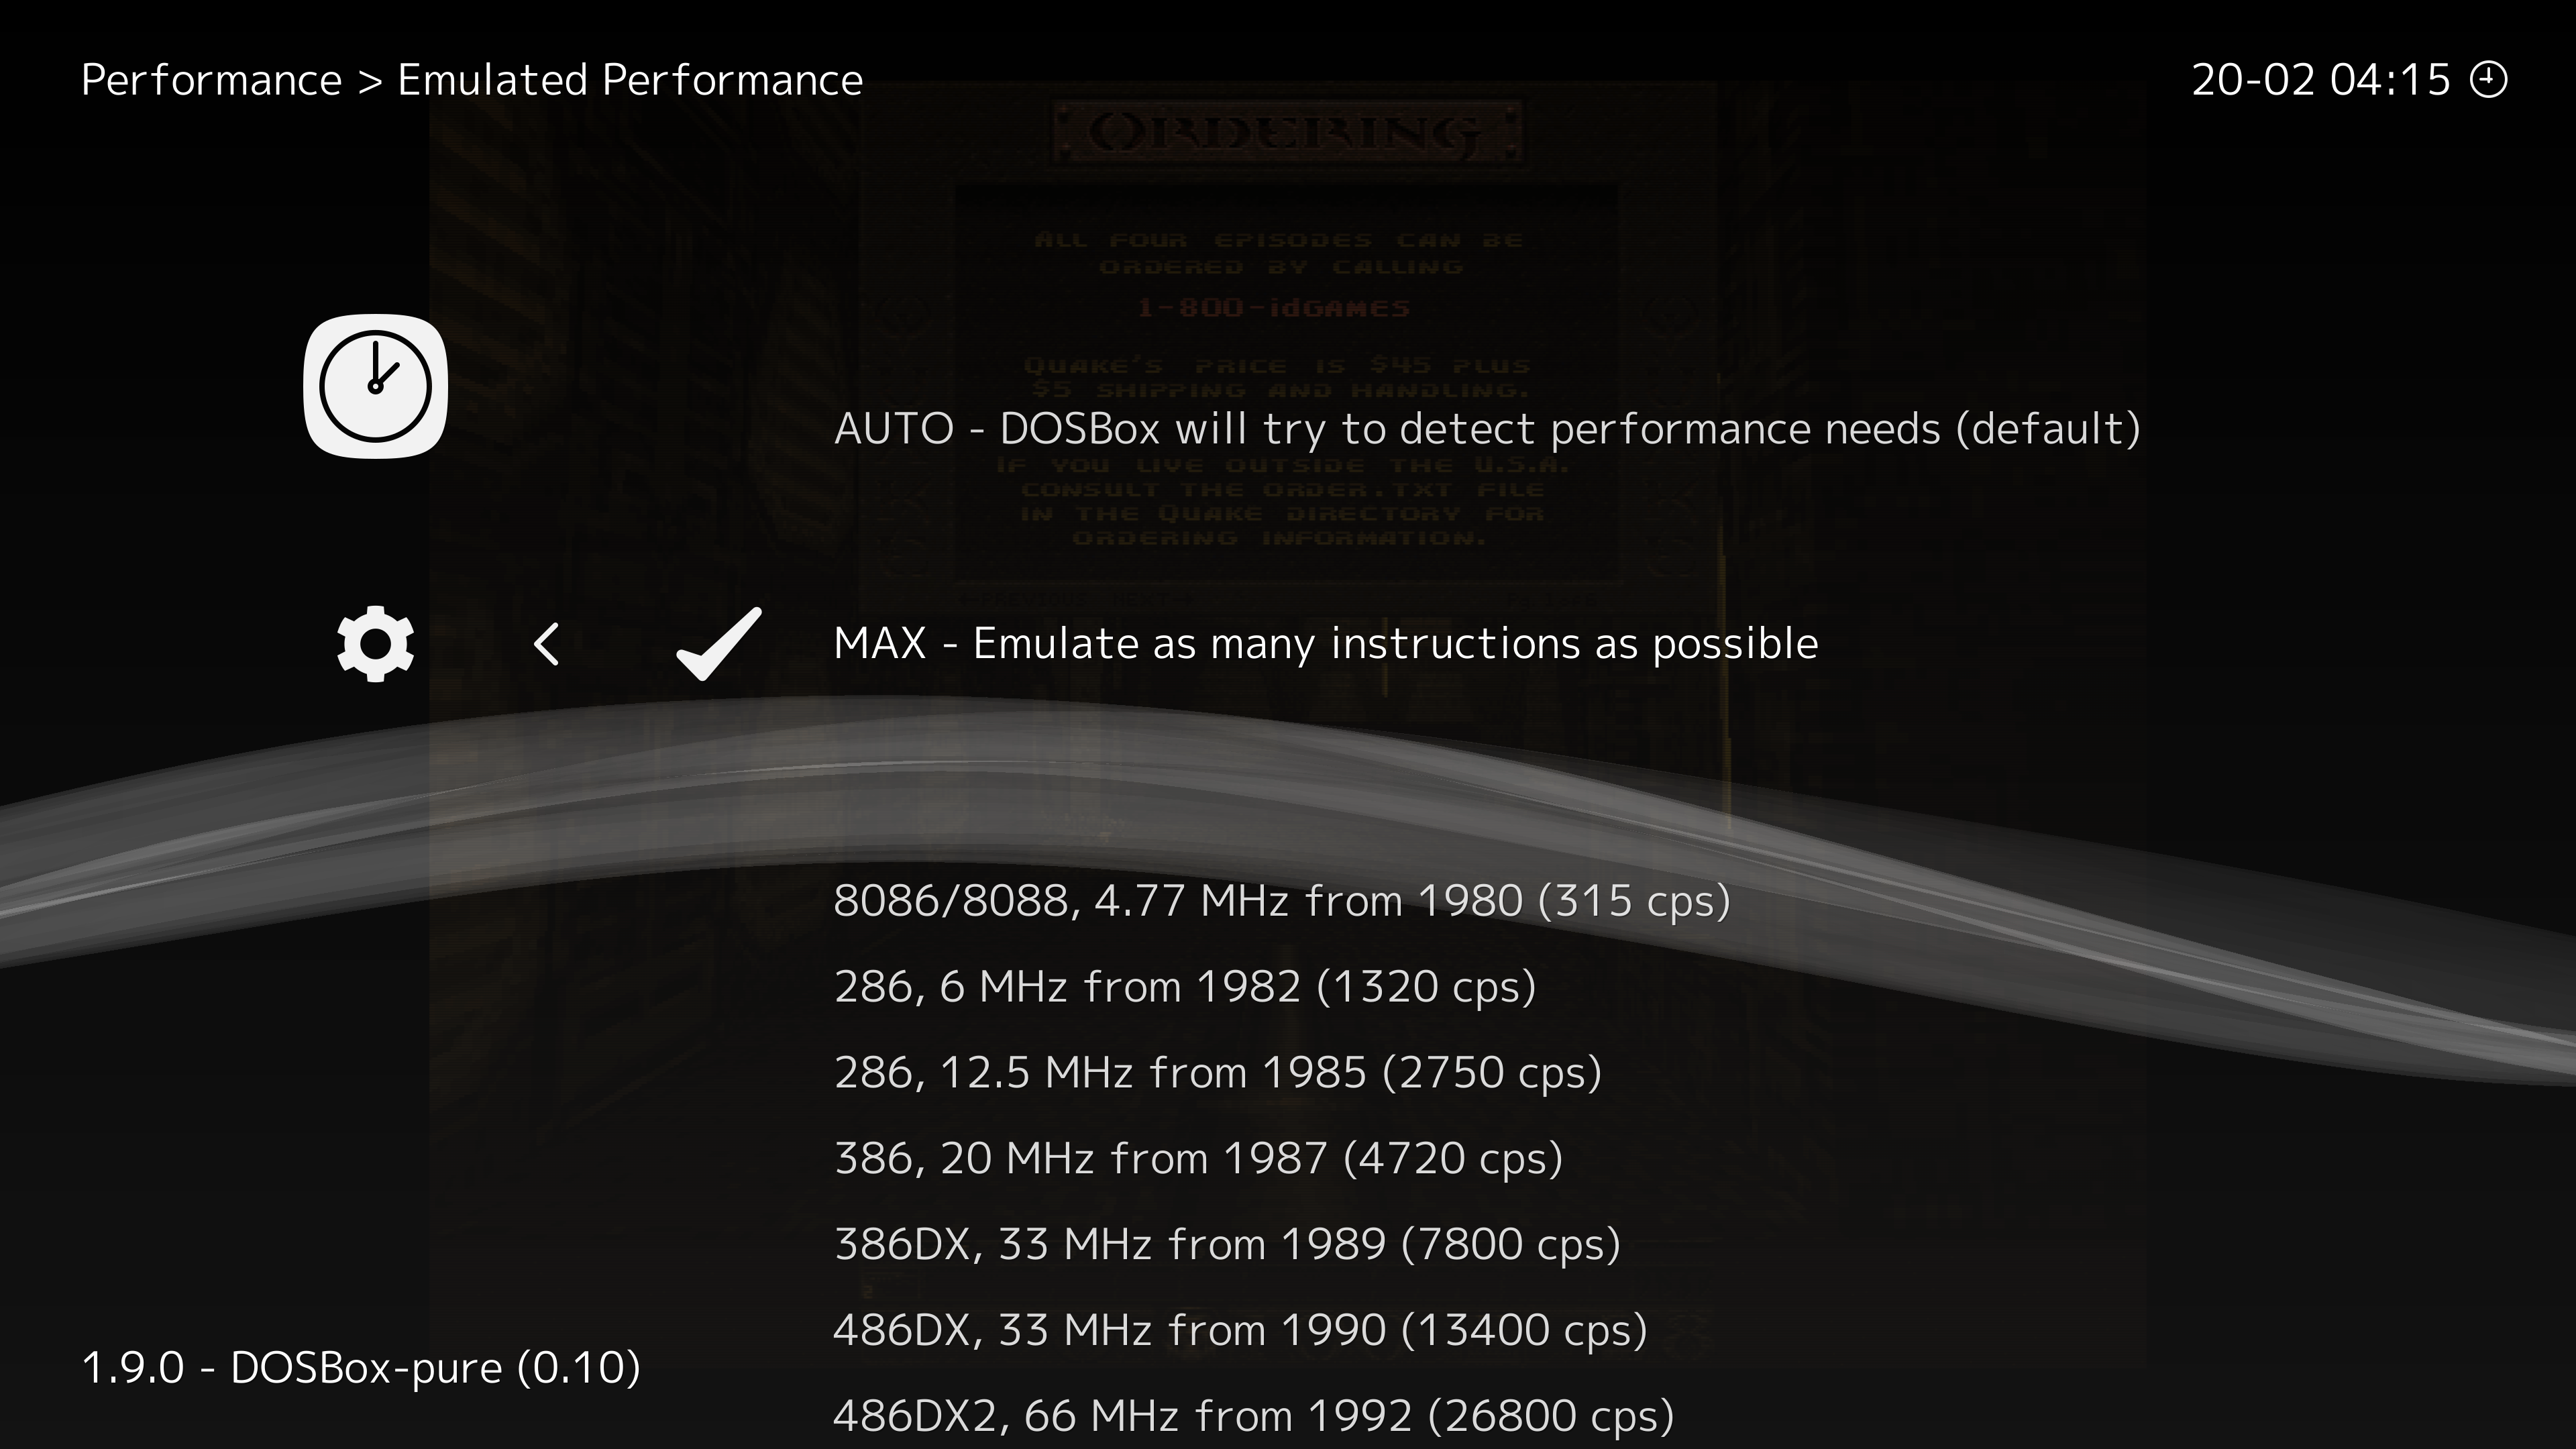
目前 DOSBox Pure 还不能支持读取 zip 包中的 dosbox.conf 配置文件。如果将来能够支持的话,那么就可以通过 dosbox.conf 来为不同的游戏提供不同的定制选项了。
现在是 2021 年了,但是合法地获取 DOS 游戏文件依然是可能的。比如你可以通过以下渠道买到 DOS 游戏:
2021-01-08 08:00:00
RetroArch 是一个功能强大的模拟器前端。它的核心是一个叫做 libretro 的开源软件项目,基于 libretro 开发的 RetroArch 提供了一套管理多个不同模拟器系统的界面。这篇文章是关于 RetroArch 的配置和使用,并且会根据 RetroArch 的发展持续更新。
文章中的配图来自 RetroArch 运行在 Windows 下的效果。但是 RetroArch 几乎可以运行在所有主流软硬件平台上。
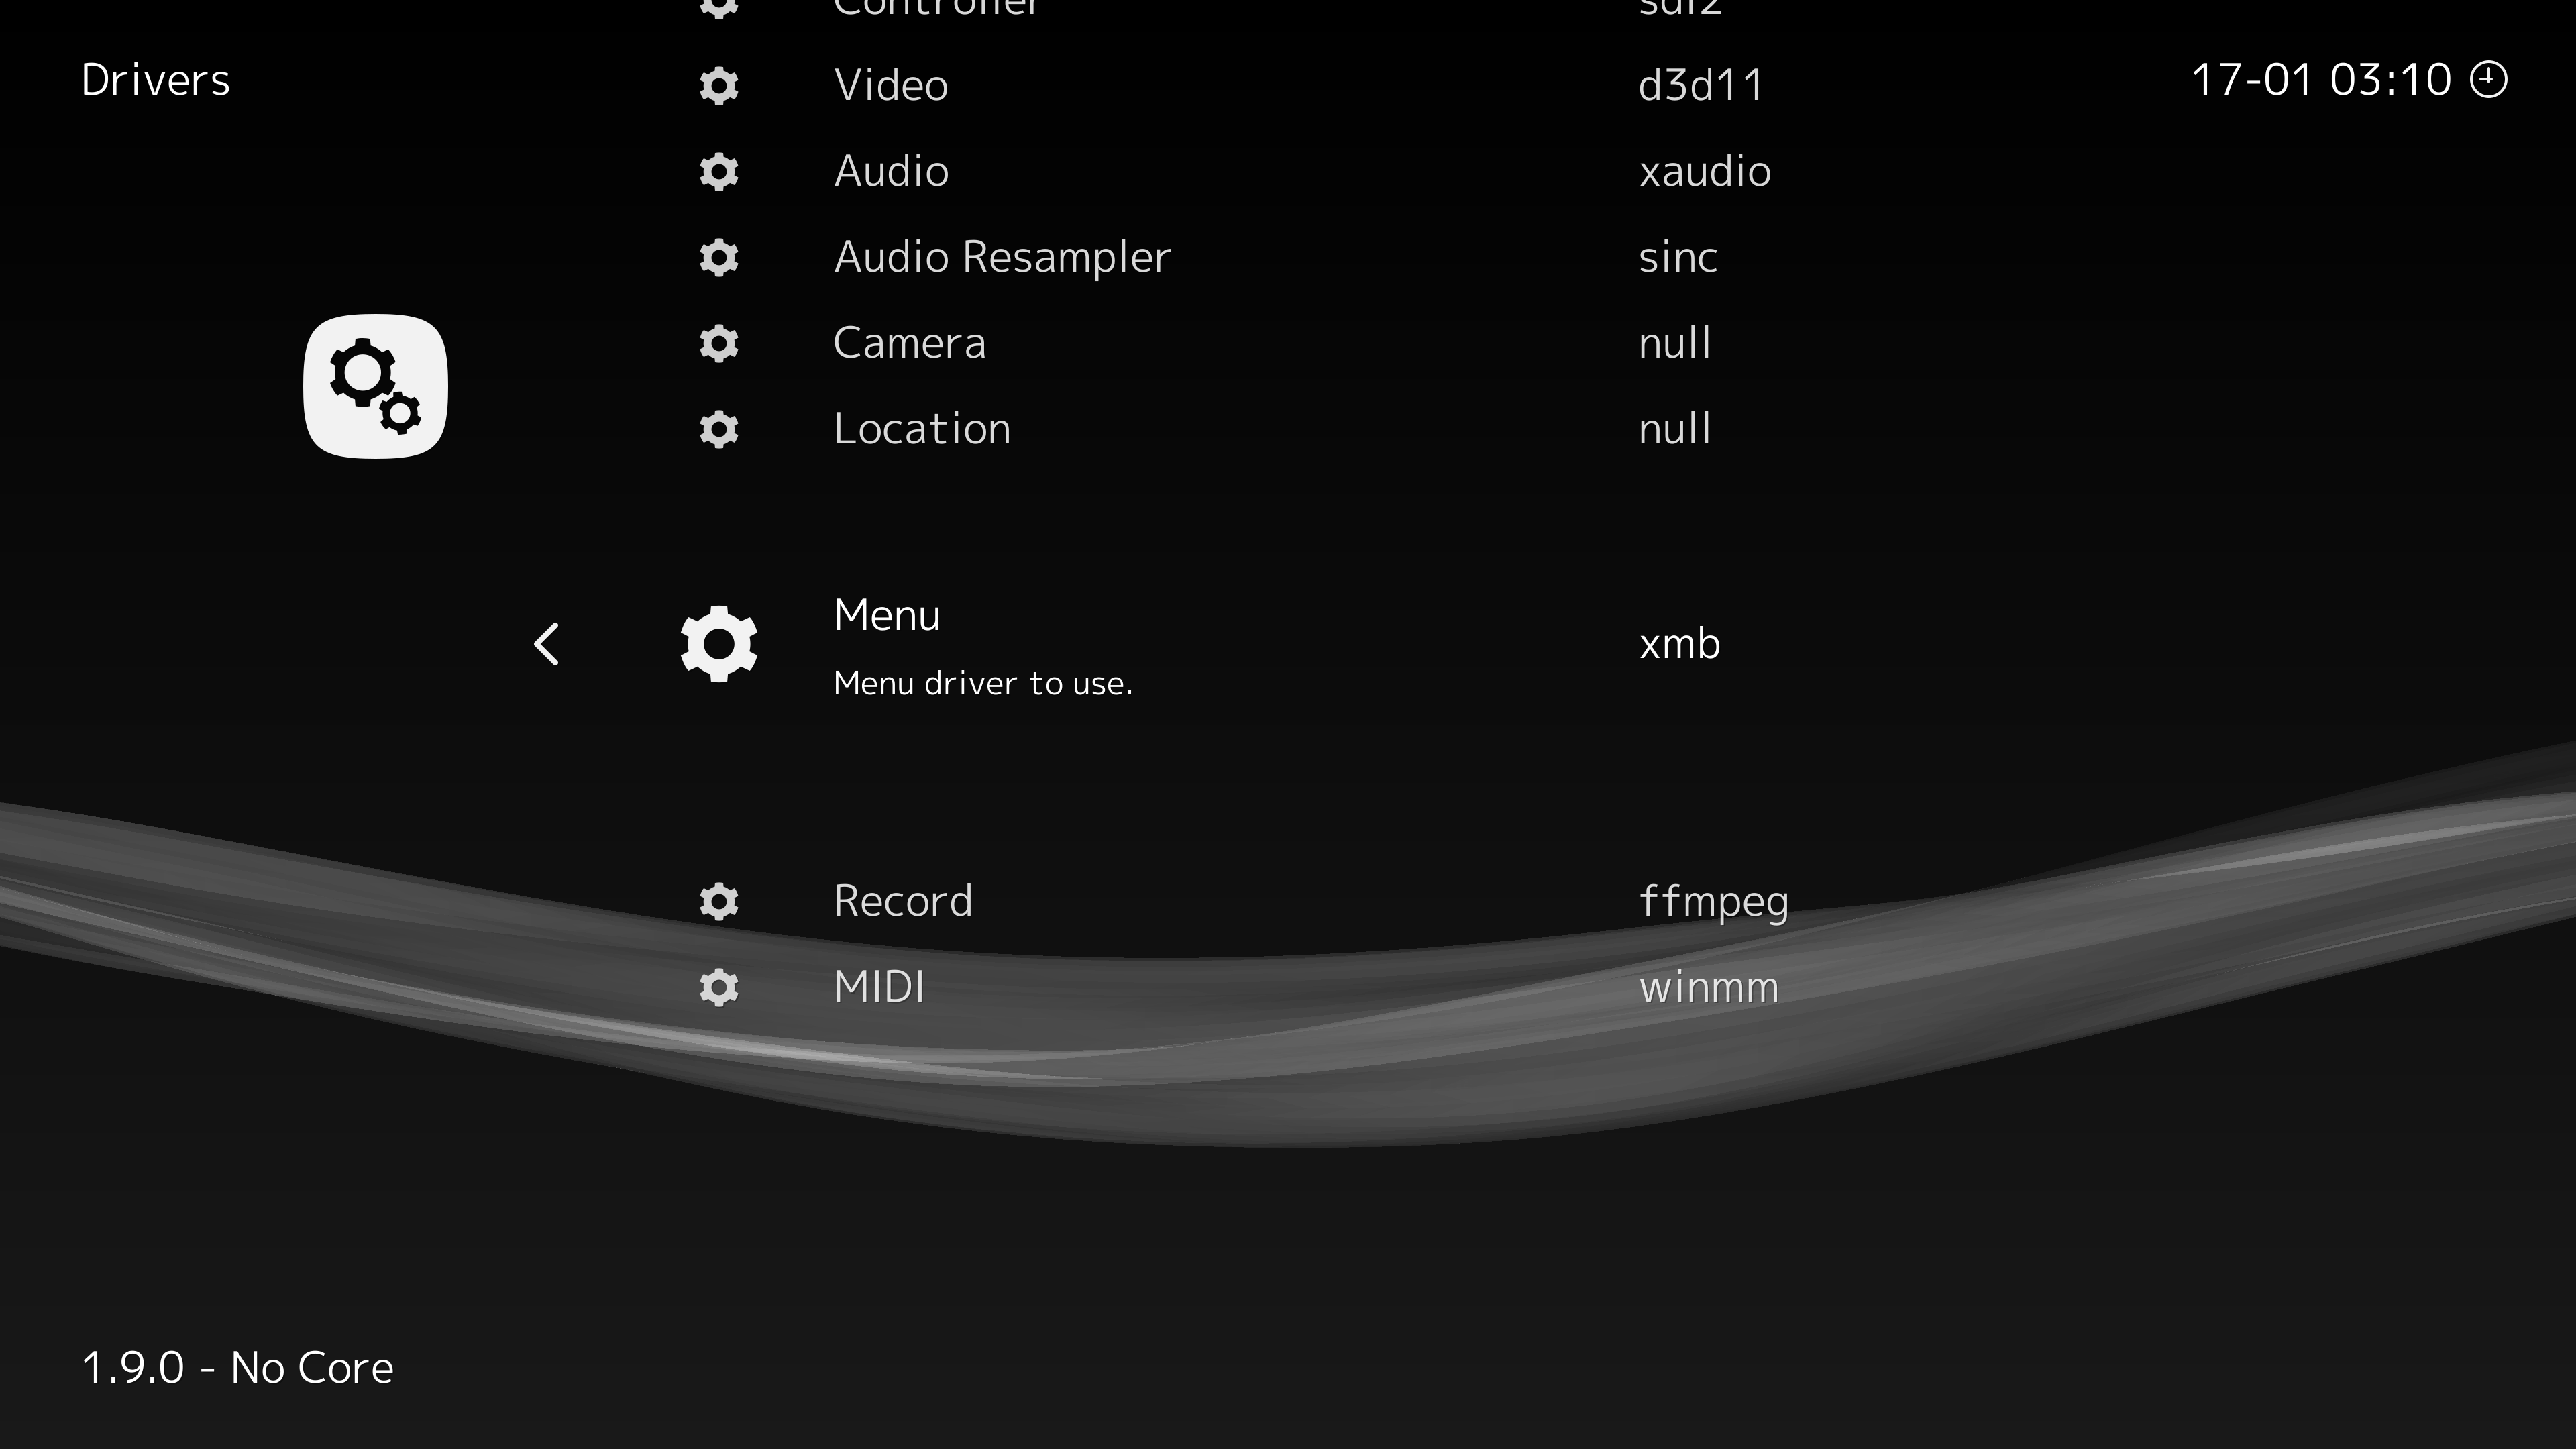
RetroArch 提供了多种不同的使用界面方案。其中一个类似 PlayStation 的 XMB 界面方案,非常方便用手柄导航。如果你安装的 RetroArch 没有默认使用这个界面的话,你可以在这个位置打开:
Settings -> Drivers -> Menu -> xmb
配置 RetroArch 的第一步,就是为你打算模拟的平台下载 Core。RetroArch 本身是一个启动器,对具体游戏平台的模拟,是通过不同的 Core 来实现。比如打算模拟 NES 的话,你可能会需要下载 FCEUmm 这个 Core。
作为一个已经发展了多年的成熟项目,RetroArch 包括了几乎所有游戏平台的模拟器 Core。甚至包括了一些非常专用的 Core,比如 OpenLara 和 PrBoom 这样专用于特定 PC 游戏的 Core。
下载新的 Core 的菜单位置:
Main Menu -> Load Core -> Download a Core
在 Core 安装完成之后,接下来需要做的就是把内容添加到 RetroArch。
建议把不同平台的 ROM 文件分别放到不同的文件夹里,比如分别为 NES 和 SNES 建立不同的文件夹。然后在 RetroArch 菜单中选择:
Import Content -> Scan Directory -> 选择你存放 ROM 的目录
通常,这样就可以找到你组织好的内容。扫描完成后,RetroArch 界面里就会多出来刚刚找到的新游戏的 Playlist。RetroArch 会为每个平台的所有游戏建立一个 Playlist。
但是,在某些情况下,如果上面的方法没有找到新内容,那么你还可以试试:
Import Content -> Manual Scan
在 Manual Scan 模式下,你需要指定用哪个 Core 来扫描内容。Manual Scan 每次会用一个指定的 Core 扫描指定的一个文件夹,所以可以用这样的方式来一次性为一个平台生成 Playlist。
使用类似 Retrode 这样的设备,你可以从卡带中获得游戏内容,也就是 ROM 文件。
互联网上的一群经典游戏的爱好者维护了一个叫做 no-intro 的数据库,记录所有完整的 ROM 文件的特征,比如游戏的官方名称、CRC32 校验值、MD5 值等等。
针对 CRT 显示器设计的老游戏,分辨率相比现代 PC,是很低的 240p 分辨率:
| Platform 平台 | Resolution 分辨率 |
|---|---|
 NES/Famicom NES/Famicom |
256×224 |
 Super NES/Super Famicom Super NES/Super Famicom |
256×224 |
 Geneis/Mega Drive Geneis/Mega Drive |
320×224 |
 Game Boy Game Boy |
160×144 |
 Game Boy Color Game Boy Color |
160×144 |
 Game Boy Advance Game Boy Advance |
240×160 |
 Virtual Boy Virtual Boy |
384×224 |
 Nintendo 64 Nintendo 64 |
320×240 |
因此,如果要在现代的高分辨率 LCD 屏幕上模拟老旧 CRT 电视机的效果,你可以使用 RetroArch 的 Shader 功能。在运行游戏的过程中呼出快捷菜单,然后在 Shader 菜单中选择一款 CRT Shader(适用于主机平台)或者 Handheld Shader(适用于手持平台)即可。
比如这是在 4K 分辨率下,没有使用 Shader 时的效果:
作为对比,这是使用了 CRT Caligari 之后的效果:
RetroArch 内置了几十款不同的 Shader。
为了让 Shader 获得最好的显示效果,下面的这个设置选项推荐打开:
Settings -> Video -> Scaling -> Integer Scale
这样 RetroArch 在将模拟器输出的视频画面填充当前分辨率时,会确保按照整数倍来进行放大。这样可以避免因为画面被非整数倍放大而带来的一些 Shader 的渲染问题。这些问题当你在使用扫描线类型的 CRT Shader 时会尤其明显。
以前的很多游戏的难度非常具有挑战性。比如在 Konami 的经典游戏 Contra 魂斗罗 和 Life Force 沙罗曼蛇 里,无论你积攒了多少火力,只要吃一颗子弹就全部重来。并且游戏里只有三条命。
RetroArch 提供了一种让苦手玩家有可能可以一命通关的方法——当在游戏里出现失误的时候,只要按住 R 就可以回退。直到退回到失误出现之前。借助这种方式,一命通关很多很难的游戏,或者在彩蛋区域进行反复探索,就只是时间问题了。
可以在 Quick Menu 的这个位置设置 Rewind 的速度,默认是 1 帧:
Quick Menu -> Rewind -> Rewind Frames
如果你基本上只用 RetroArch 来玩那些不需要手柄 L2 键的游戏,那么可以考虑把 L2 映射为 Rewind 回退功能。
以前的游戏大部分都没有提供存盘功能,尤其是 8 位机时代的游戏。其中一些游戏提供的解决方案是通关密码 Password,即你在打通了每一关之后会获得一个通关密码,之后只要输入这个通关密码就可以从这一关开始游戏。
而另外一种更简单的方式就是用 RetroArch 来自动记录和恢复游戏状态。你可以在设置菜单中的这个位置找到相关设置:
Settings -> Saving
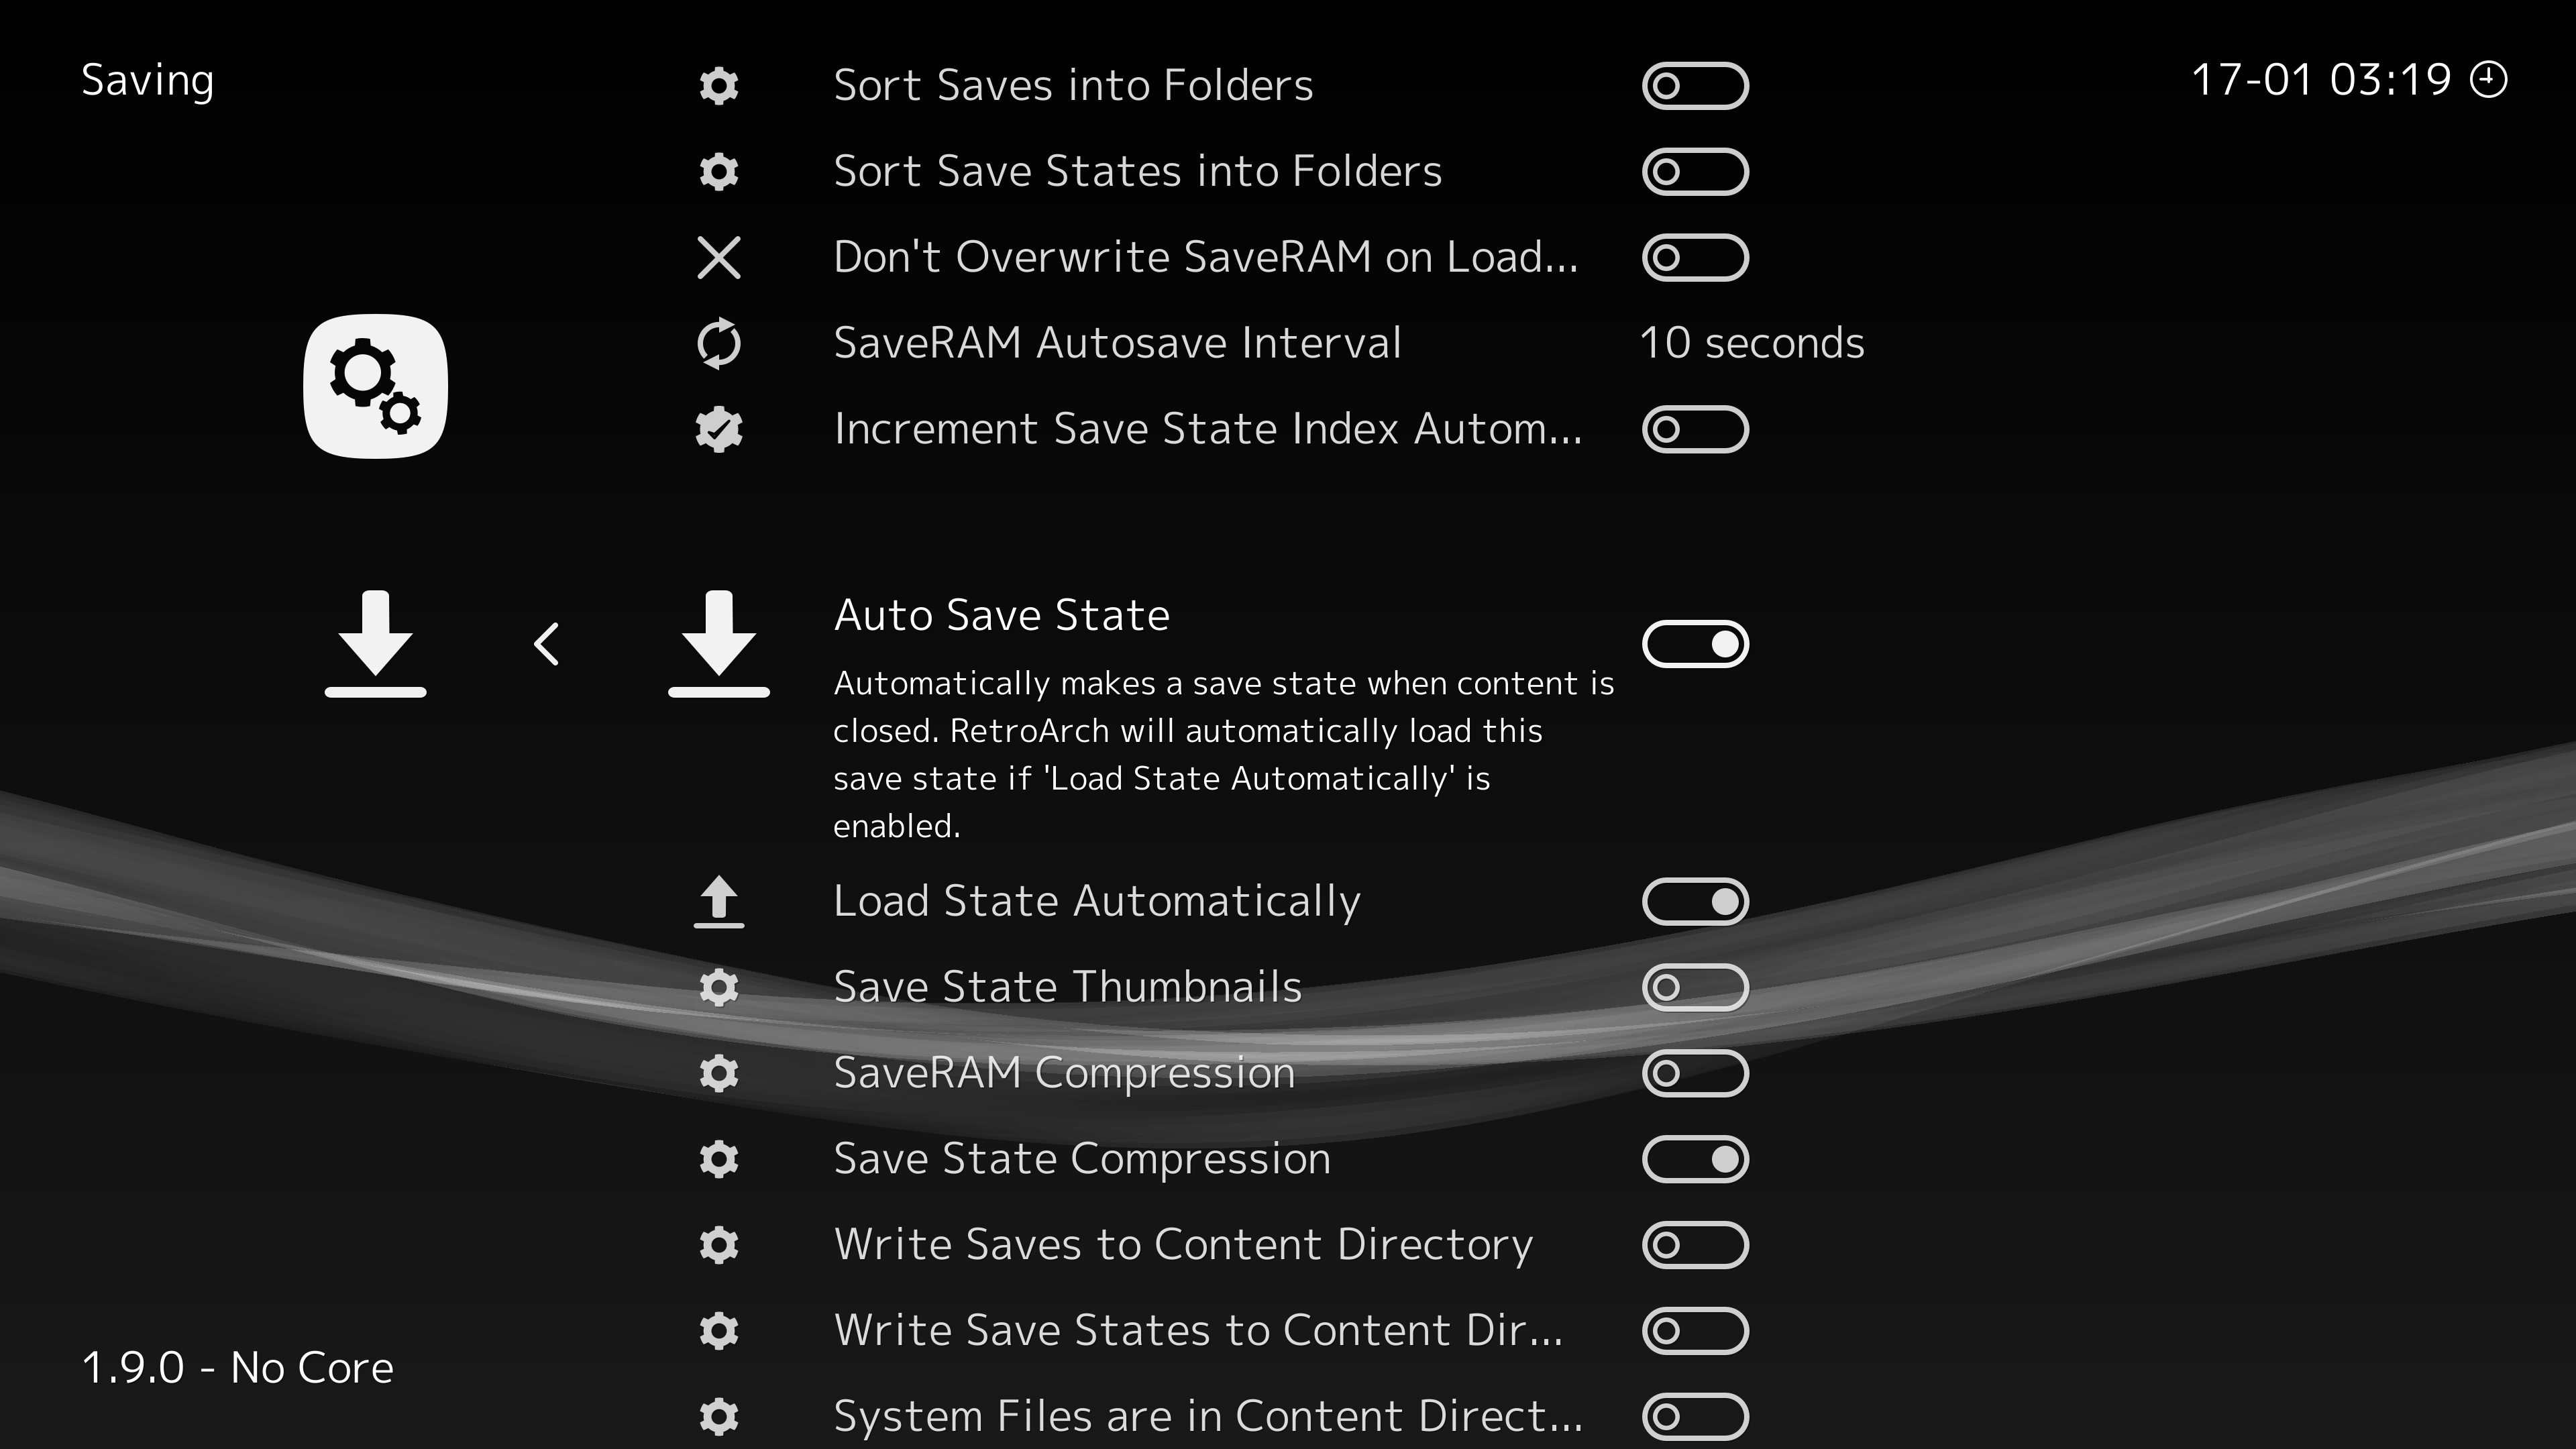
推荐把下面的这两个选项都打开:
这样在你每次关闭游戏时,状态会被自动保存。下次打开游戏时,状态会被自动加载。如果你的整个 RetroArch 文件夹是放在一个云同步的目录中的话,那么这些游戏状态就可以在你的电脑之间同步。然后就可以在任何一台电脑上继续你的任何游戏的进度。
按下 F8 就可以保存当前游戏的截图。RetroArch 提供了一个设置,让你可以保存 8-bit/16-bit 的原始像素的 PNG 格式,而不是应用了 Shader 之后的效果。
可以从菜单的这个位置打开或者关闭这个设置:
Settings -> Video -> GPU Screenshot
或者直接编辑 retroarch.cfg 中的这个属性:
video_gpu_screenshot = "false"
当 GPU Screenshot 设置打开时,截图保存的是带有 Shader 的效果及分辨率。当 GPU Screenshot 设置关闭时,截图保存的是游戏的原始分辨率,比如 NES 的 256×224。
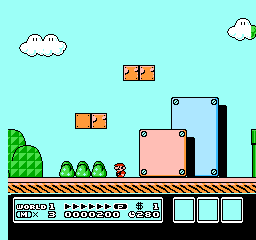
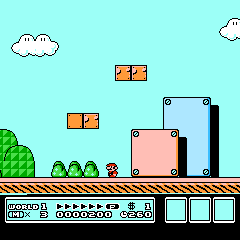
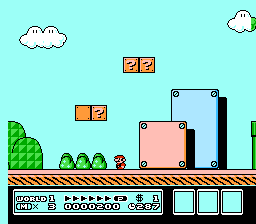
部分 NES 模拟器 Core 支持剪裁掉横向或者竖向的 overscan 内容区域,因为某些游戏比如 Super Mario Bros. 3 的 overscan 区域会有一些垃圾渲染(这些区域在真实硬件及 CRT 显示上不可见)。如果所有 overscan 内容区域都被保留,那么 NES 游戏的截图分辨率会是 256×240,如果都被剪裁,那么会是 240×224。
| No Crop | Crop Horizontal | Crop Vertical | Crop Both |
|---|---|---|---|
 |
 |
 |
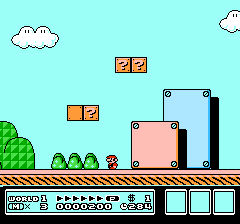 |
| 256×240 | 240×240 | 256×224 | 240×224 |
FCEUmm 的默认设置是:
这样出来的截图的分辨率是 256×224
你可以在 RetroArch 的 screenshots 目录找到截图的 .png 文件。
虽然用 OBS 或者 GeForce Experience 也可以录下游戏过程,但是 RetroArch 内置的游戏录制功能的特殊之处在于可以用一种无损(lossless)的方式以游戏的原始分辨率保存为一个 .mkv 文件。如果使用 RetroArch 本身来播放这个 .mkv 文件,那么还可以在上面应用 Shader 效果。
按下一次 O 即可开始录制,再按下一次 O 即可停止录制。你可以在 RetroArch 的 recordings 目录找到录制的 .mkv 文件。