2026-06-28 11:00:00
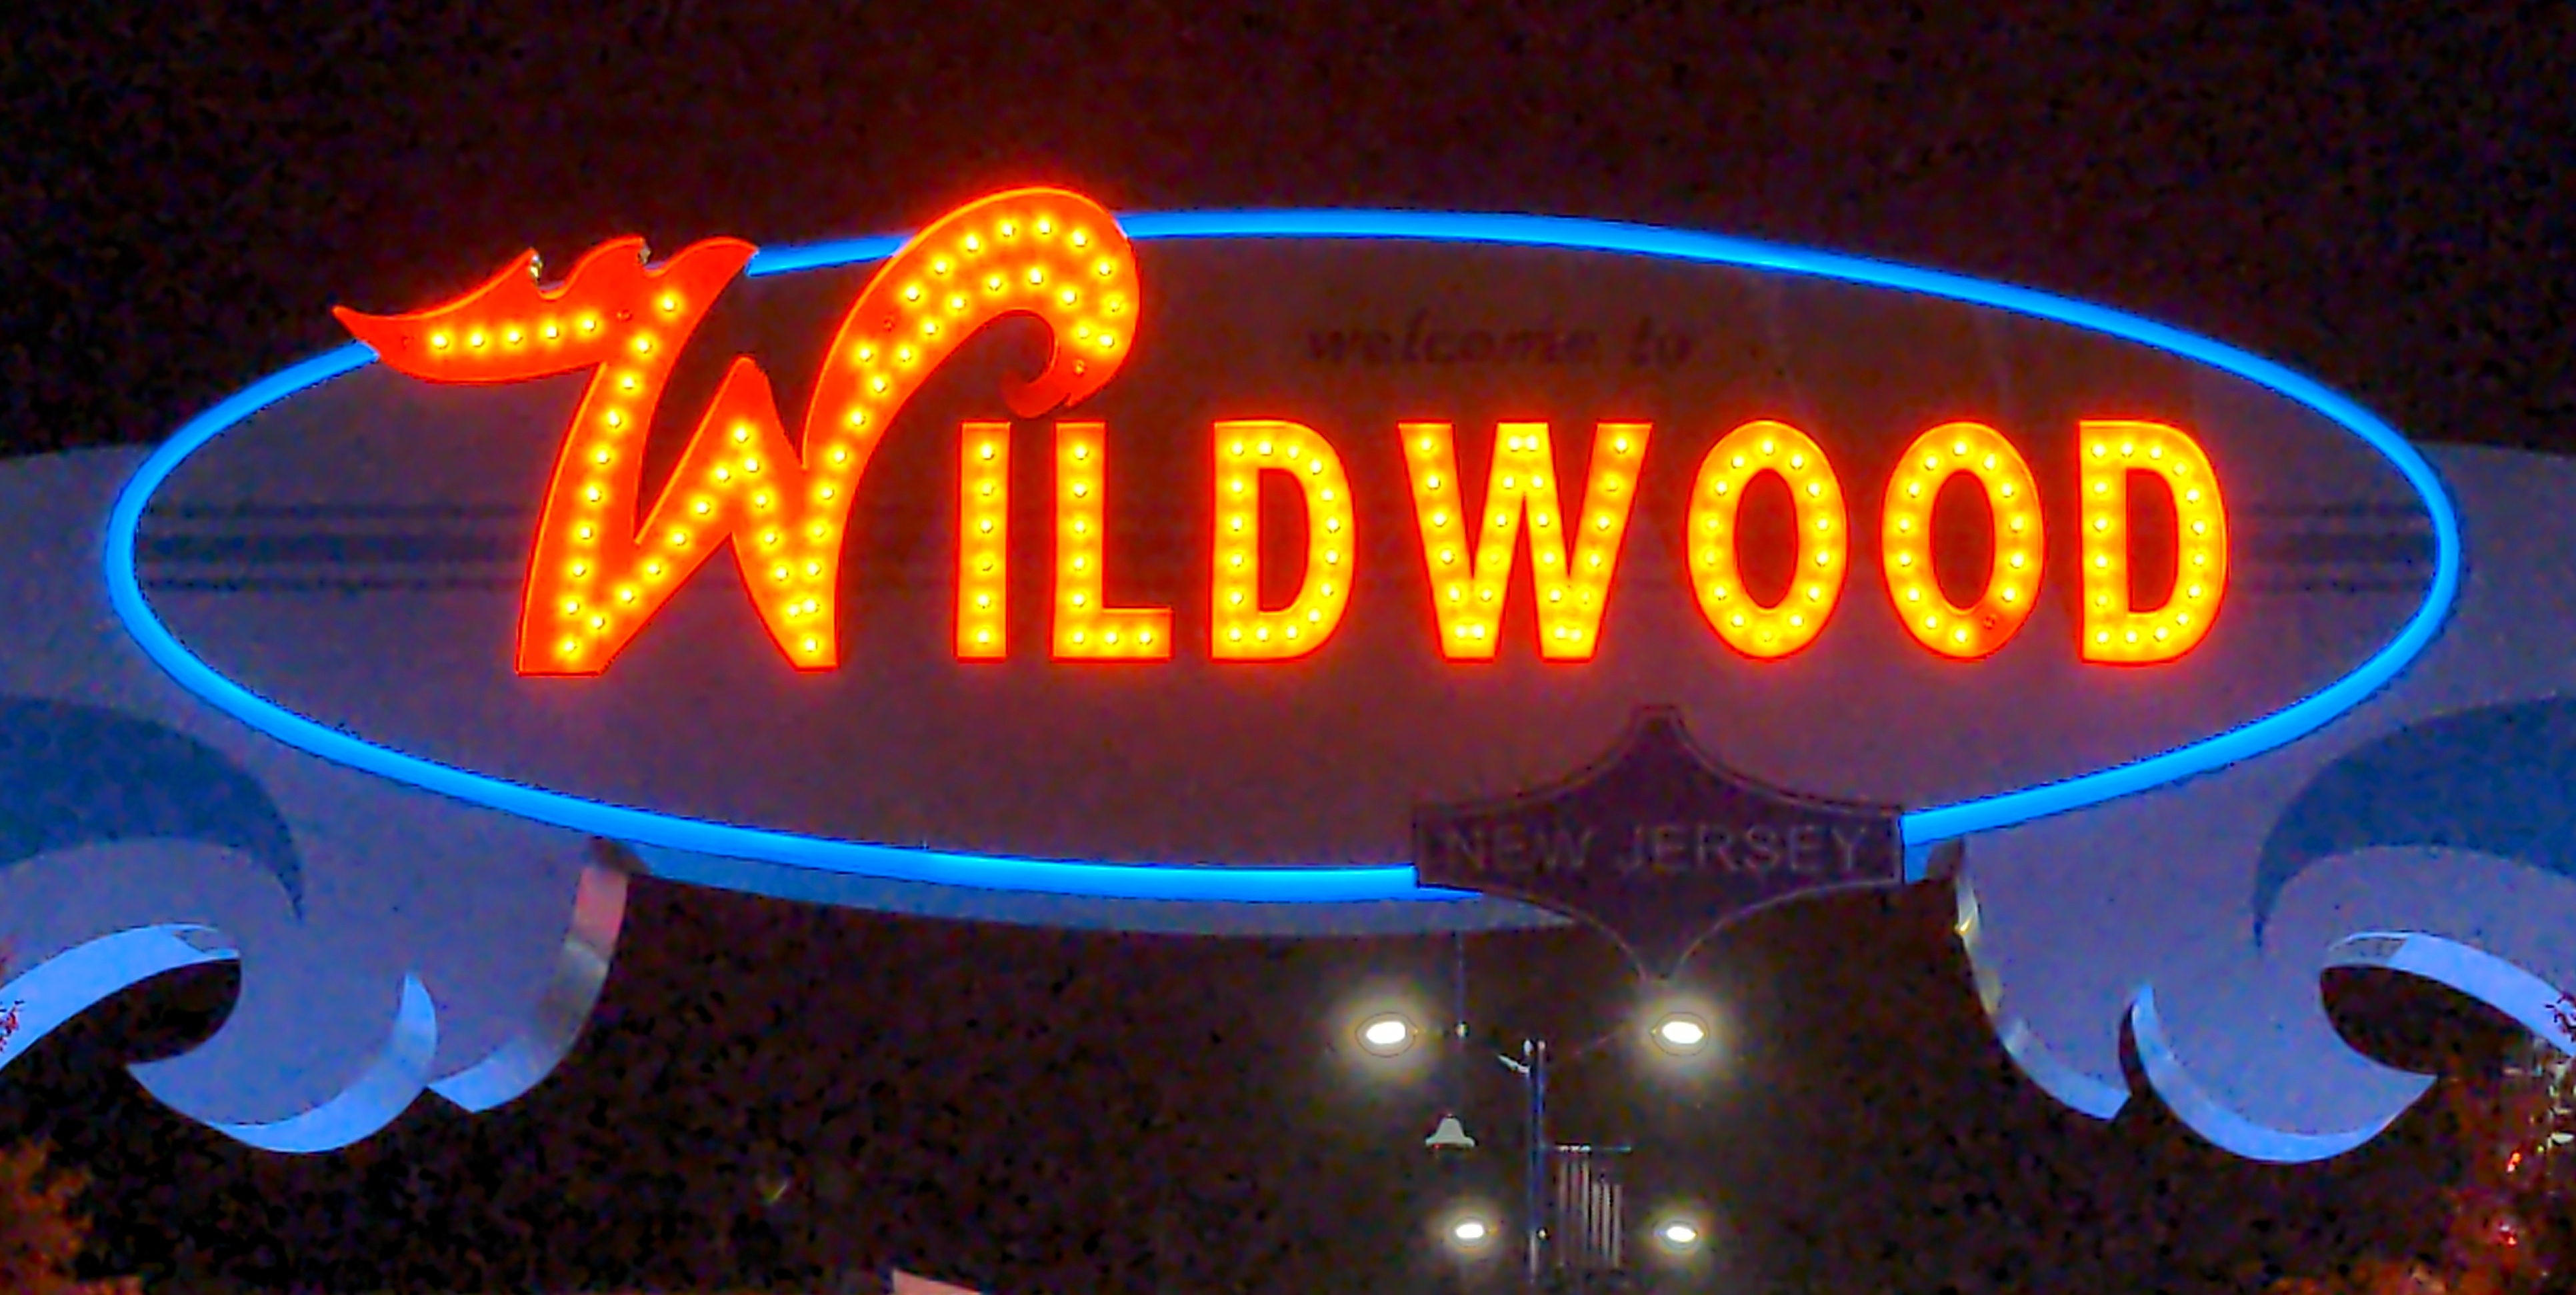
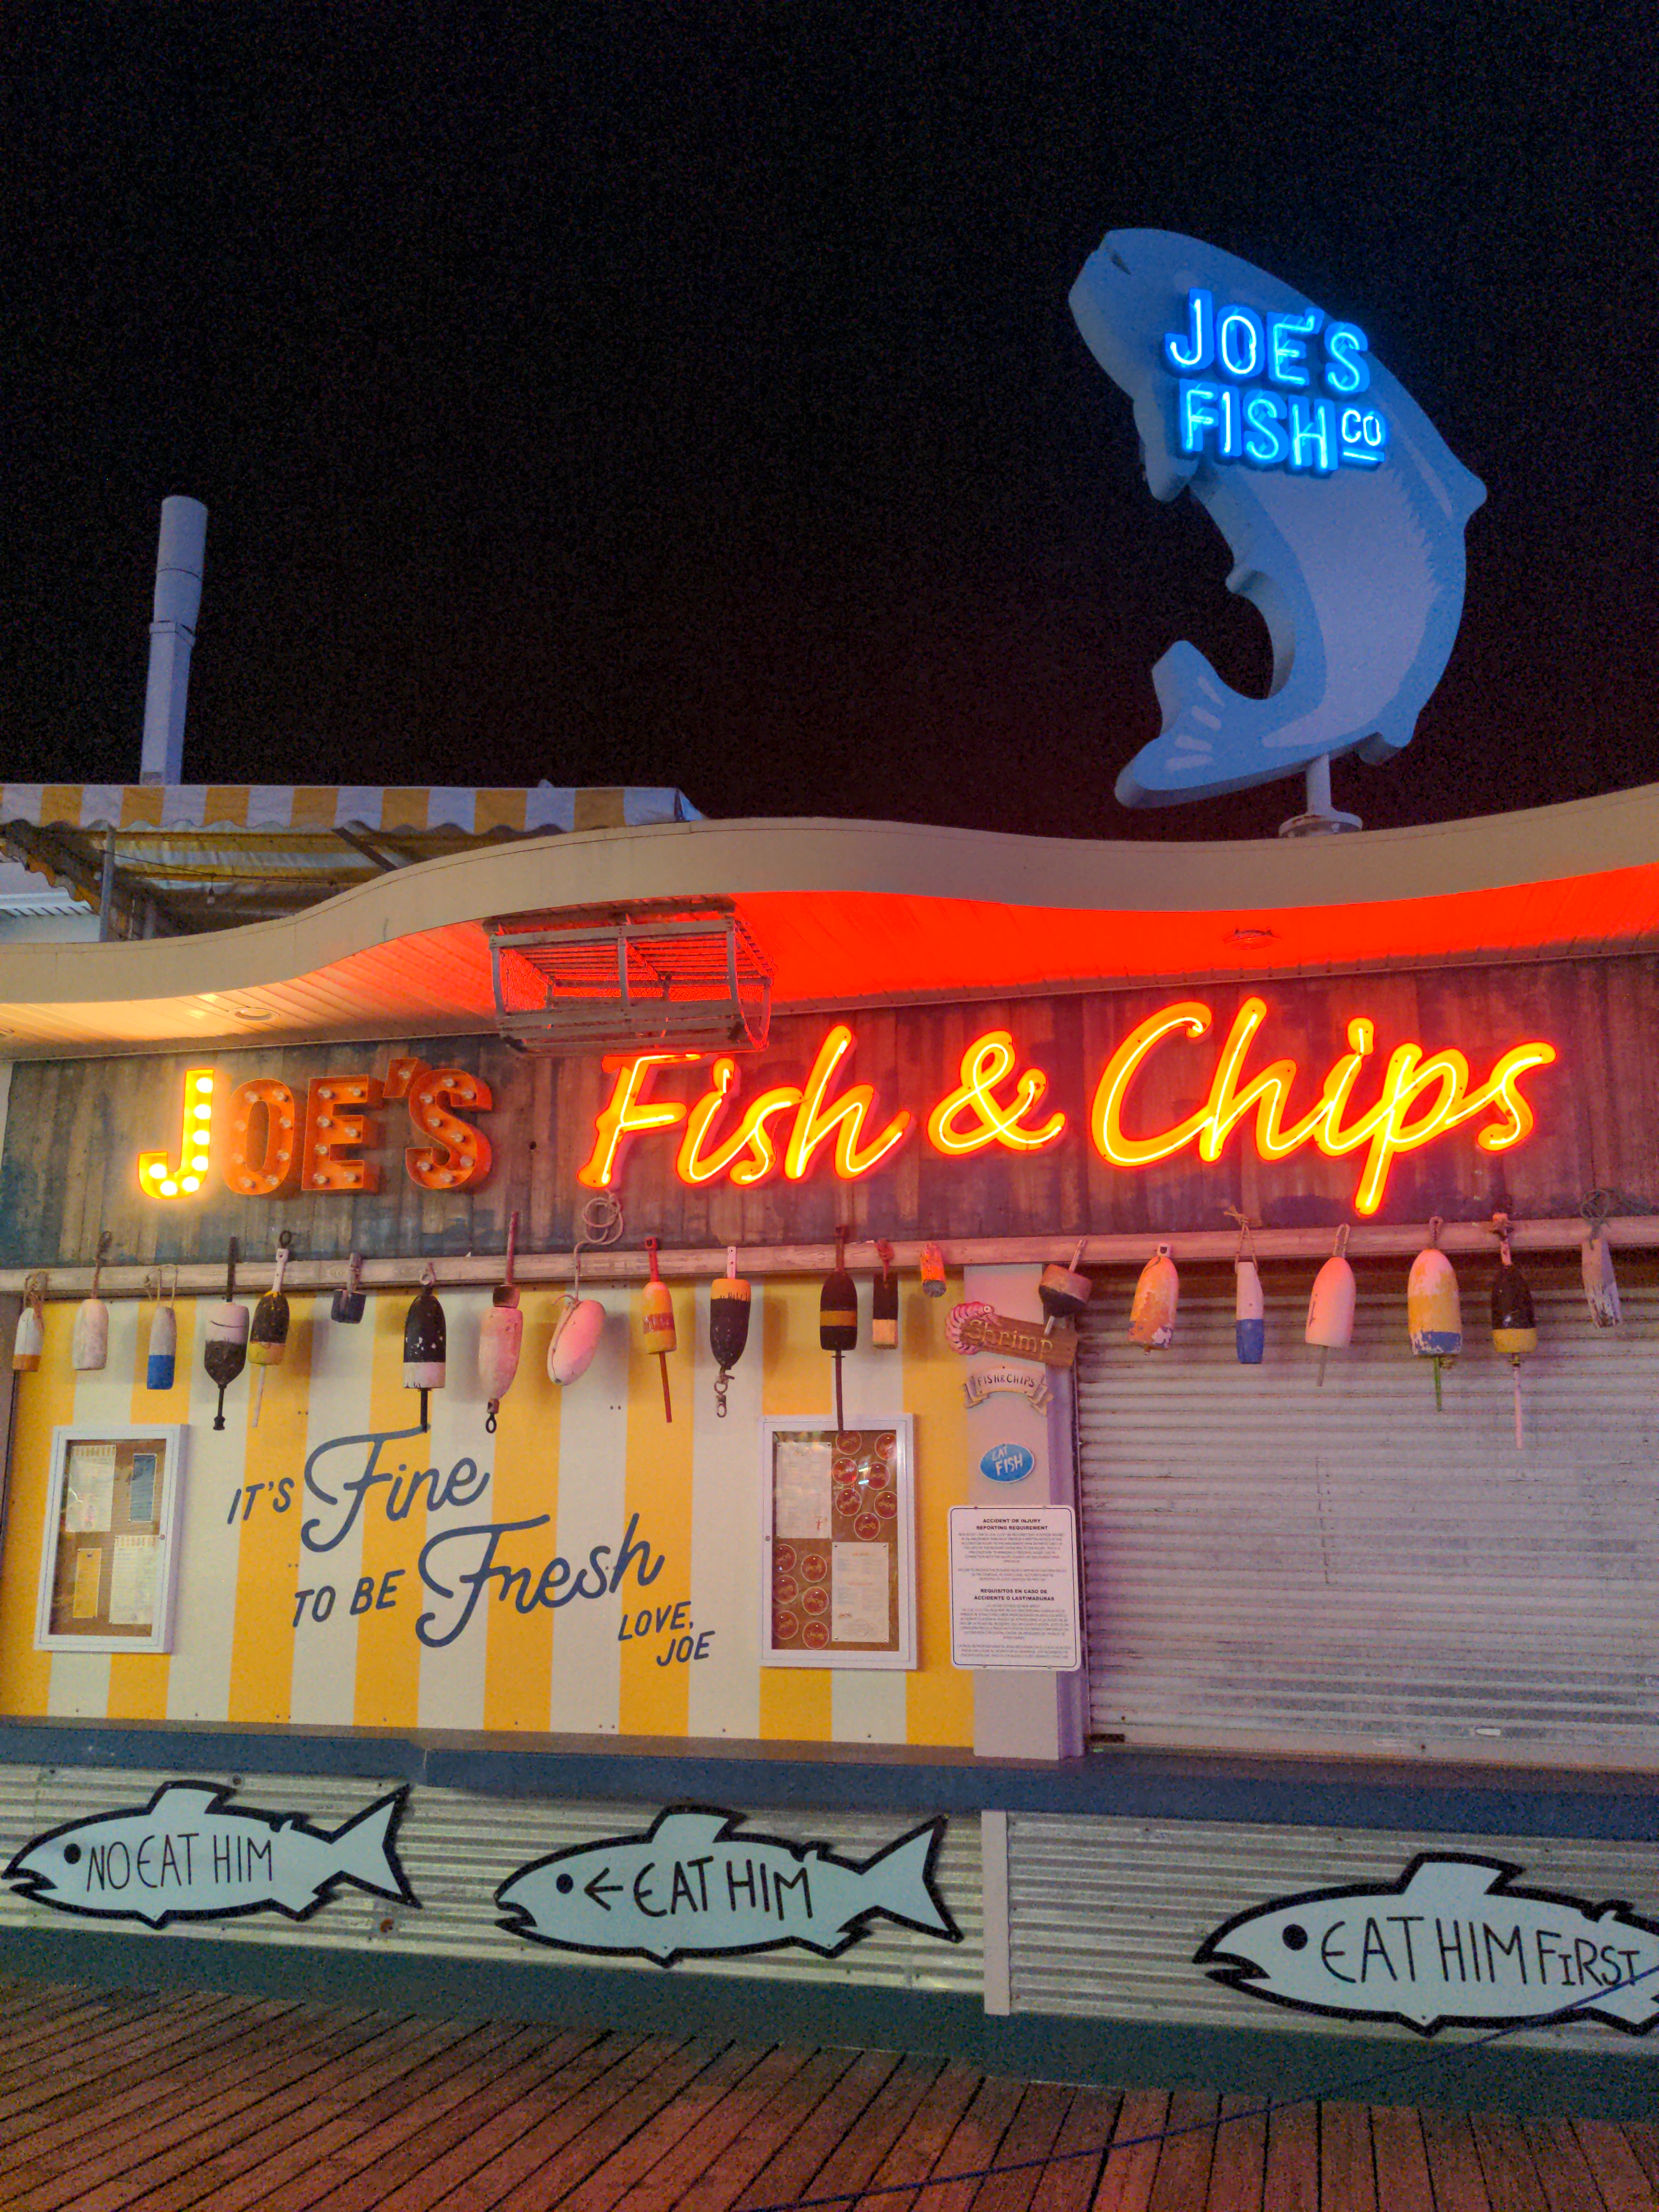
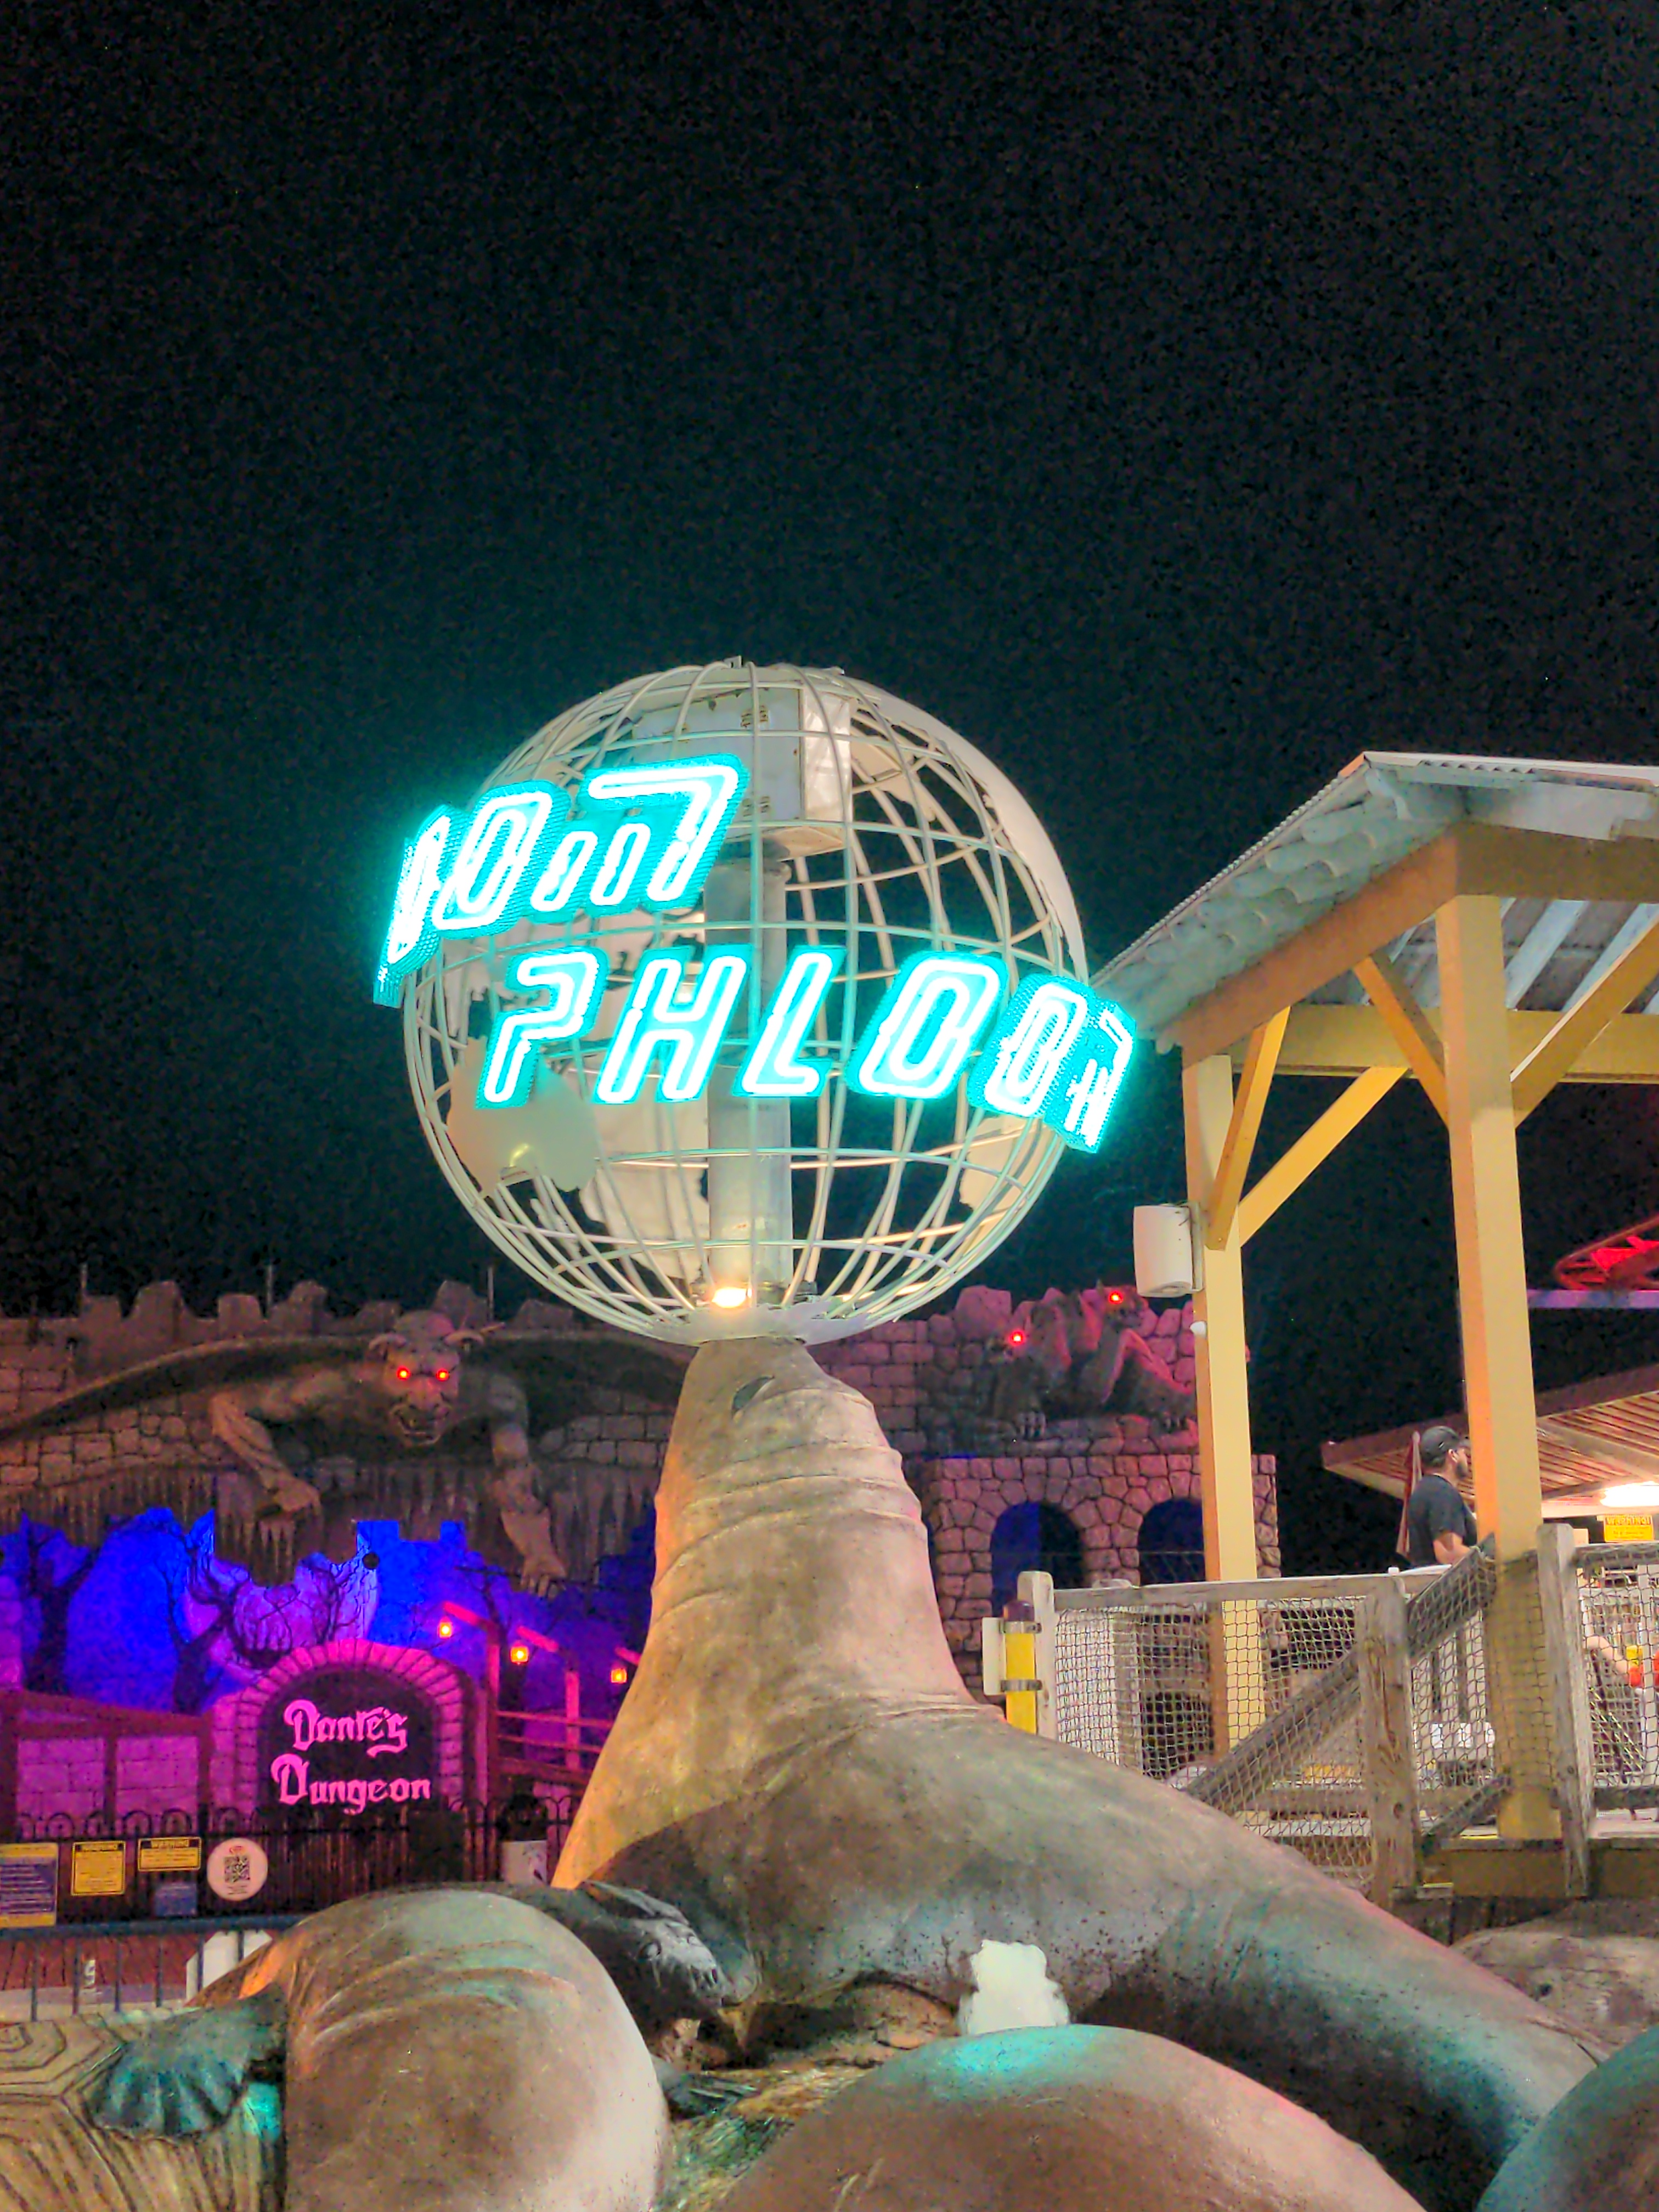
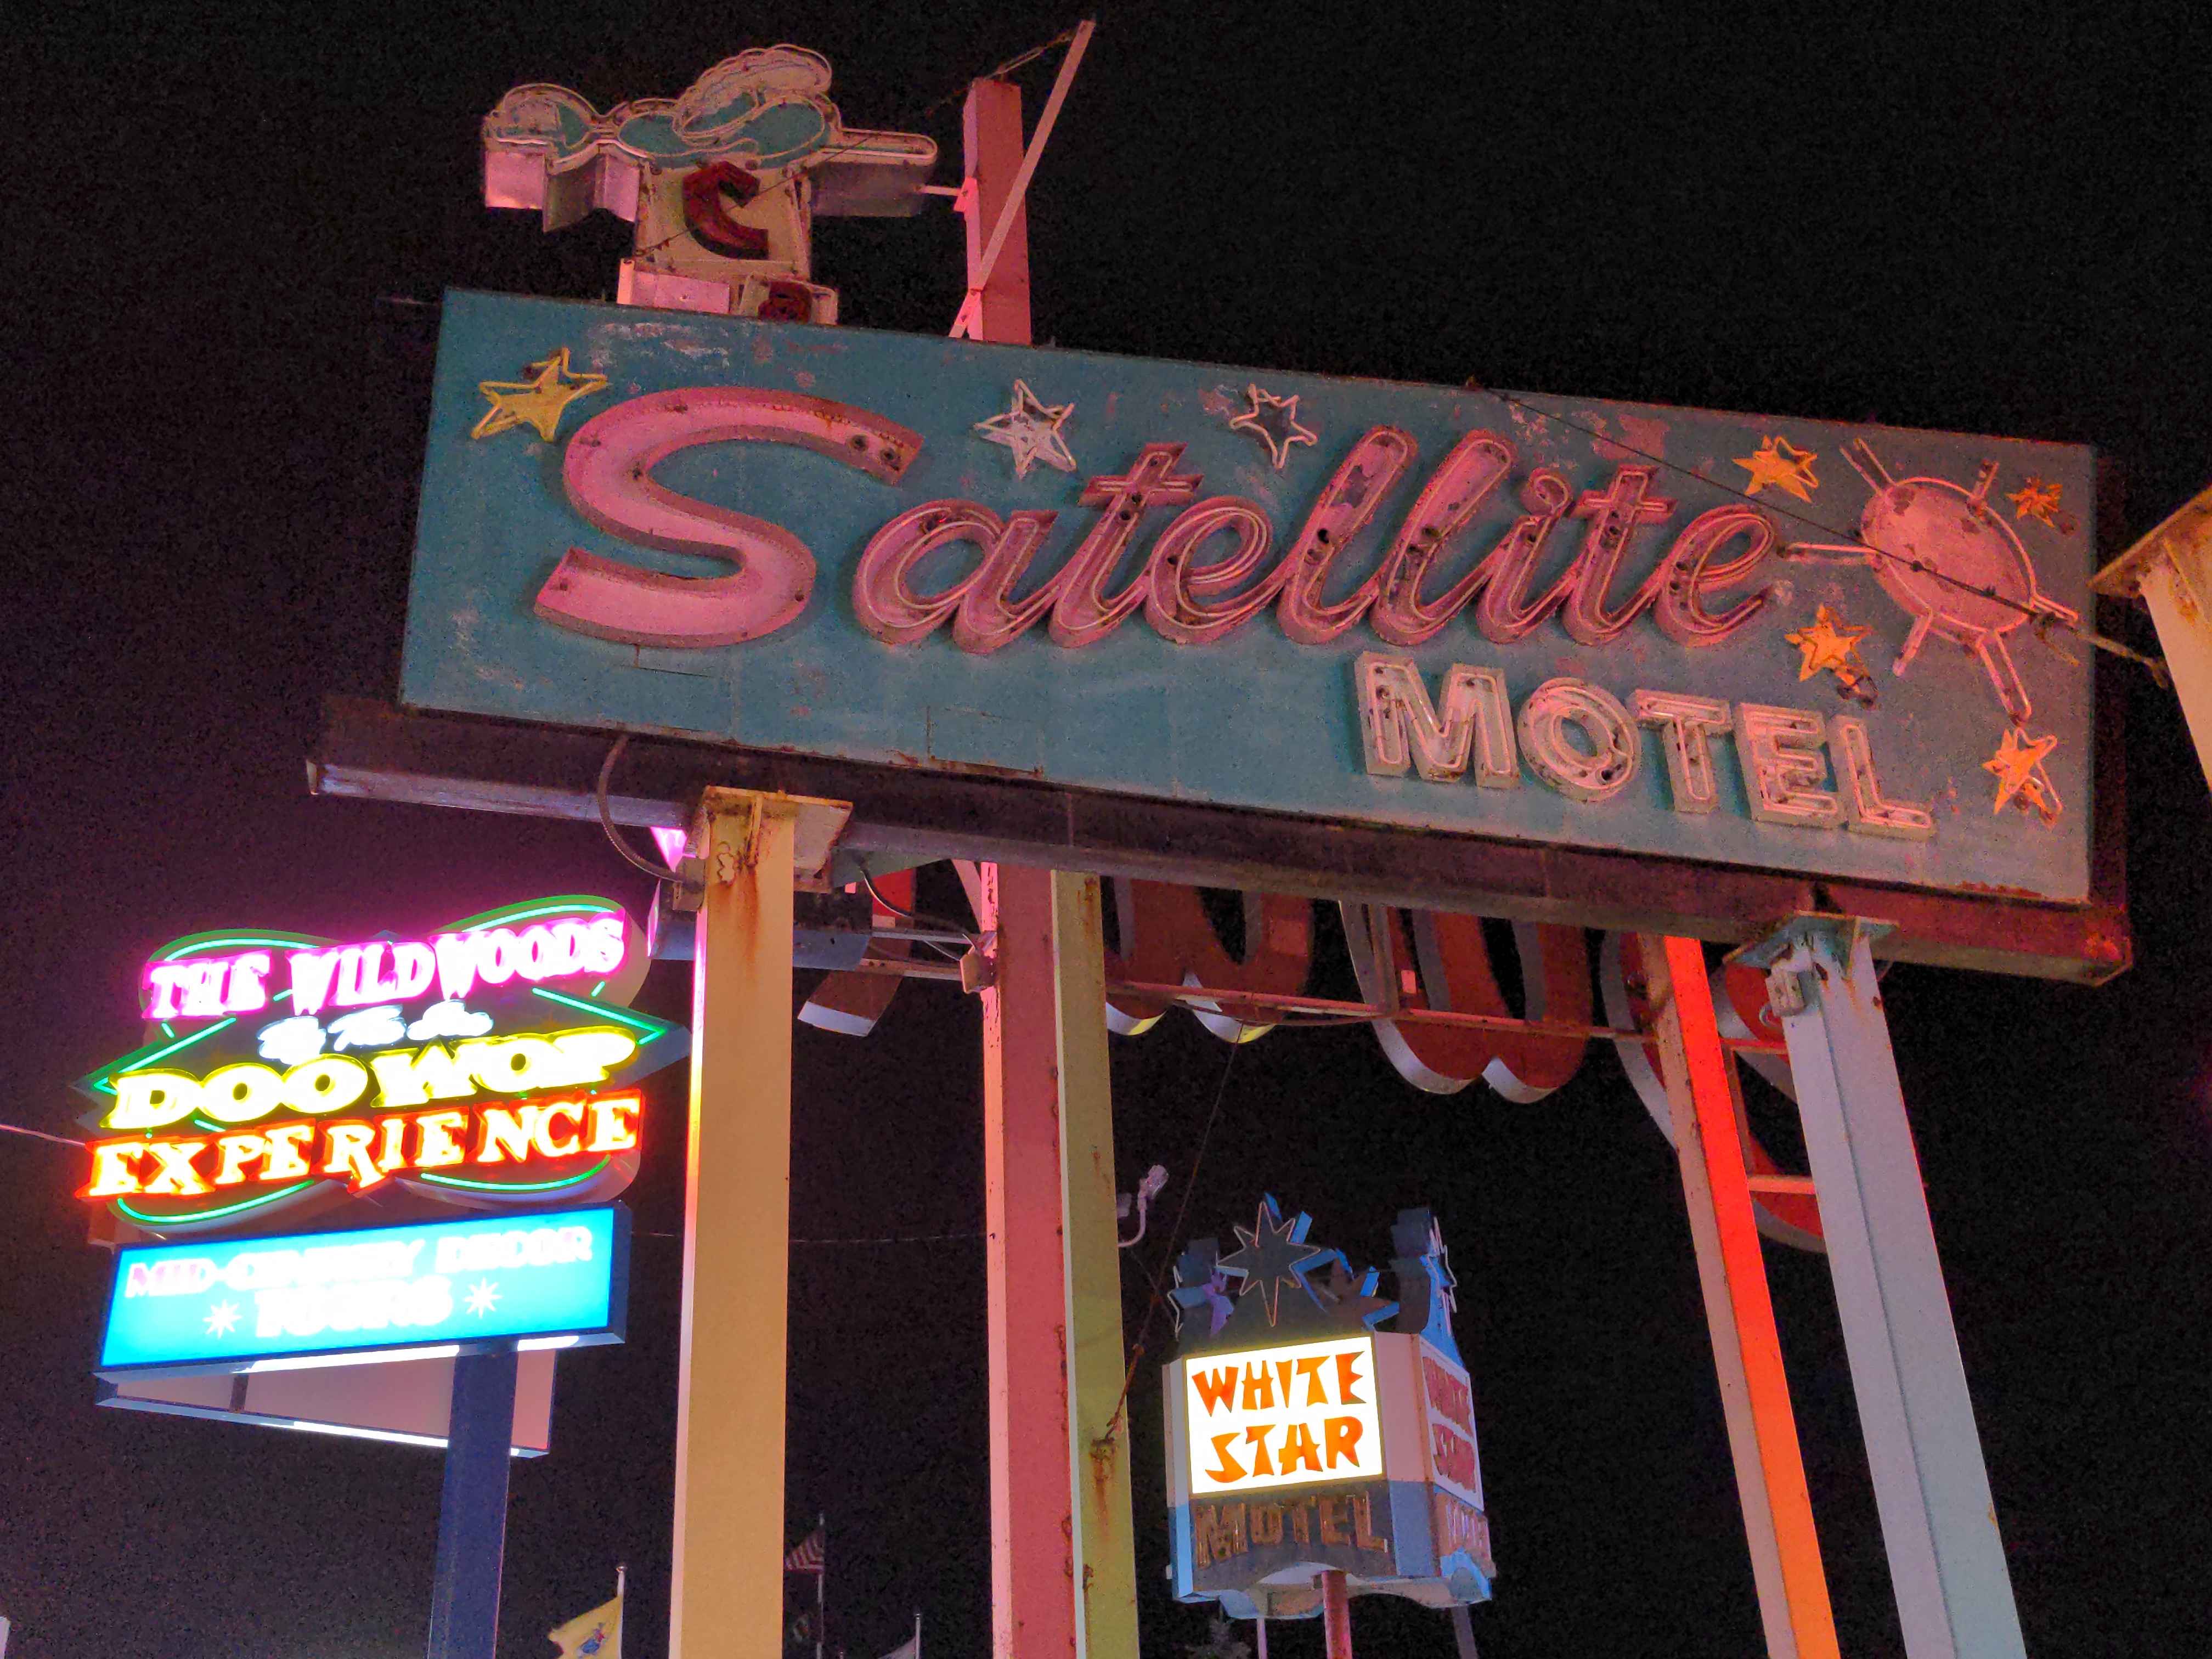
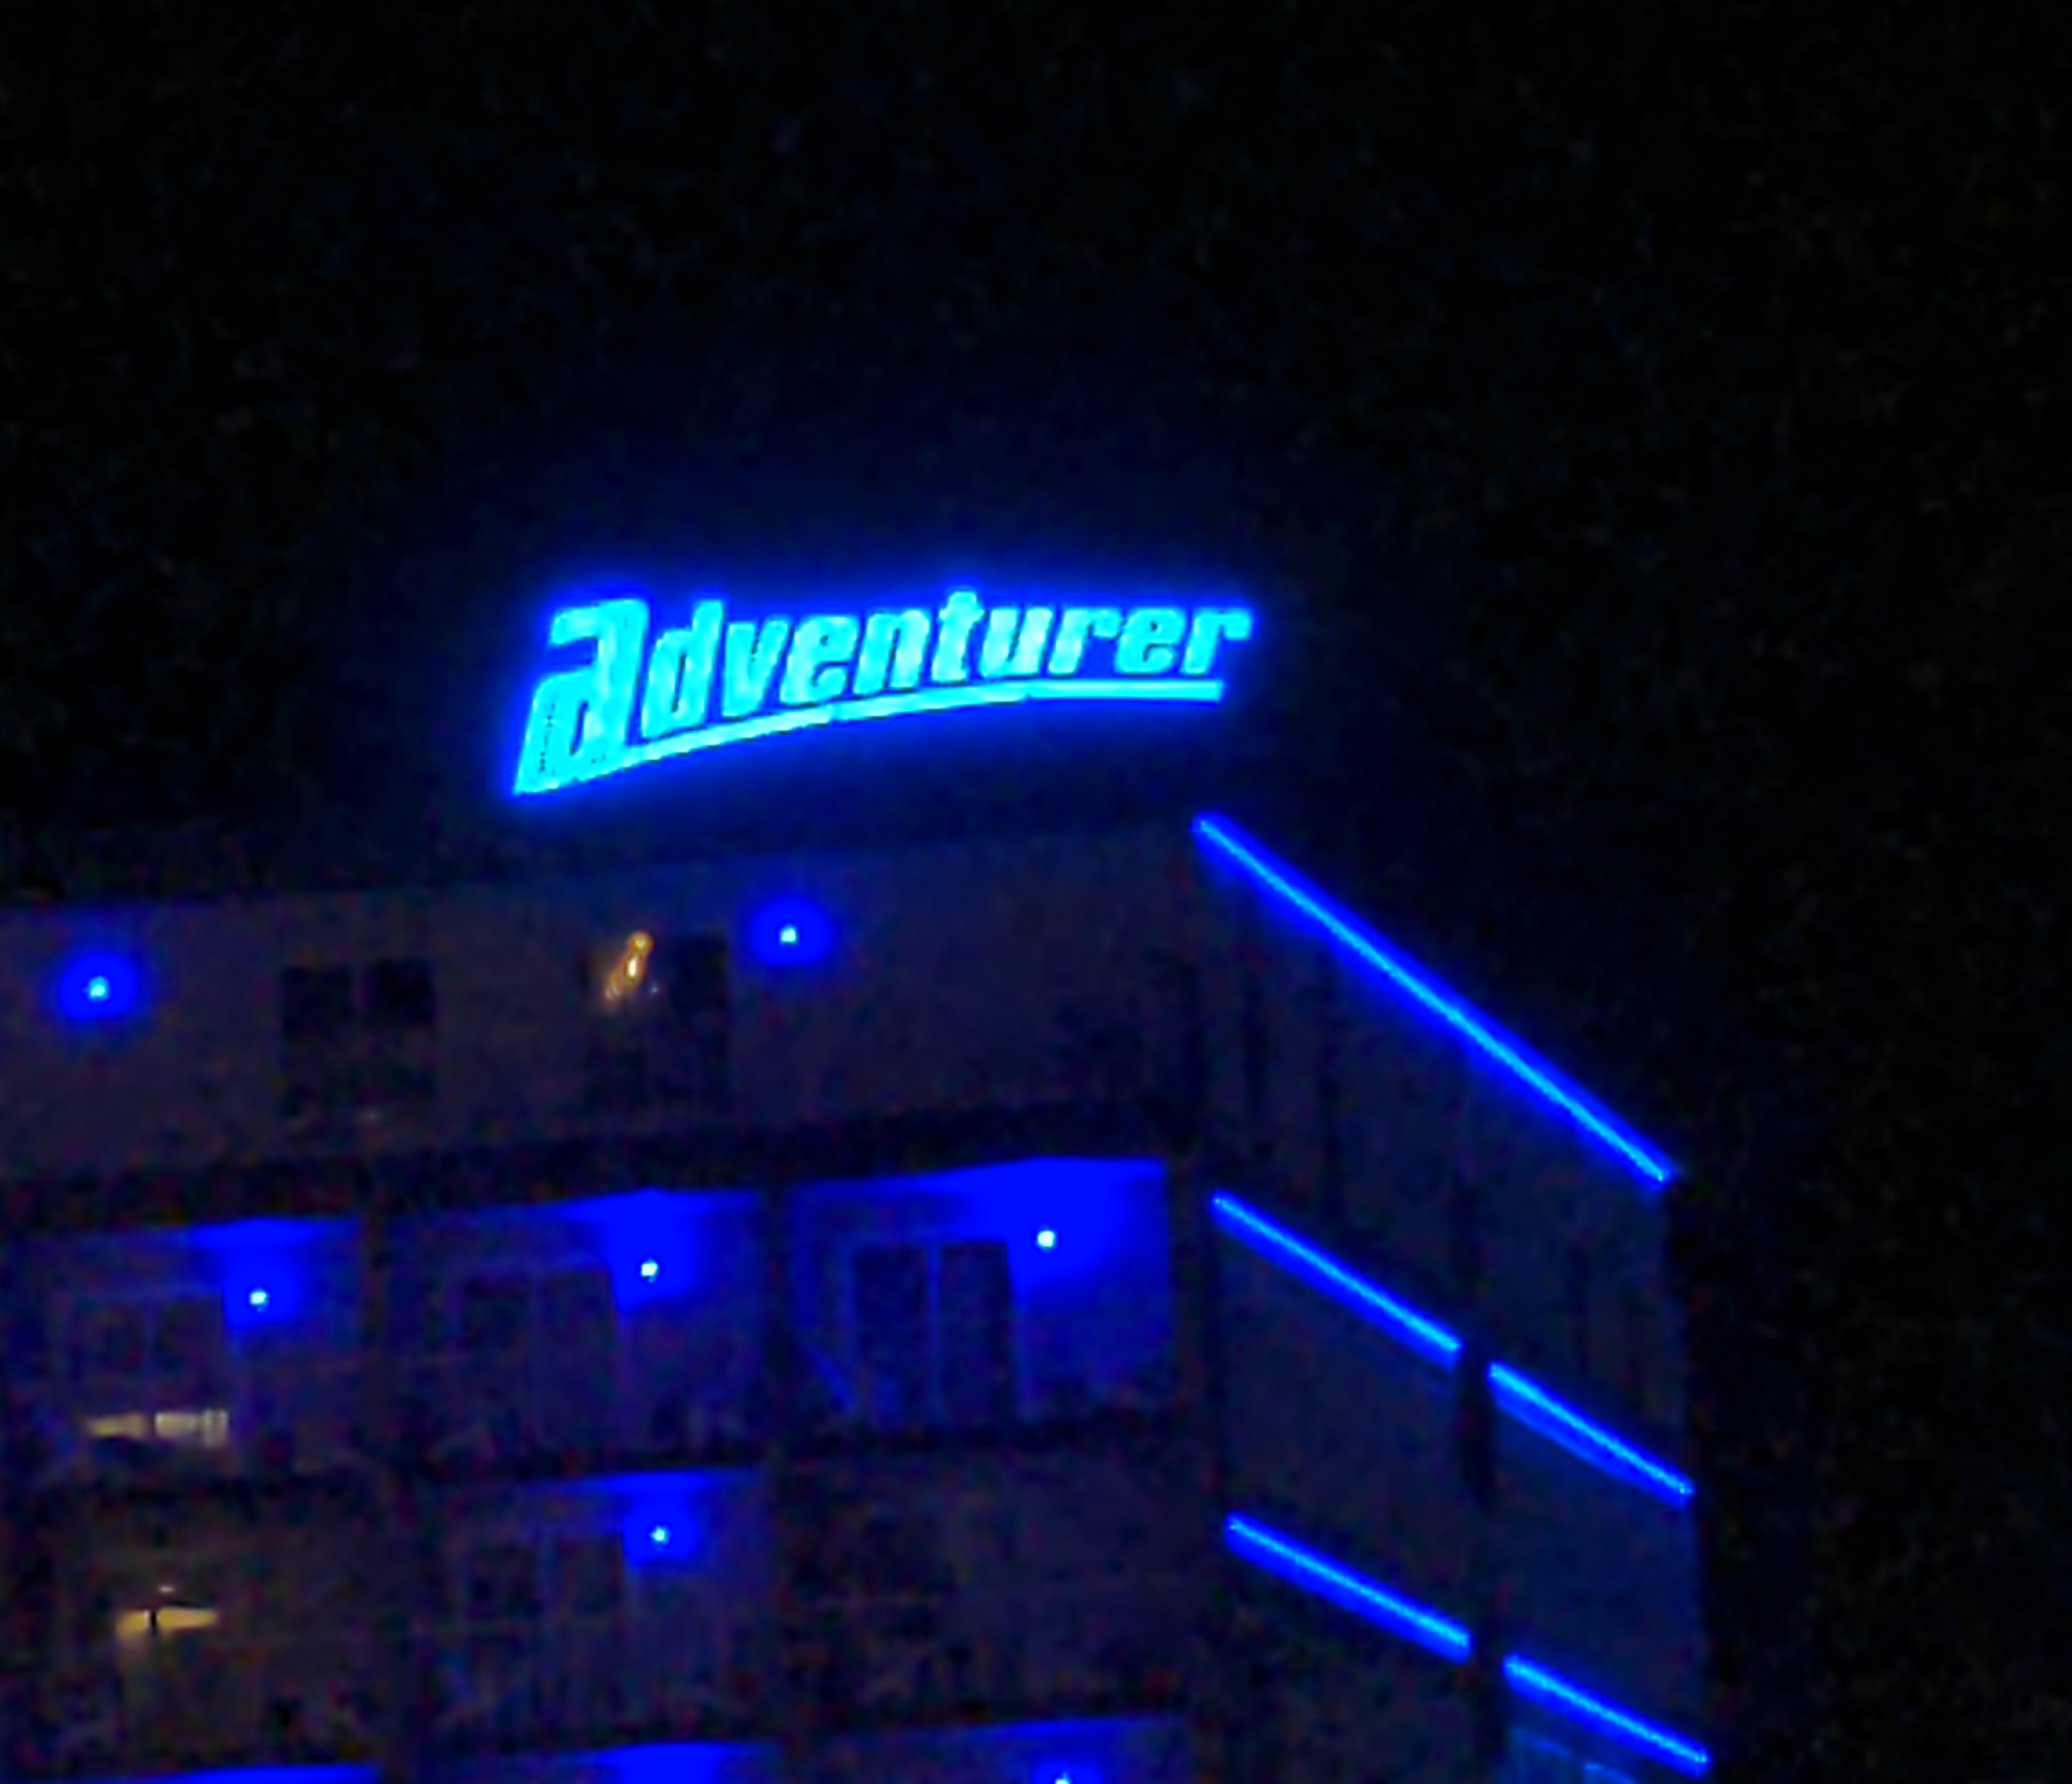
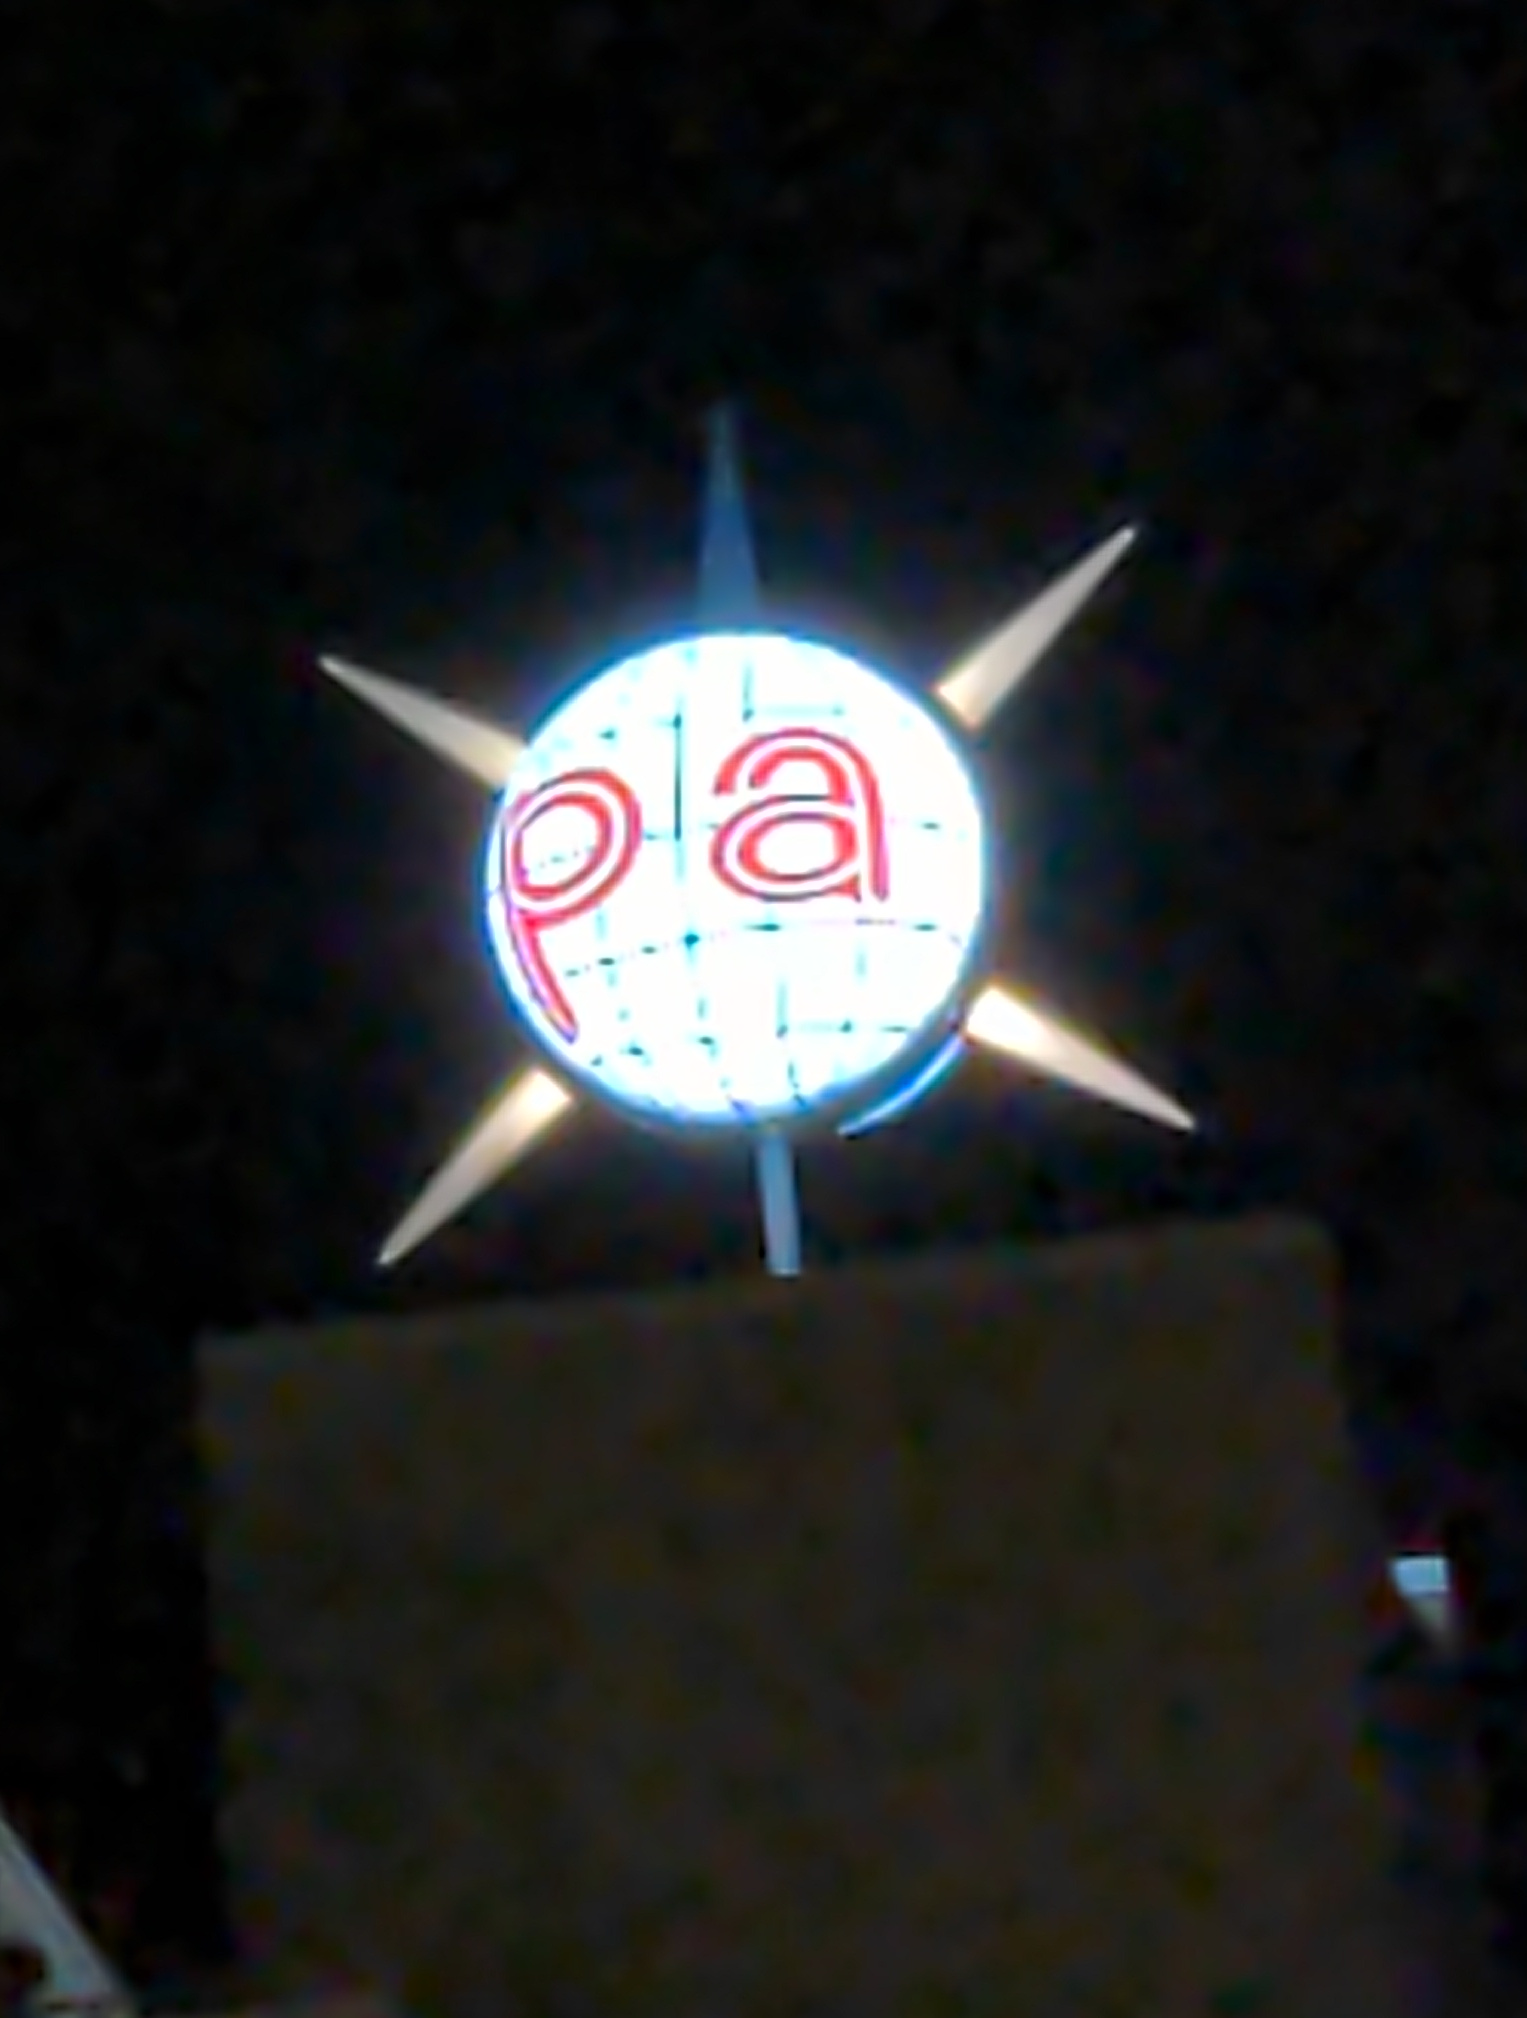
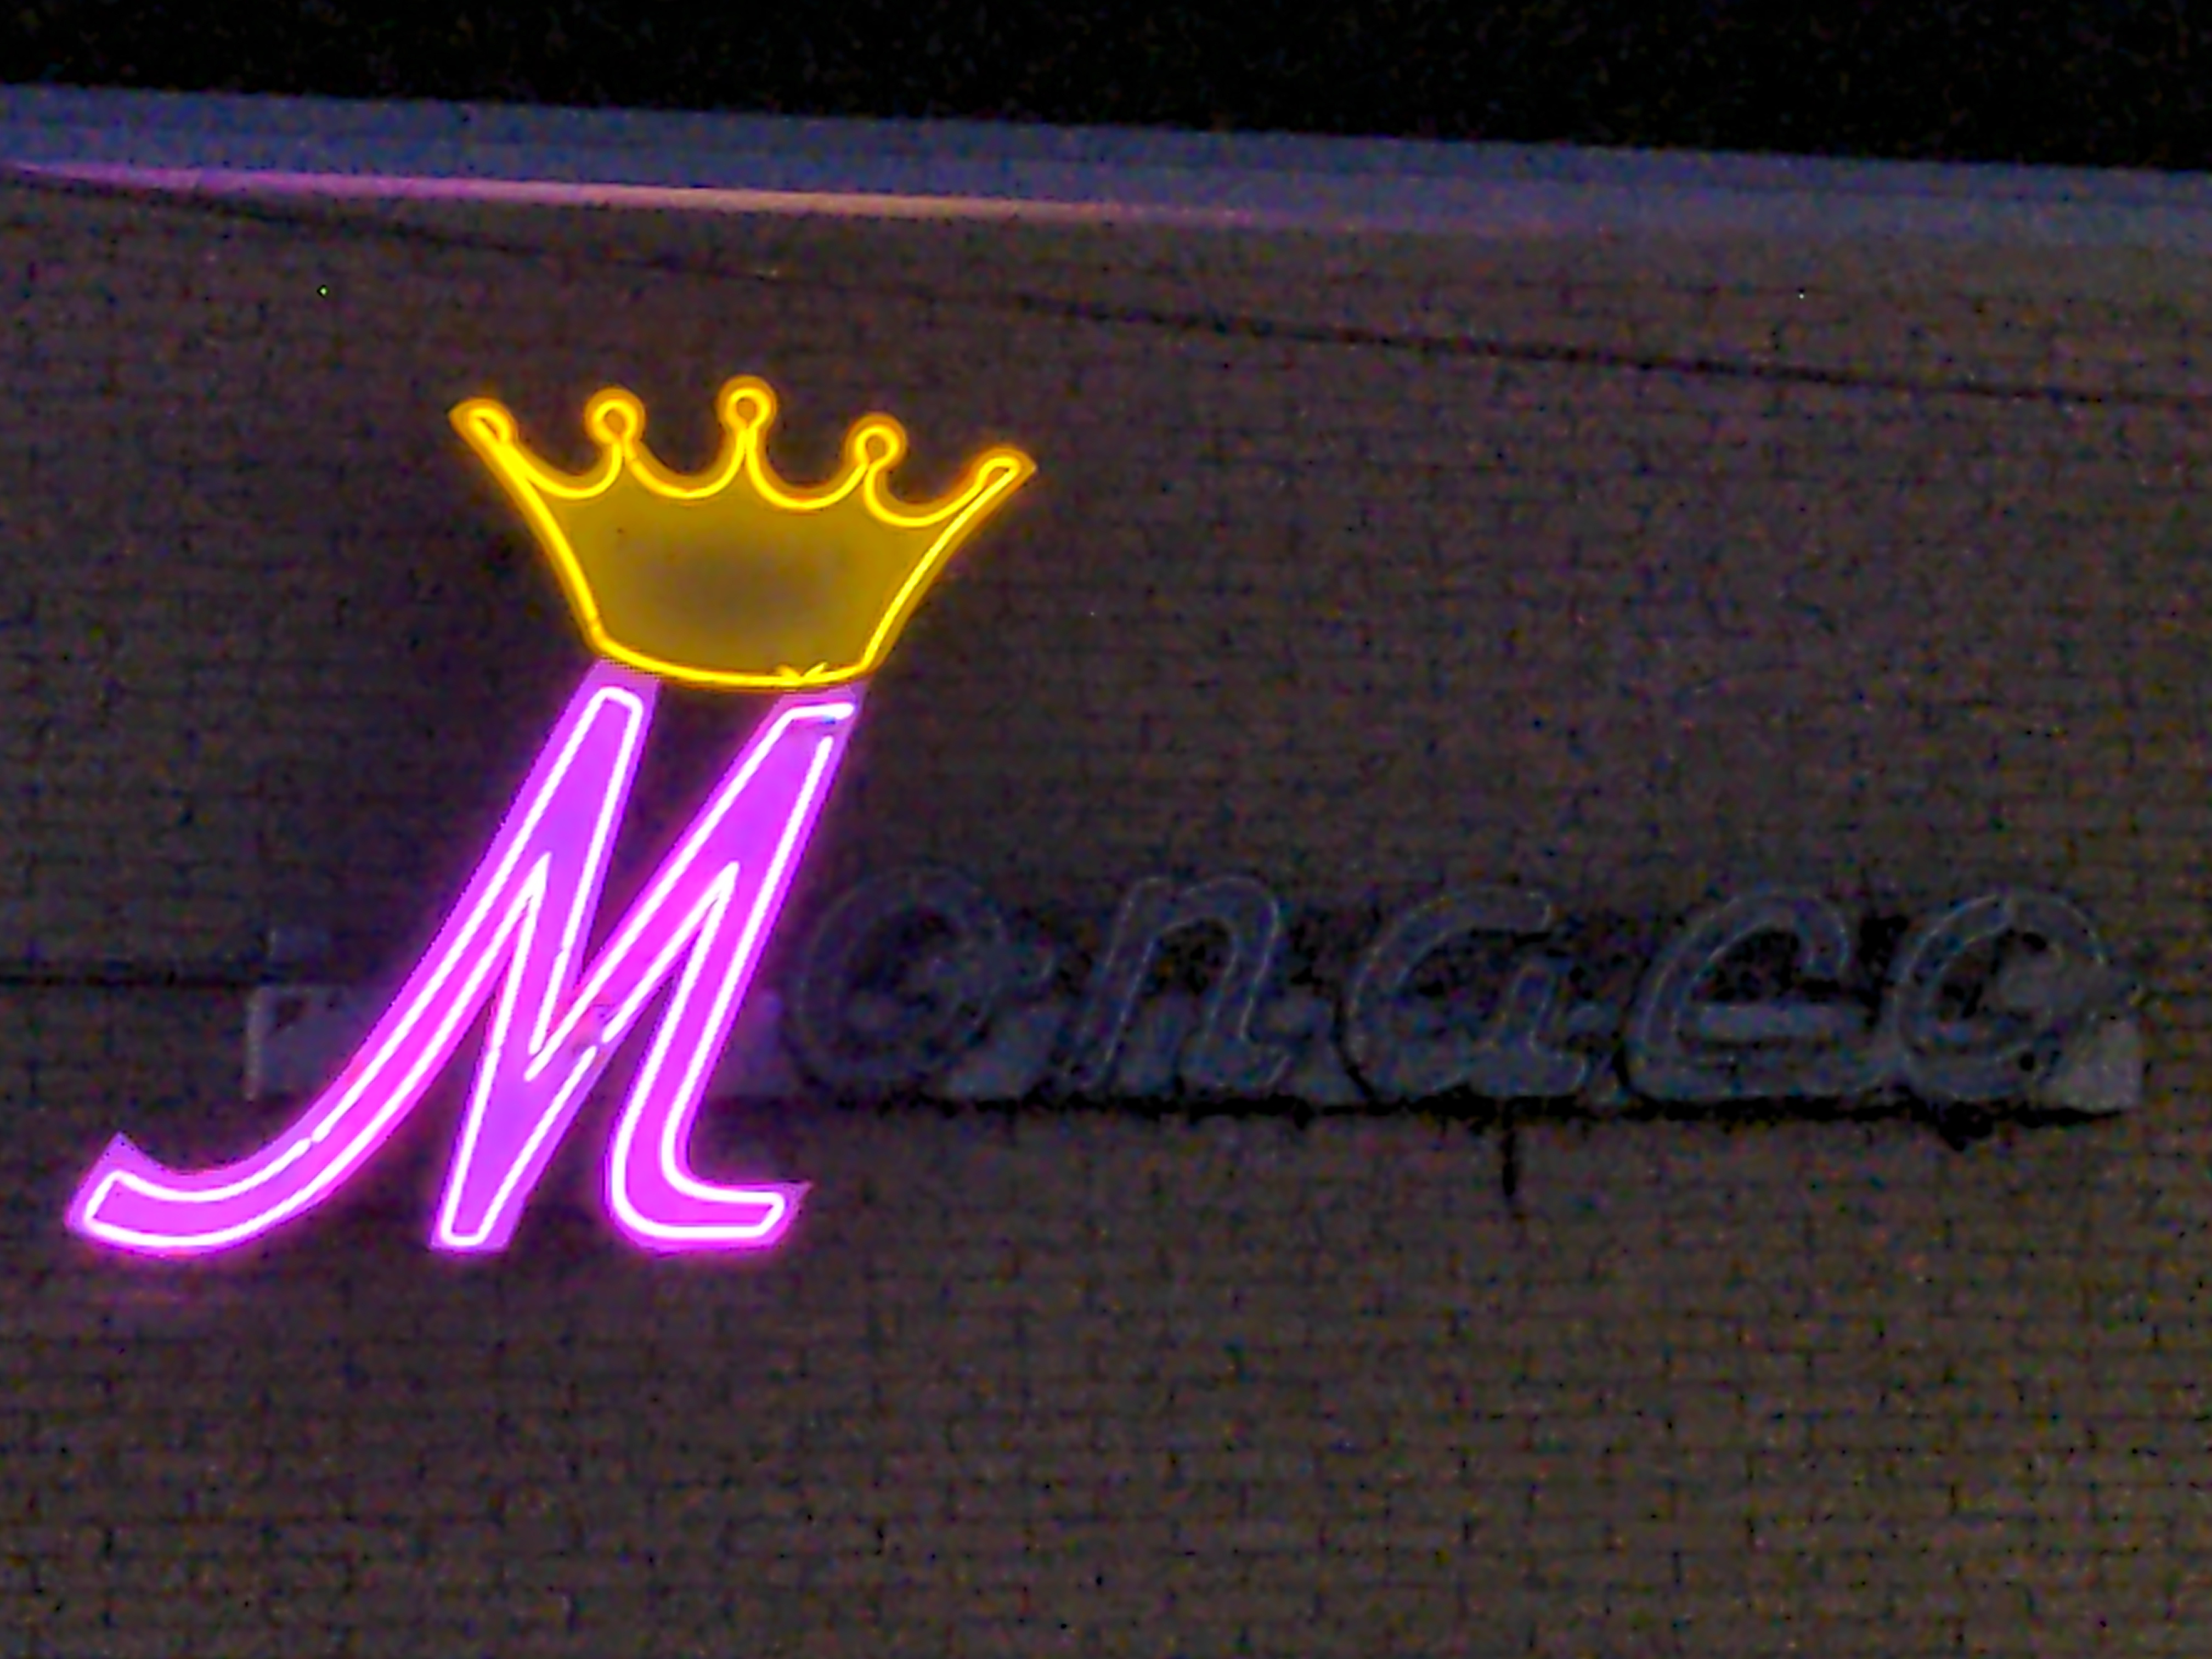
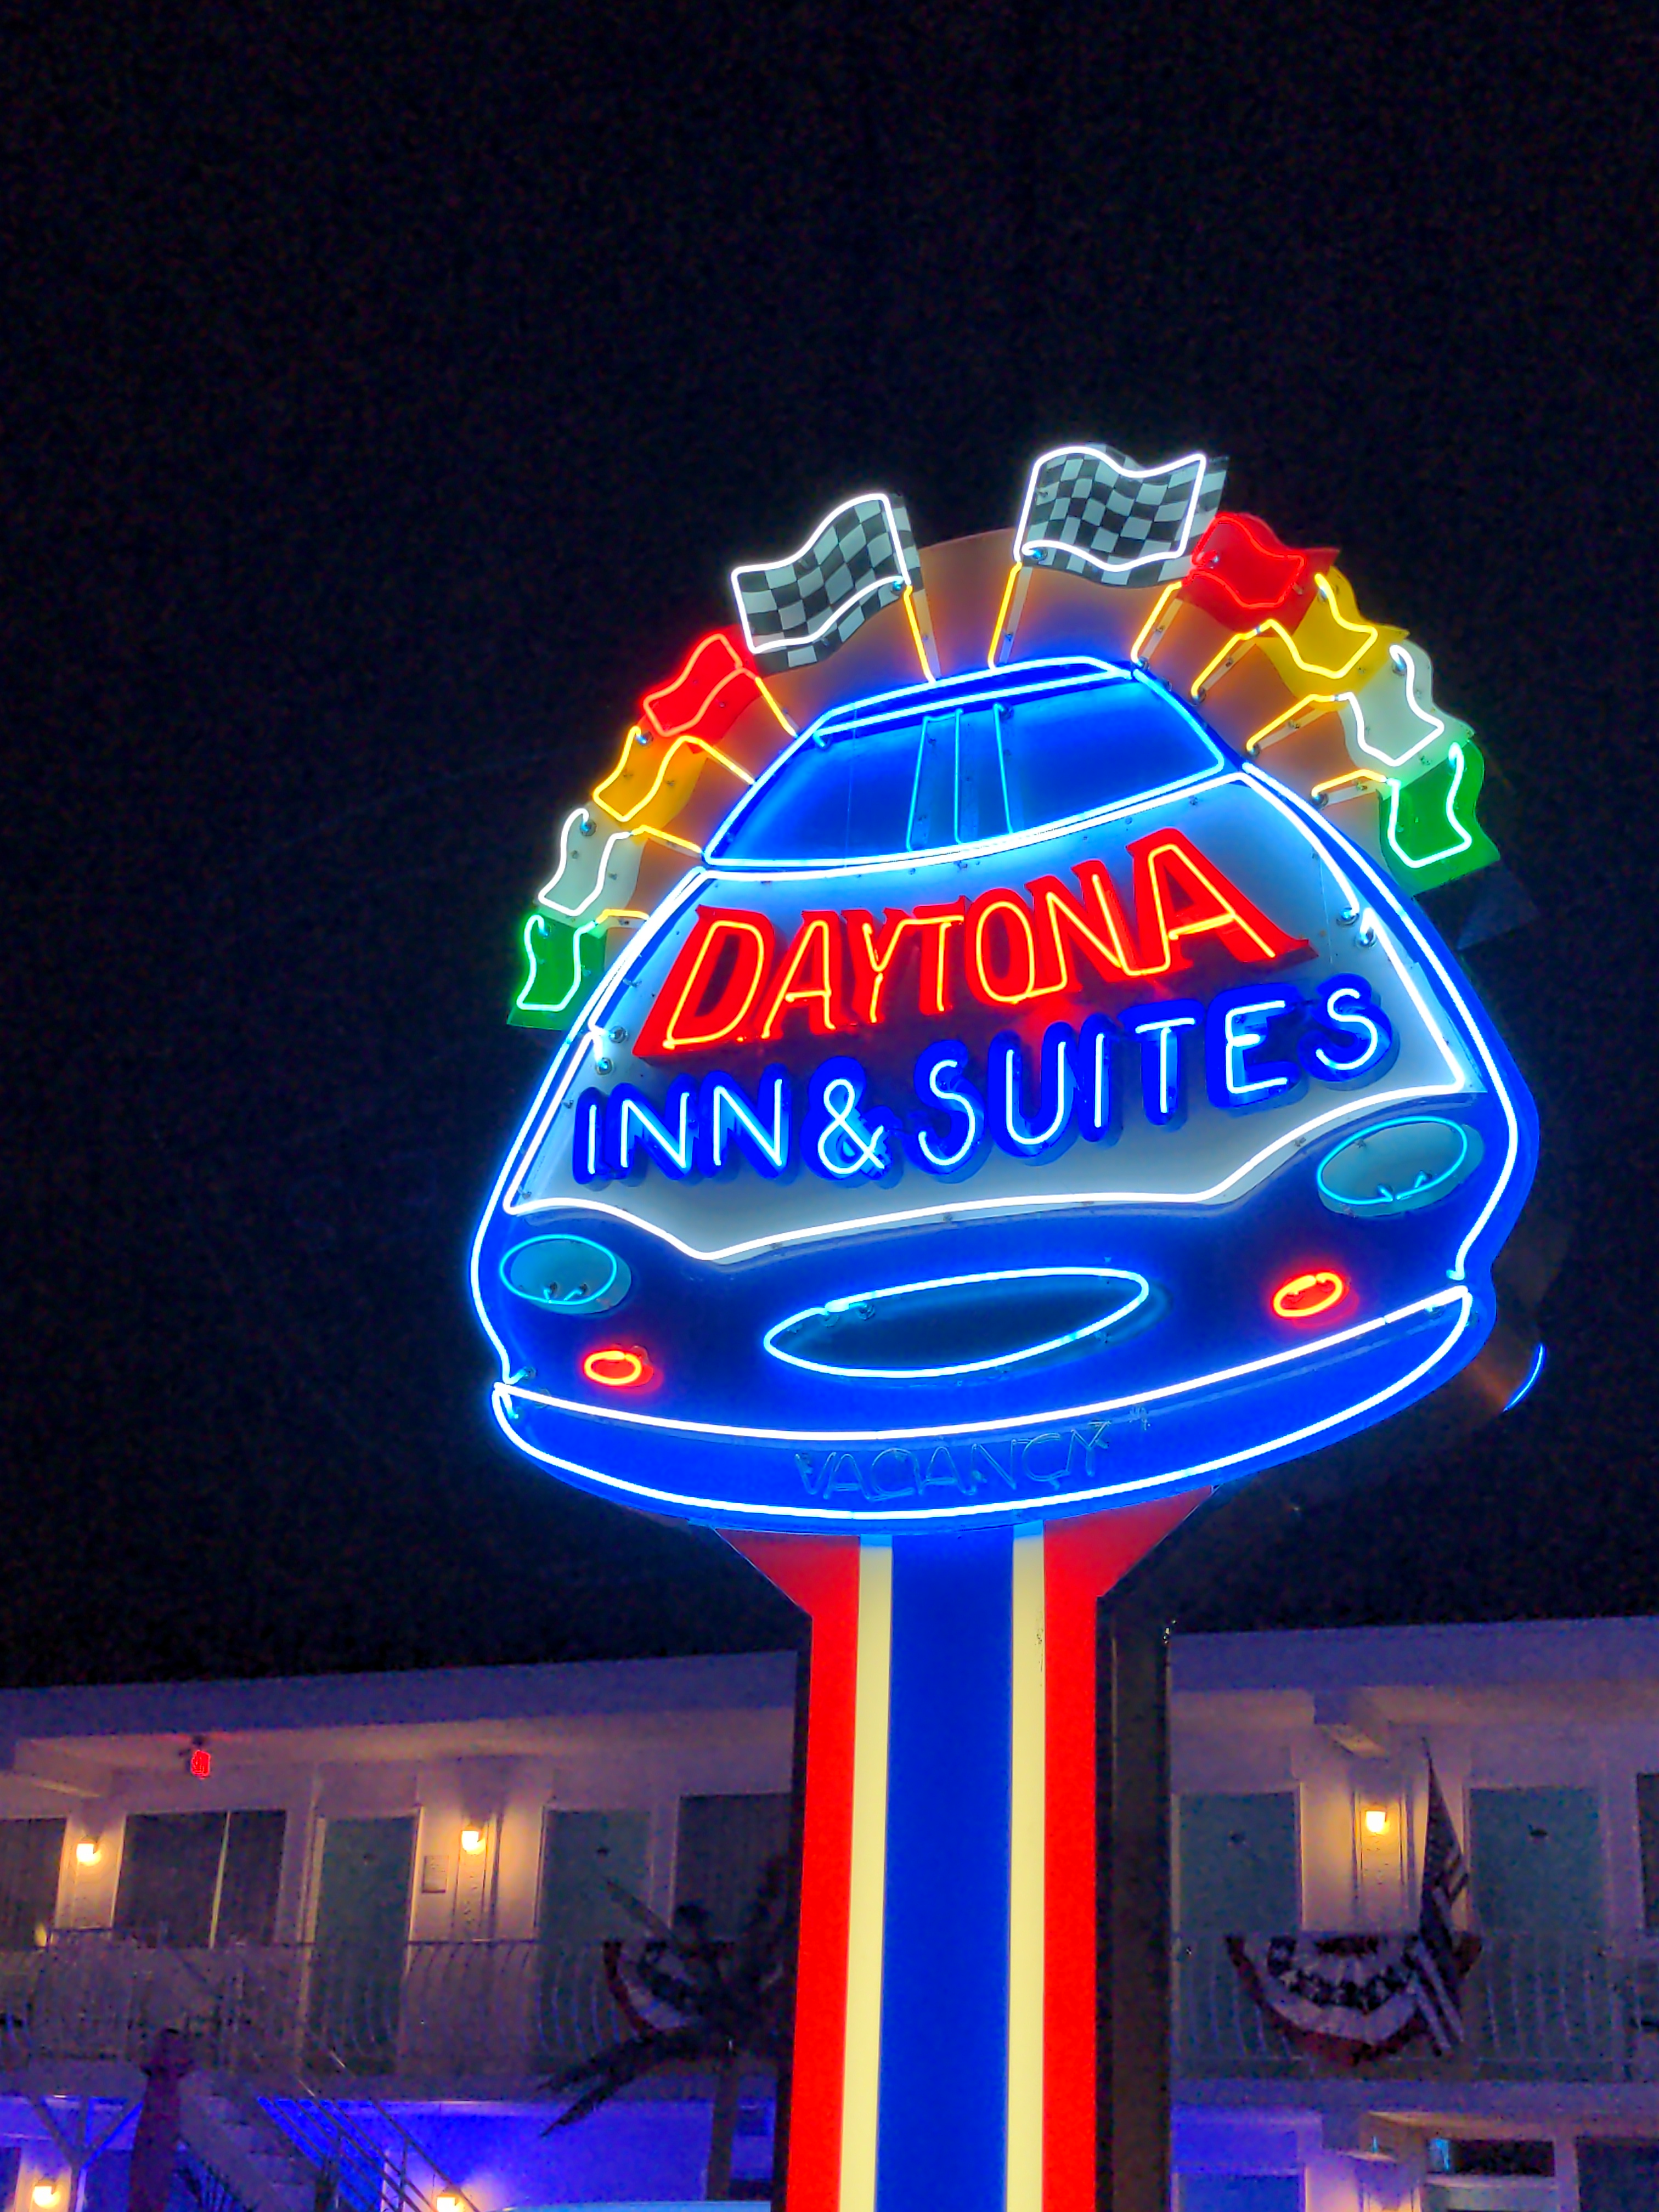
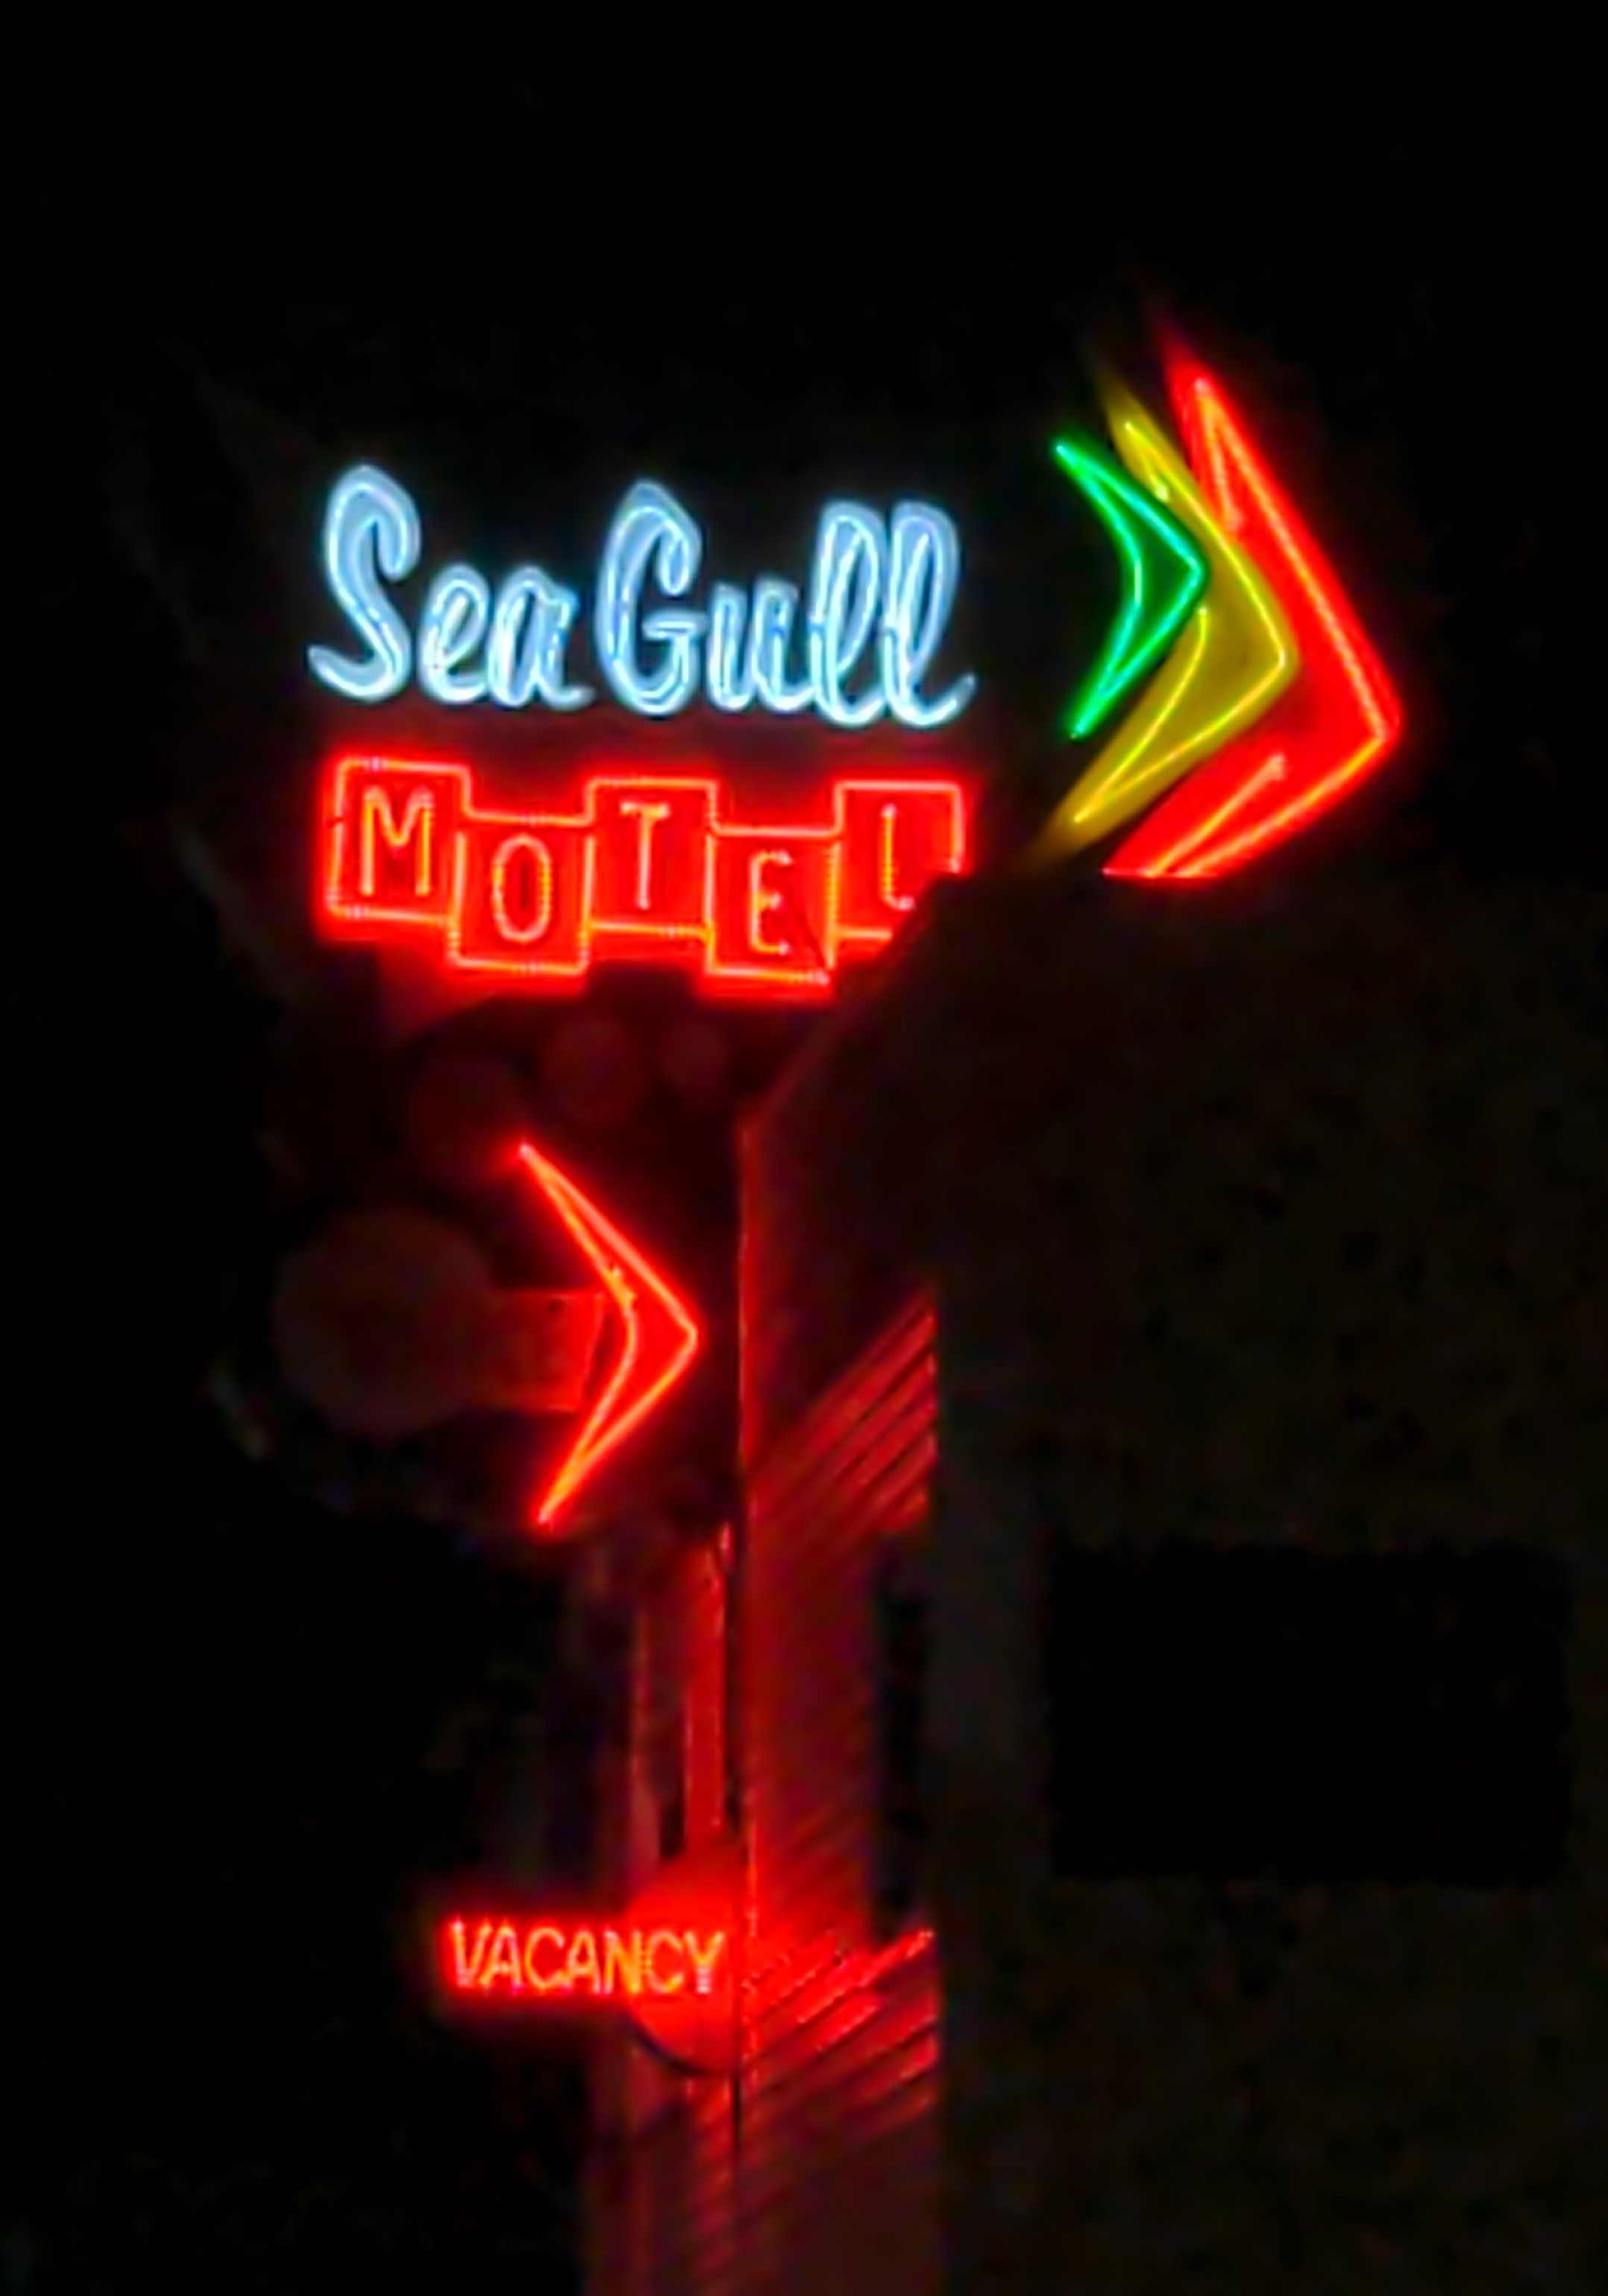
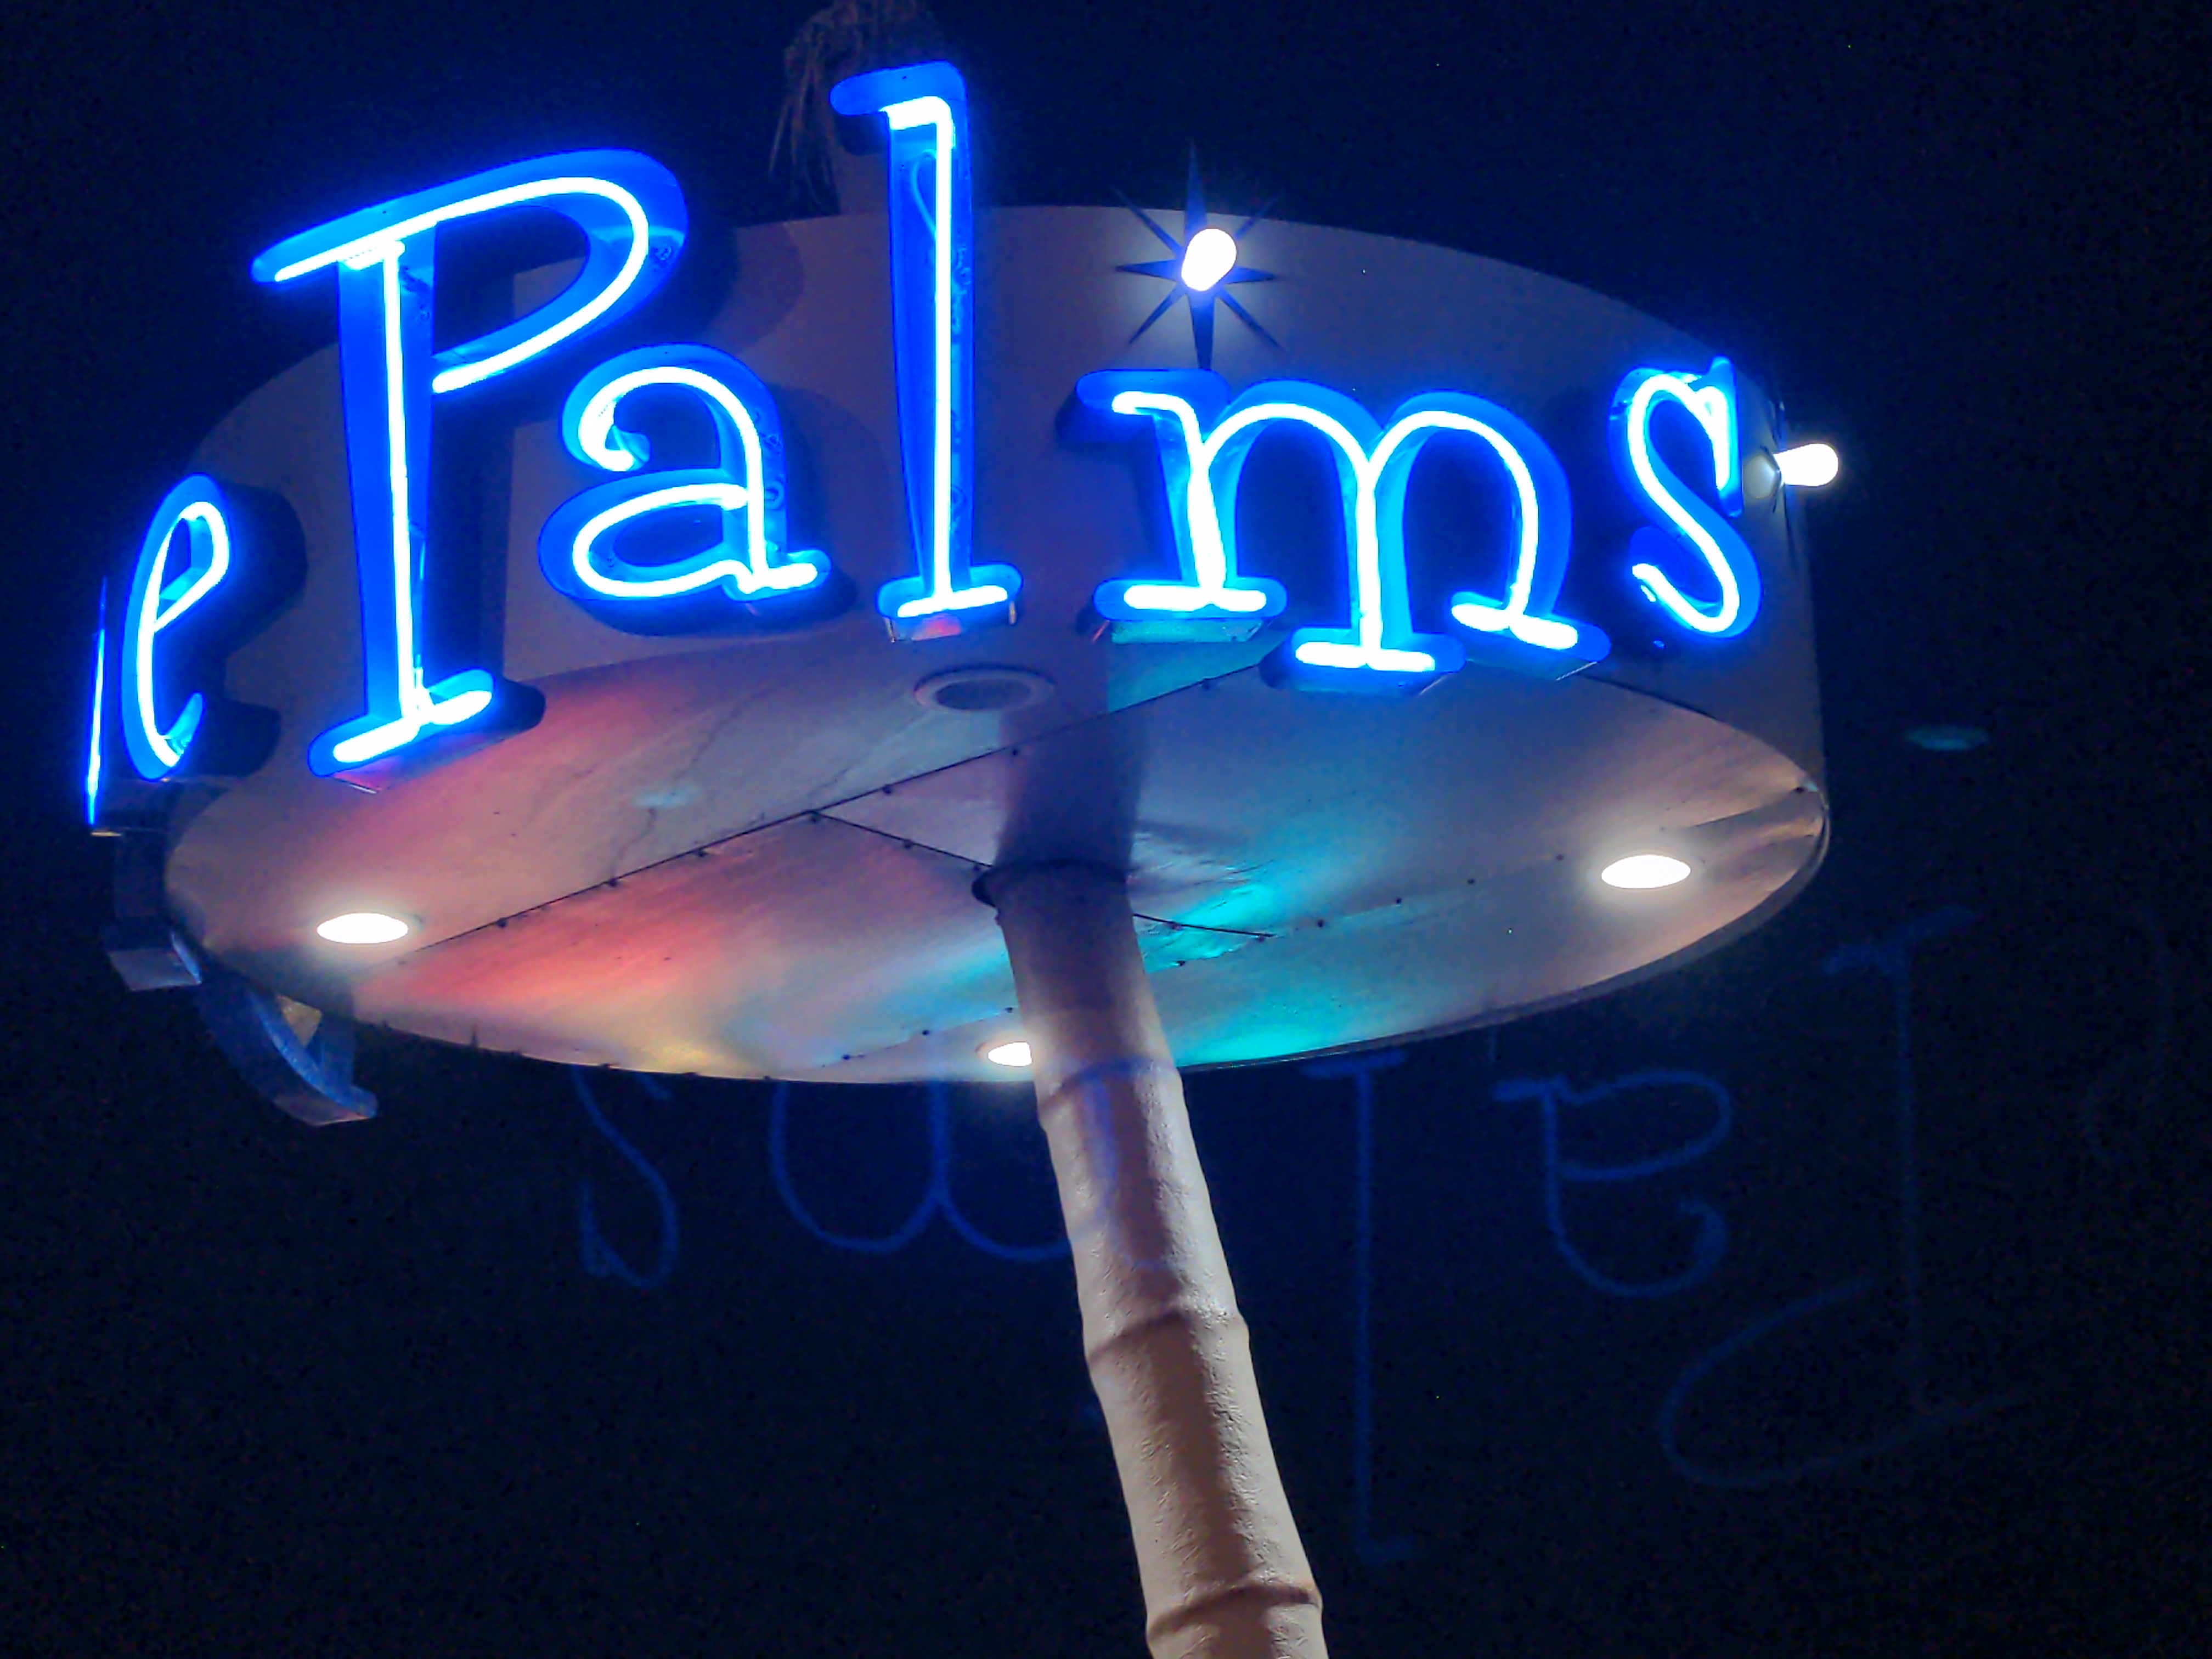
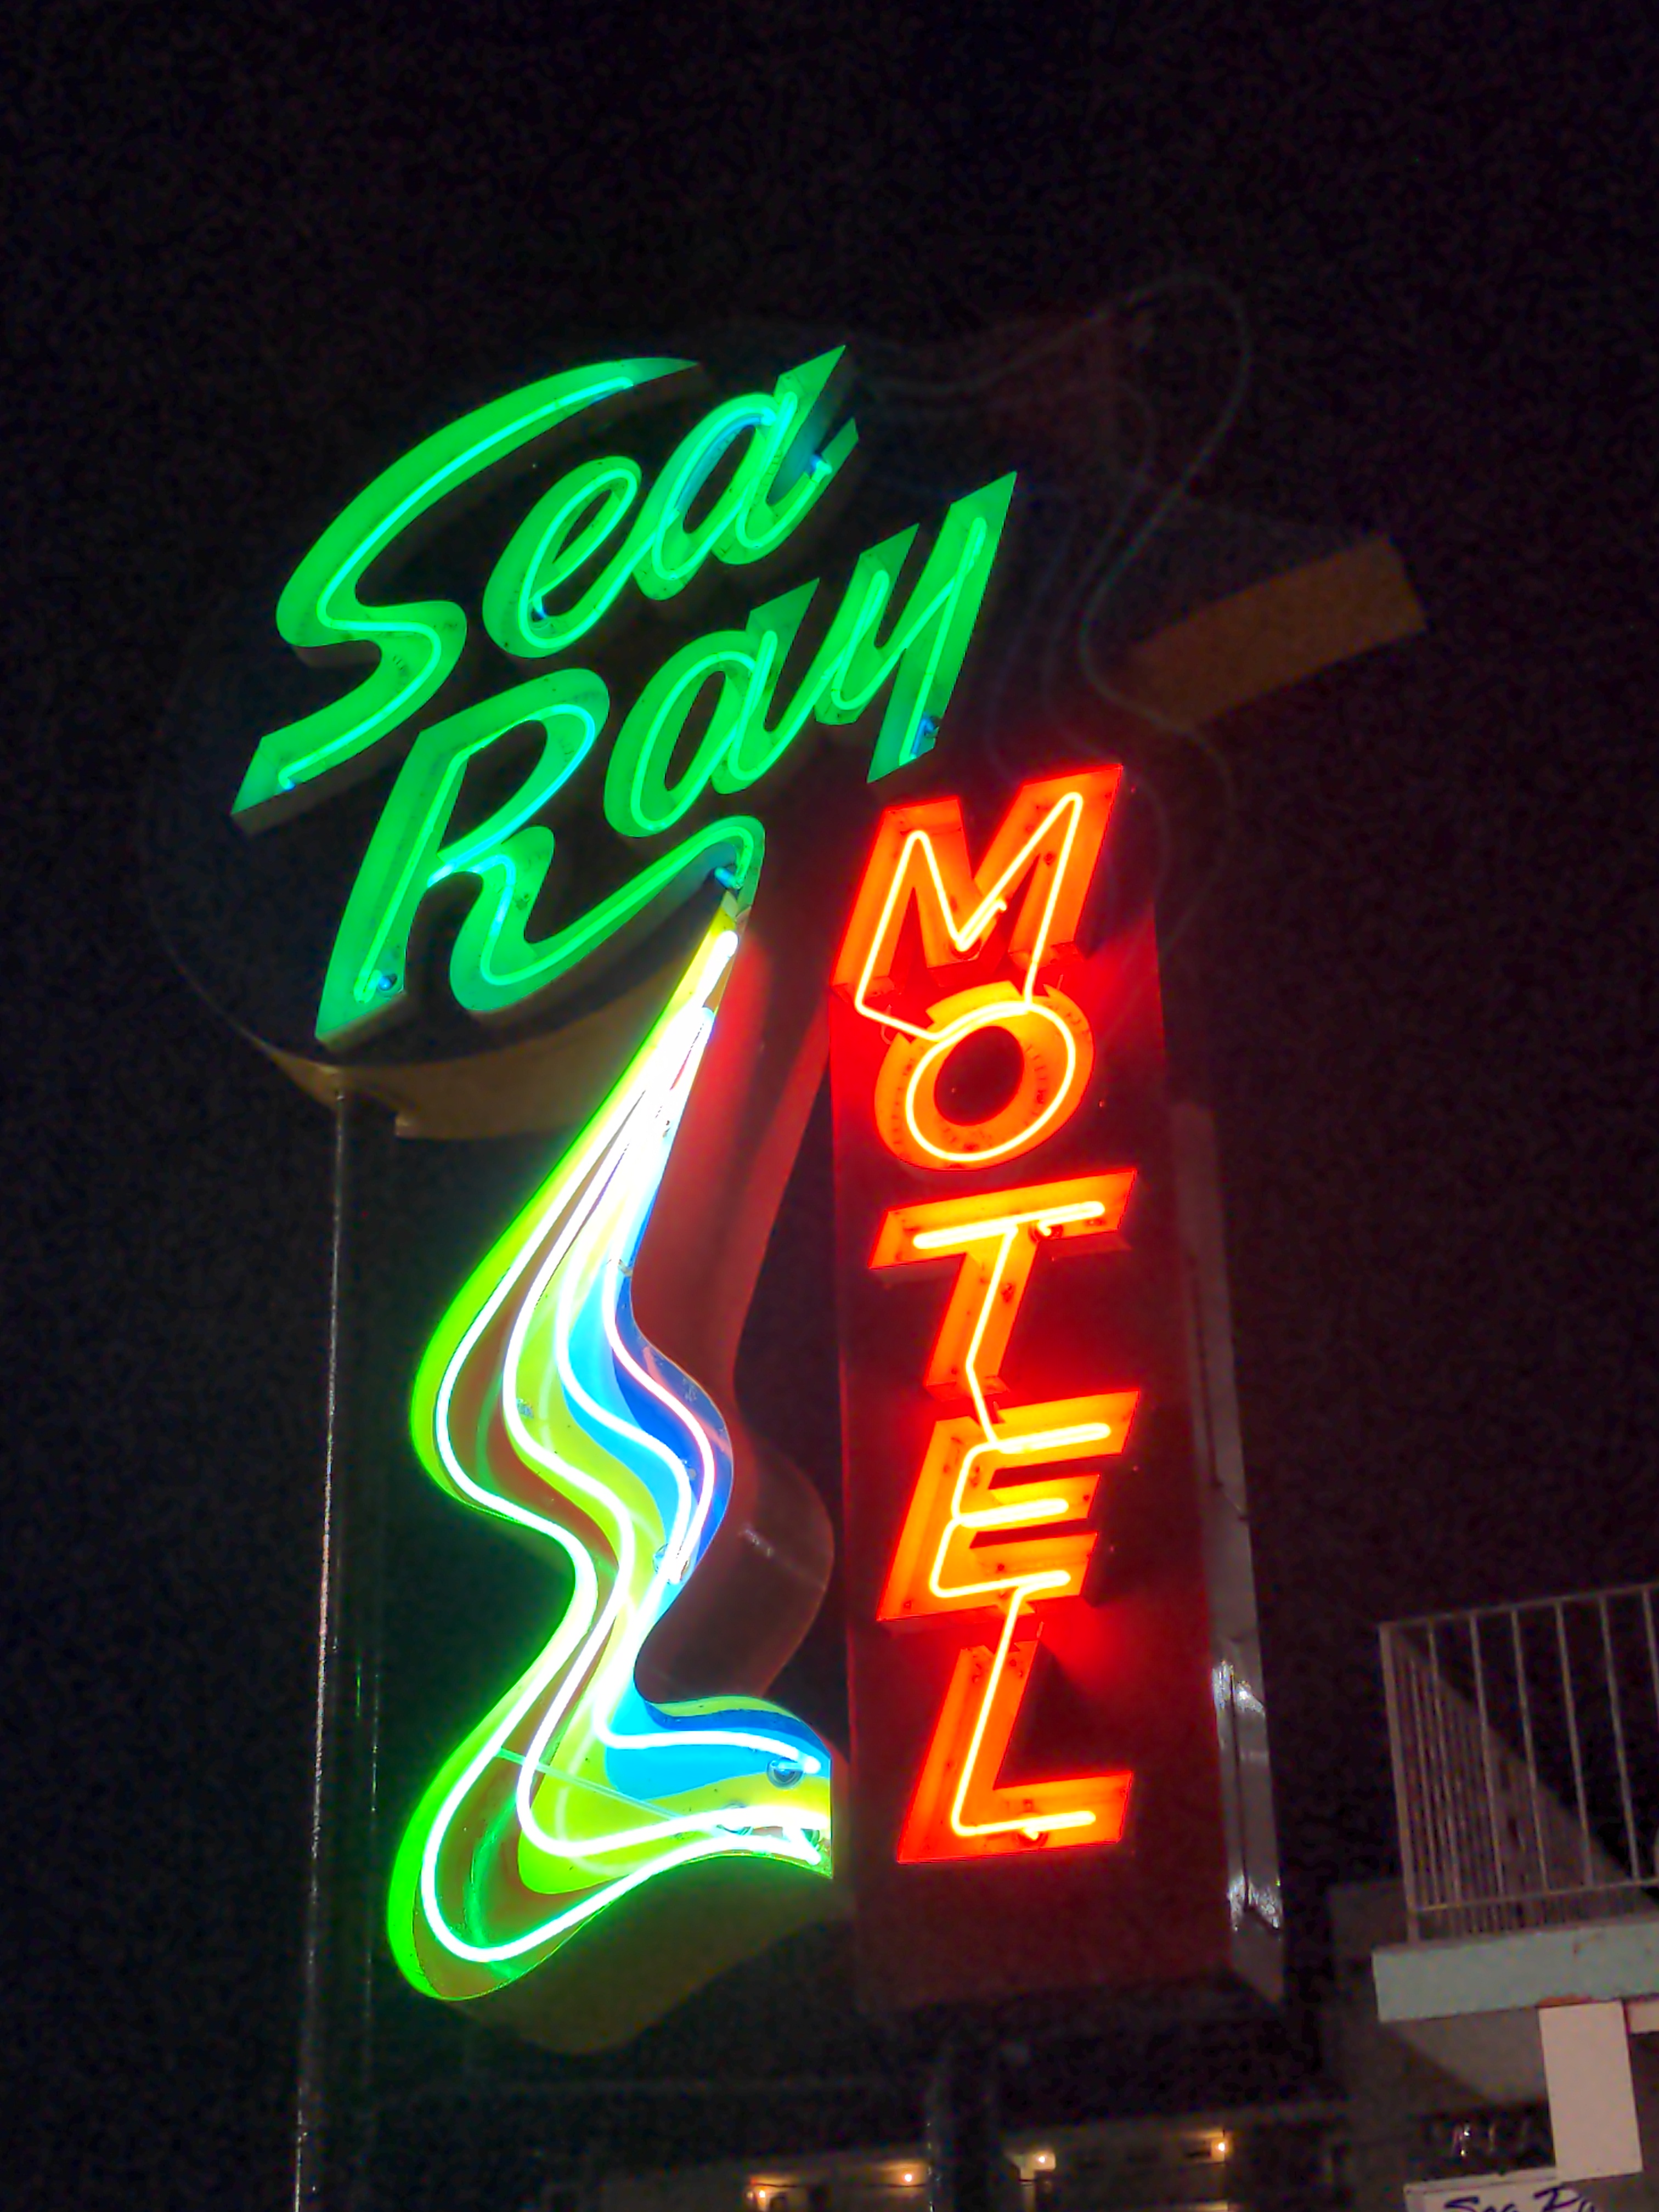
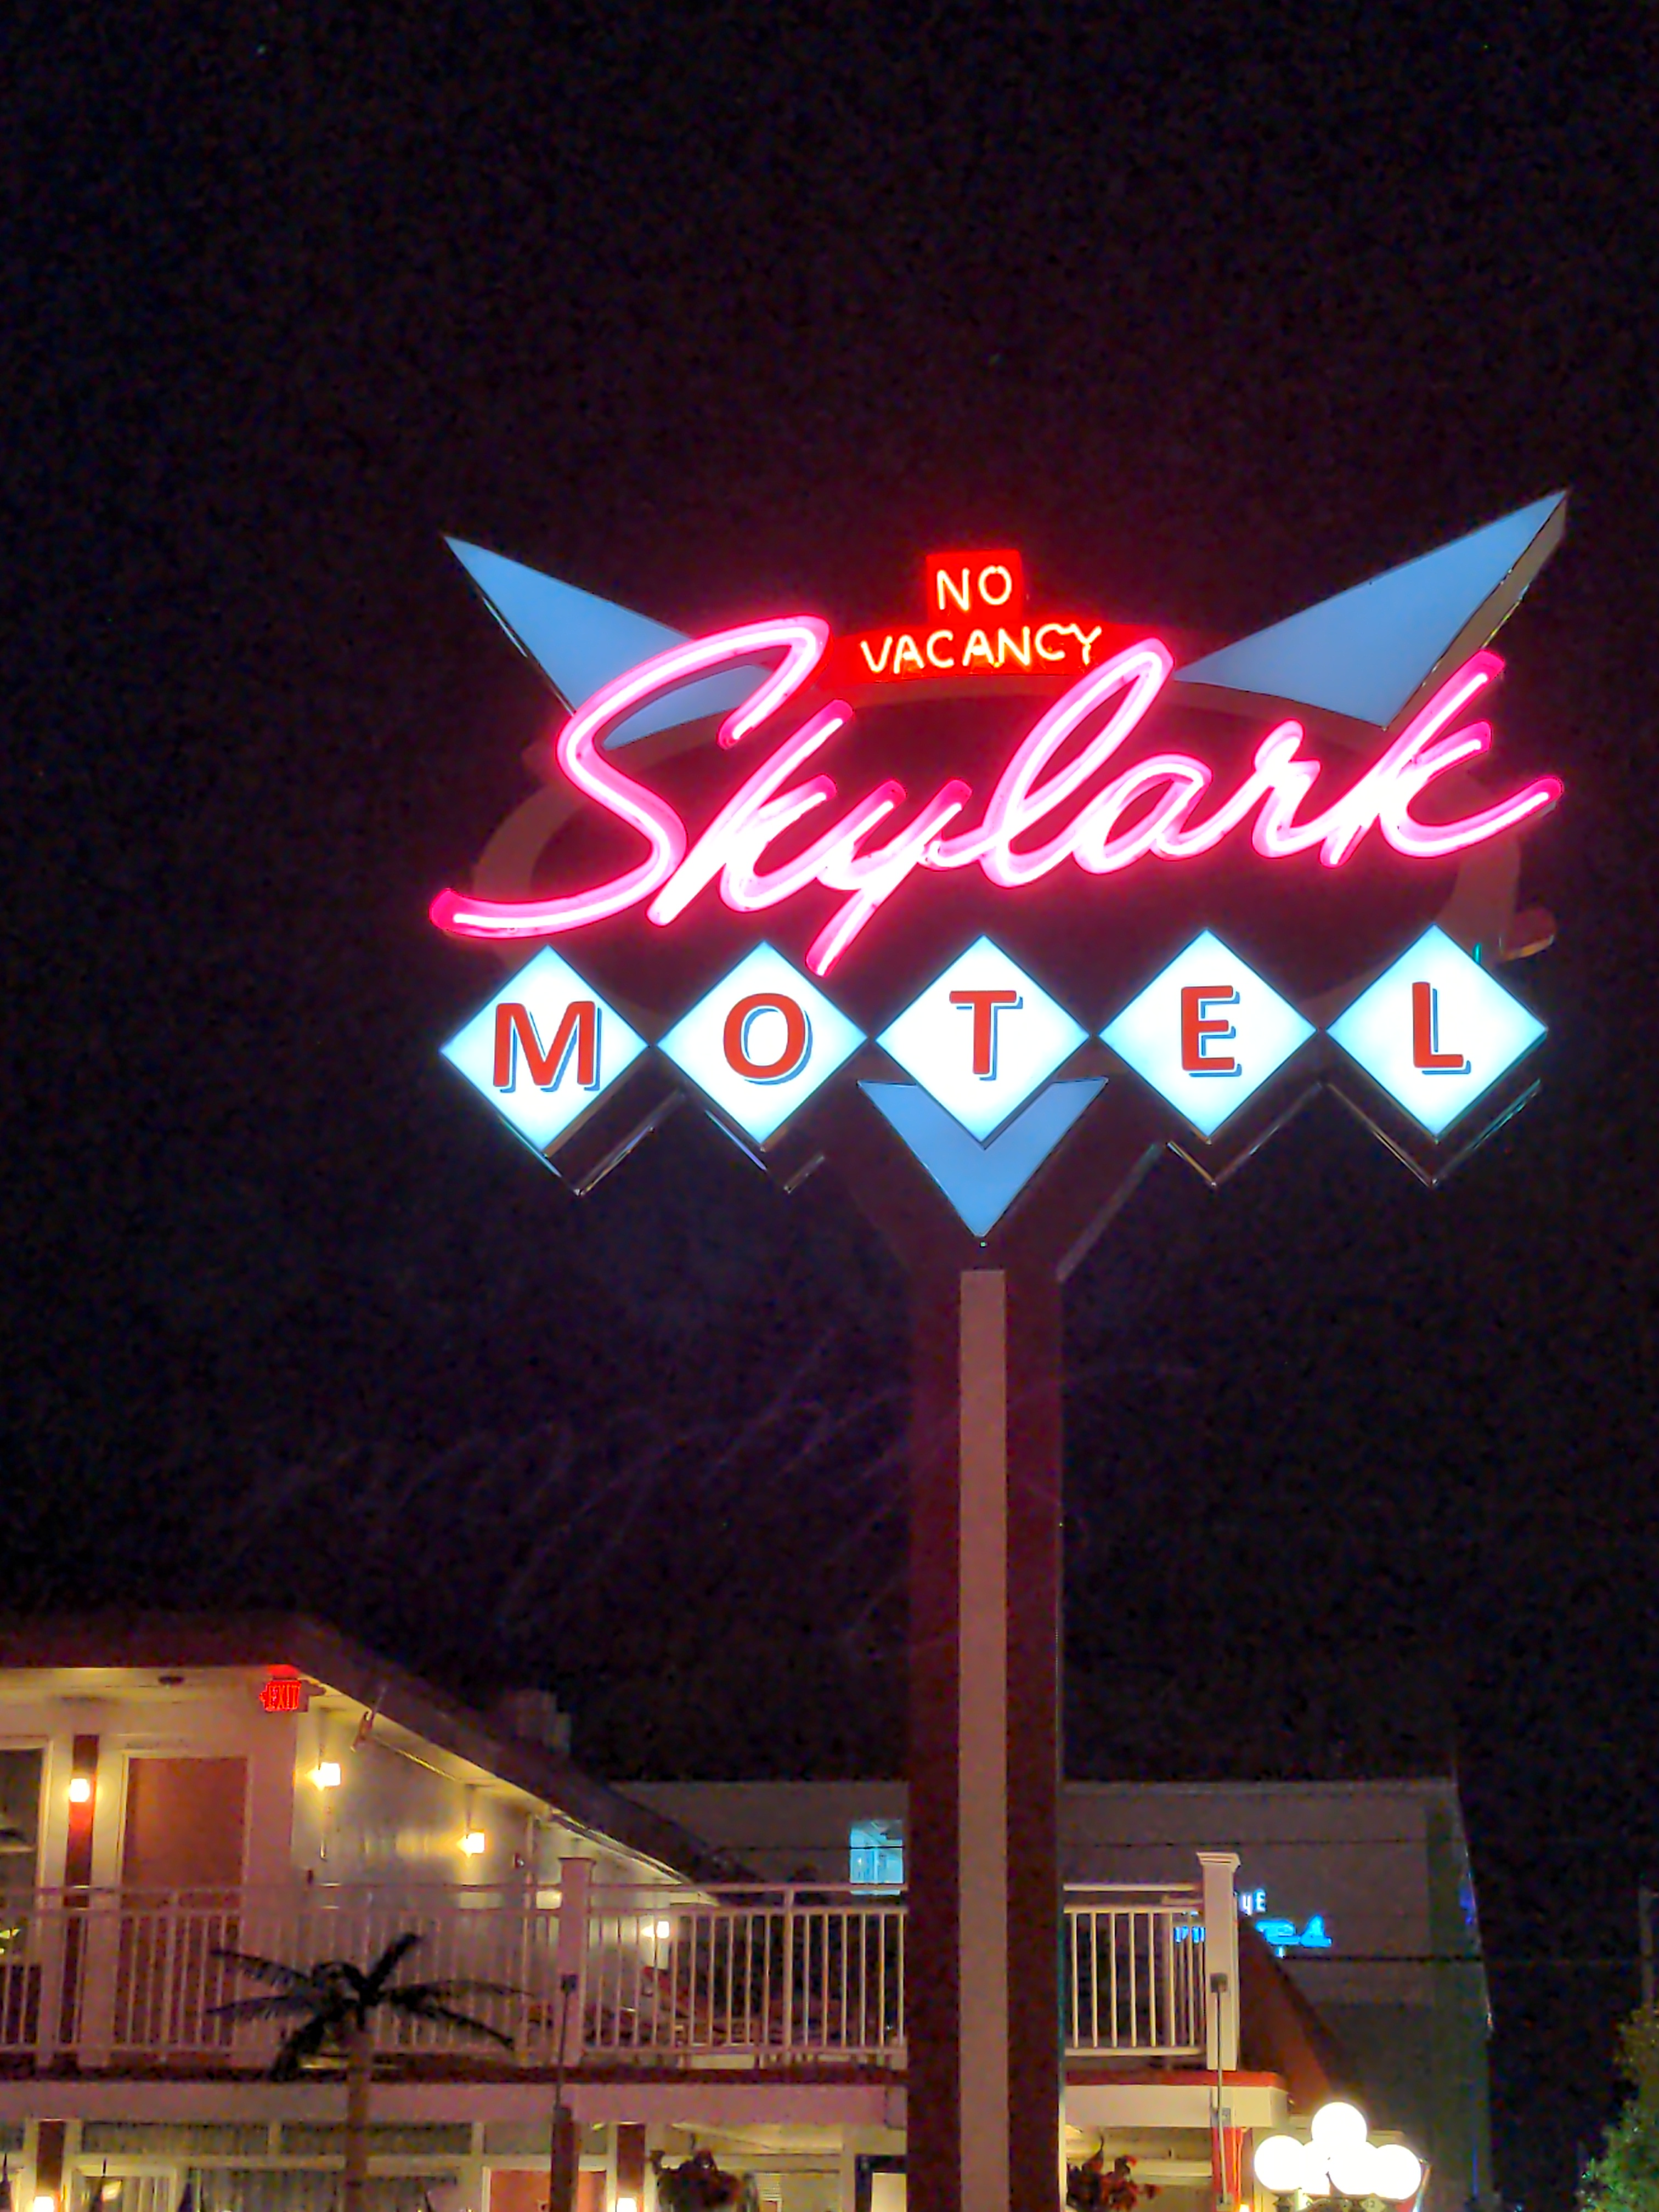
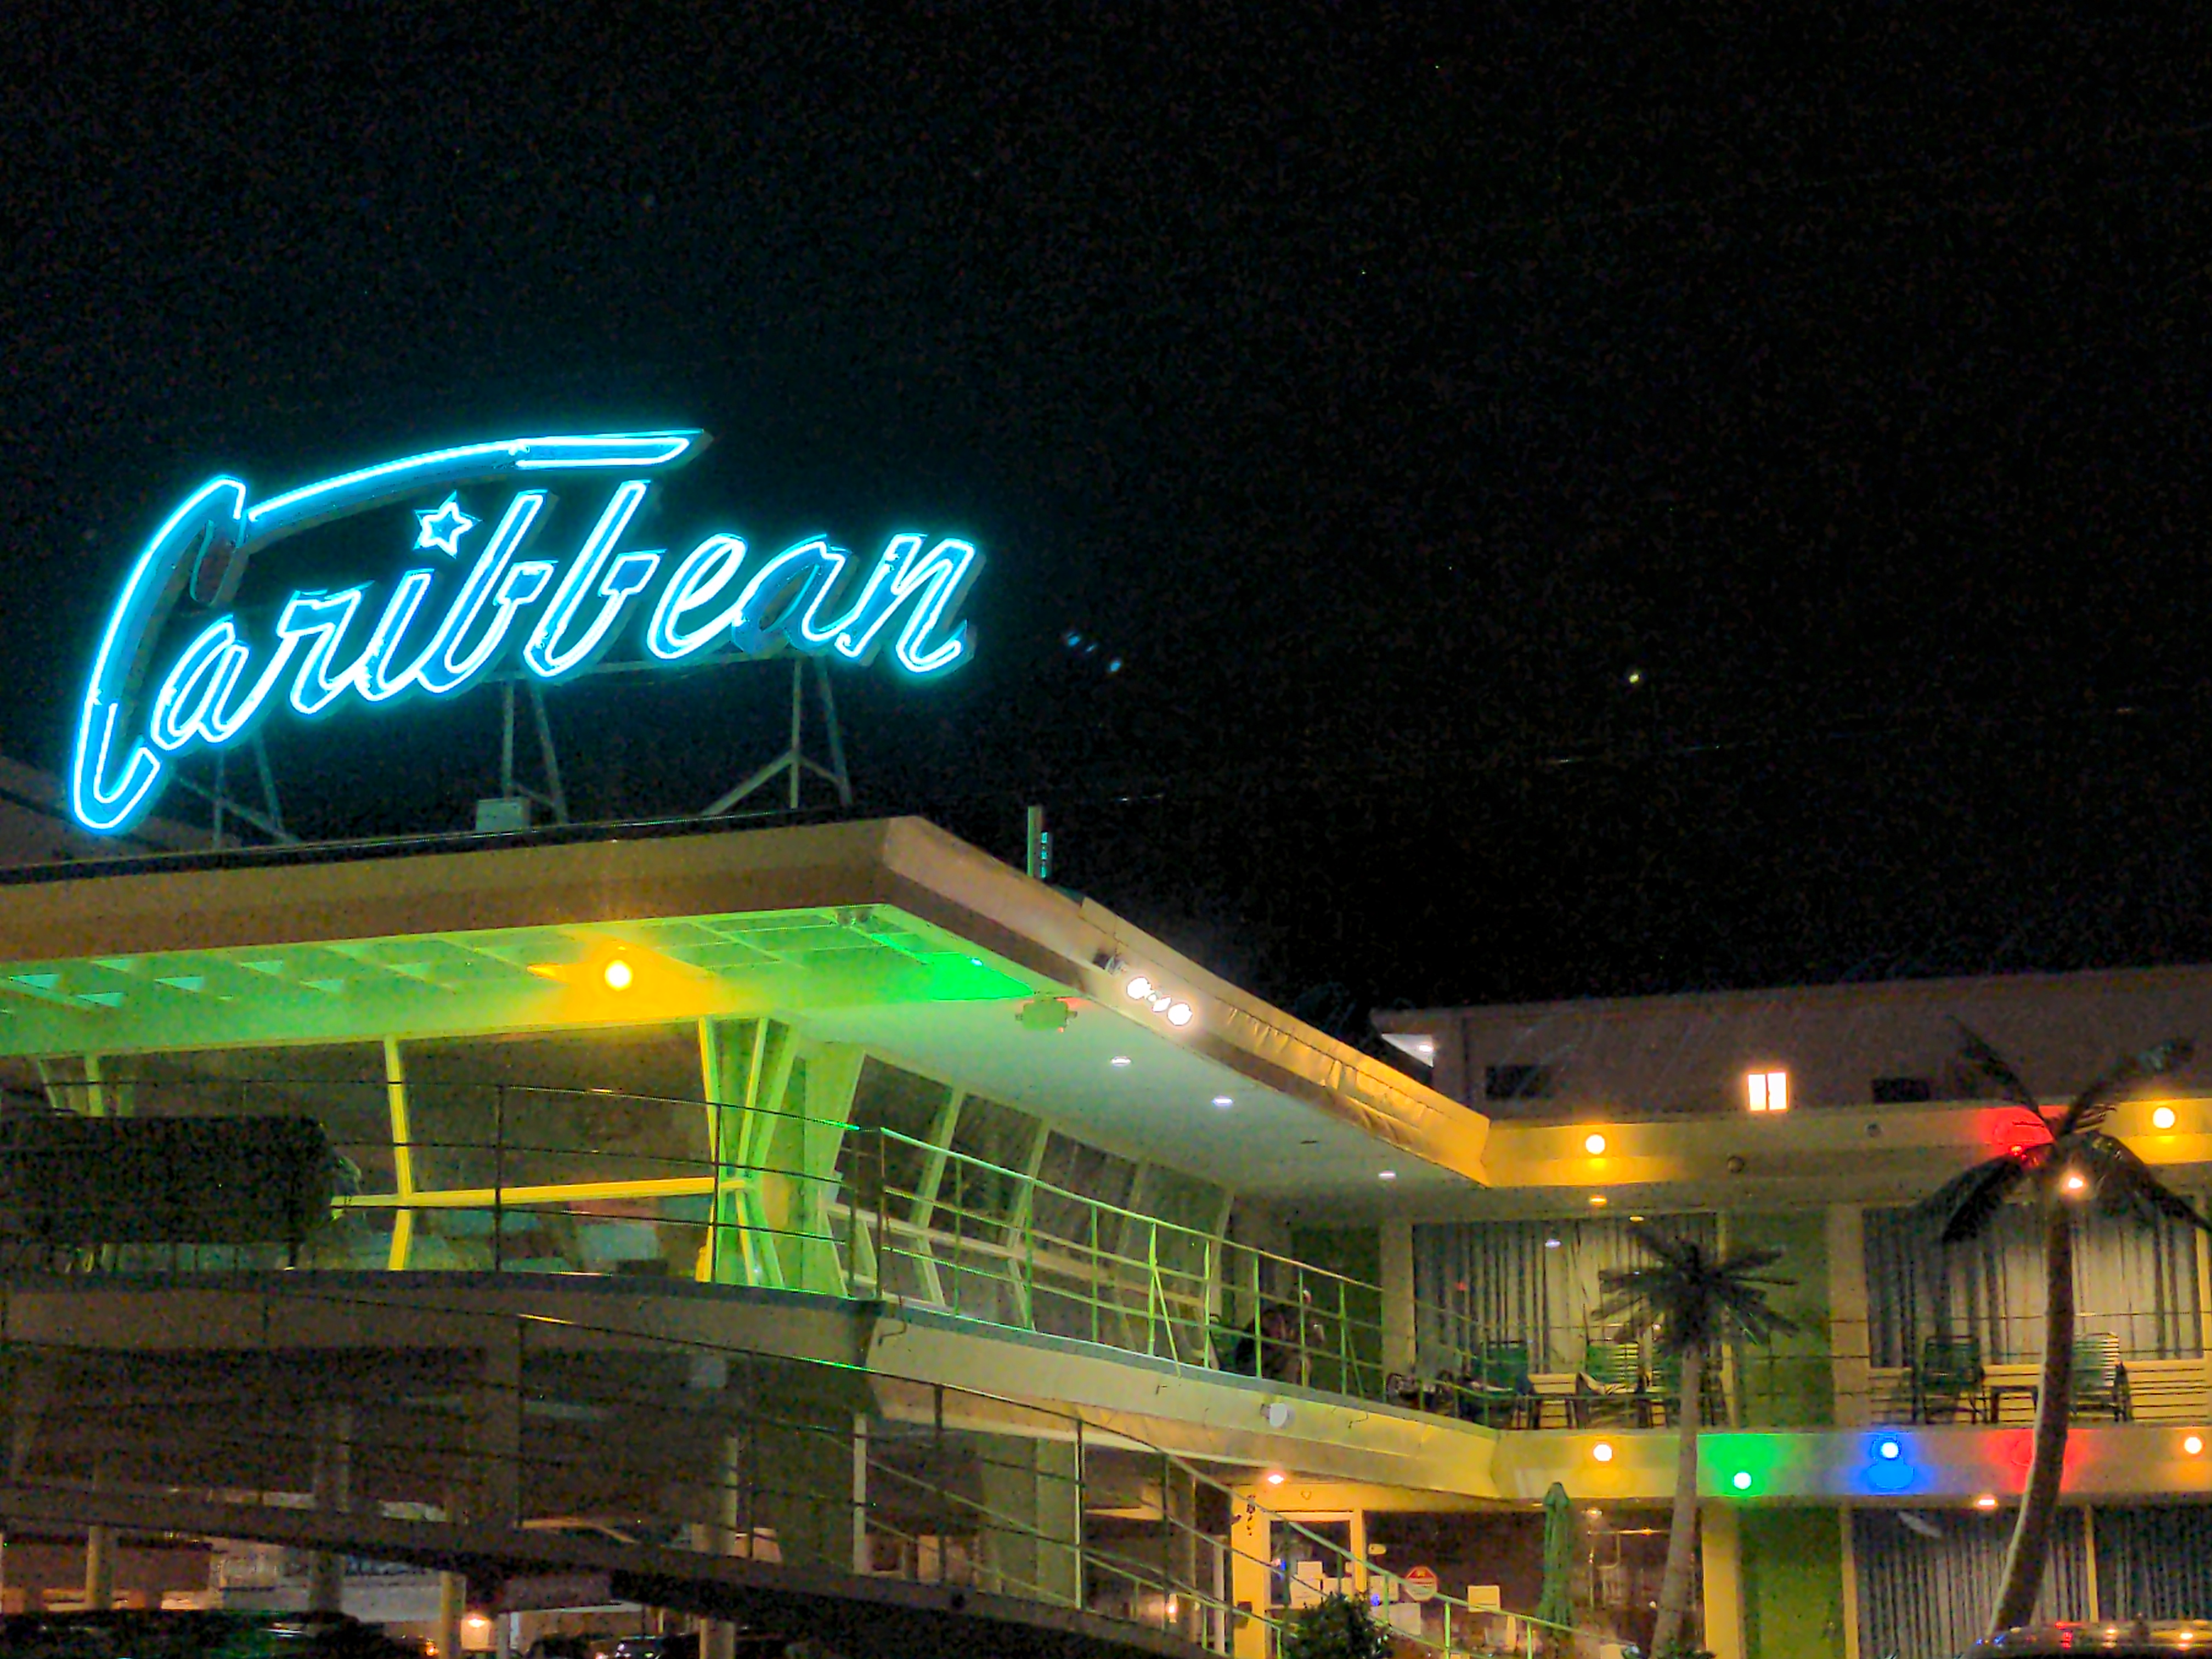
Last weekend me and my girlfriend went on a trip to Wildwood, NJ. As we walked around, we started noticing way too many cool neon signs. Intrigued, we did some research and made a wonderful discovery: Wildwood is "the Doo Wop capital of the USA".
Naturally we decided to walk back to the hotel that night taking pictures of as many neon signs as we could. My favorites:
2026-04-07 11:00:00
Every once in a while you play a game that is unlike any other, that transcends genres, that you can feel the author speaking through it to you, and that you can tell will stick around in your mind in some way or another probably forever. Hyperbeat is one of those games.
I love how the way to interact with anything in the hub is to just wait while a musical rest fills in, I love the 1 FPS walking animation, I love how philosophical the entire narrative and dialogues are, and how the different songs are used to emphasize feelings in the dialogue. And I LOVE the soundtrack.
The gameplay is hard, yes, and I missed many beats even in the tutorial. But you can clearly feel yourself improving as you play, and it's very rewarding.
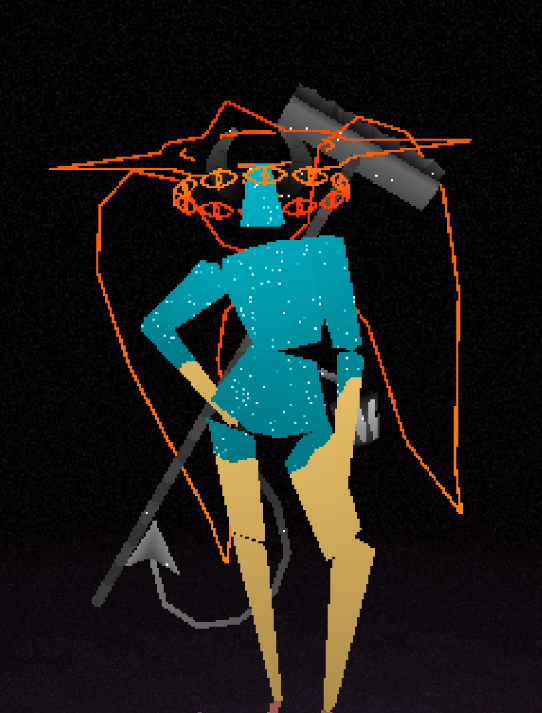
This is how my character looked by the end of the game:
Thank you to Noclip2's Computer Worlds video for featuring this game, otherwise I might have never experienced it.
Now if you'll excuse I'm going out for a walk, because I feel excited and I can't sit still while listening to the Hyperbeat soundtrack.
2025-12-29 11:00:00
This year I bought more shirts than ever. Mostly because I decided to go to as many concerts as I possibly could.
With the year coming to a close, I thought this would be a good moment to look back at the shirts I collected throughout the year and see the story that they tell. So here it is, my 2025 retrospective through shirts:
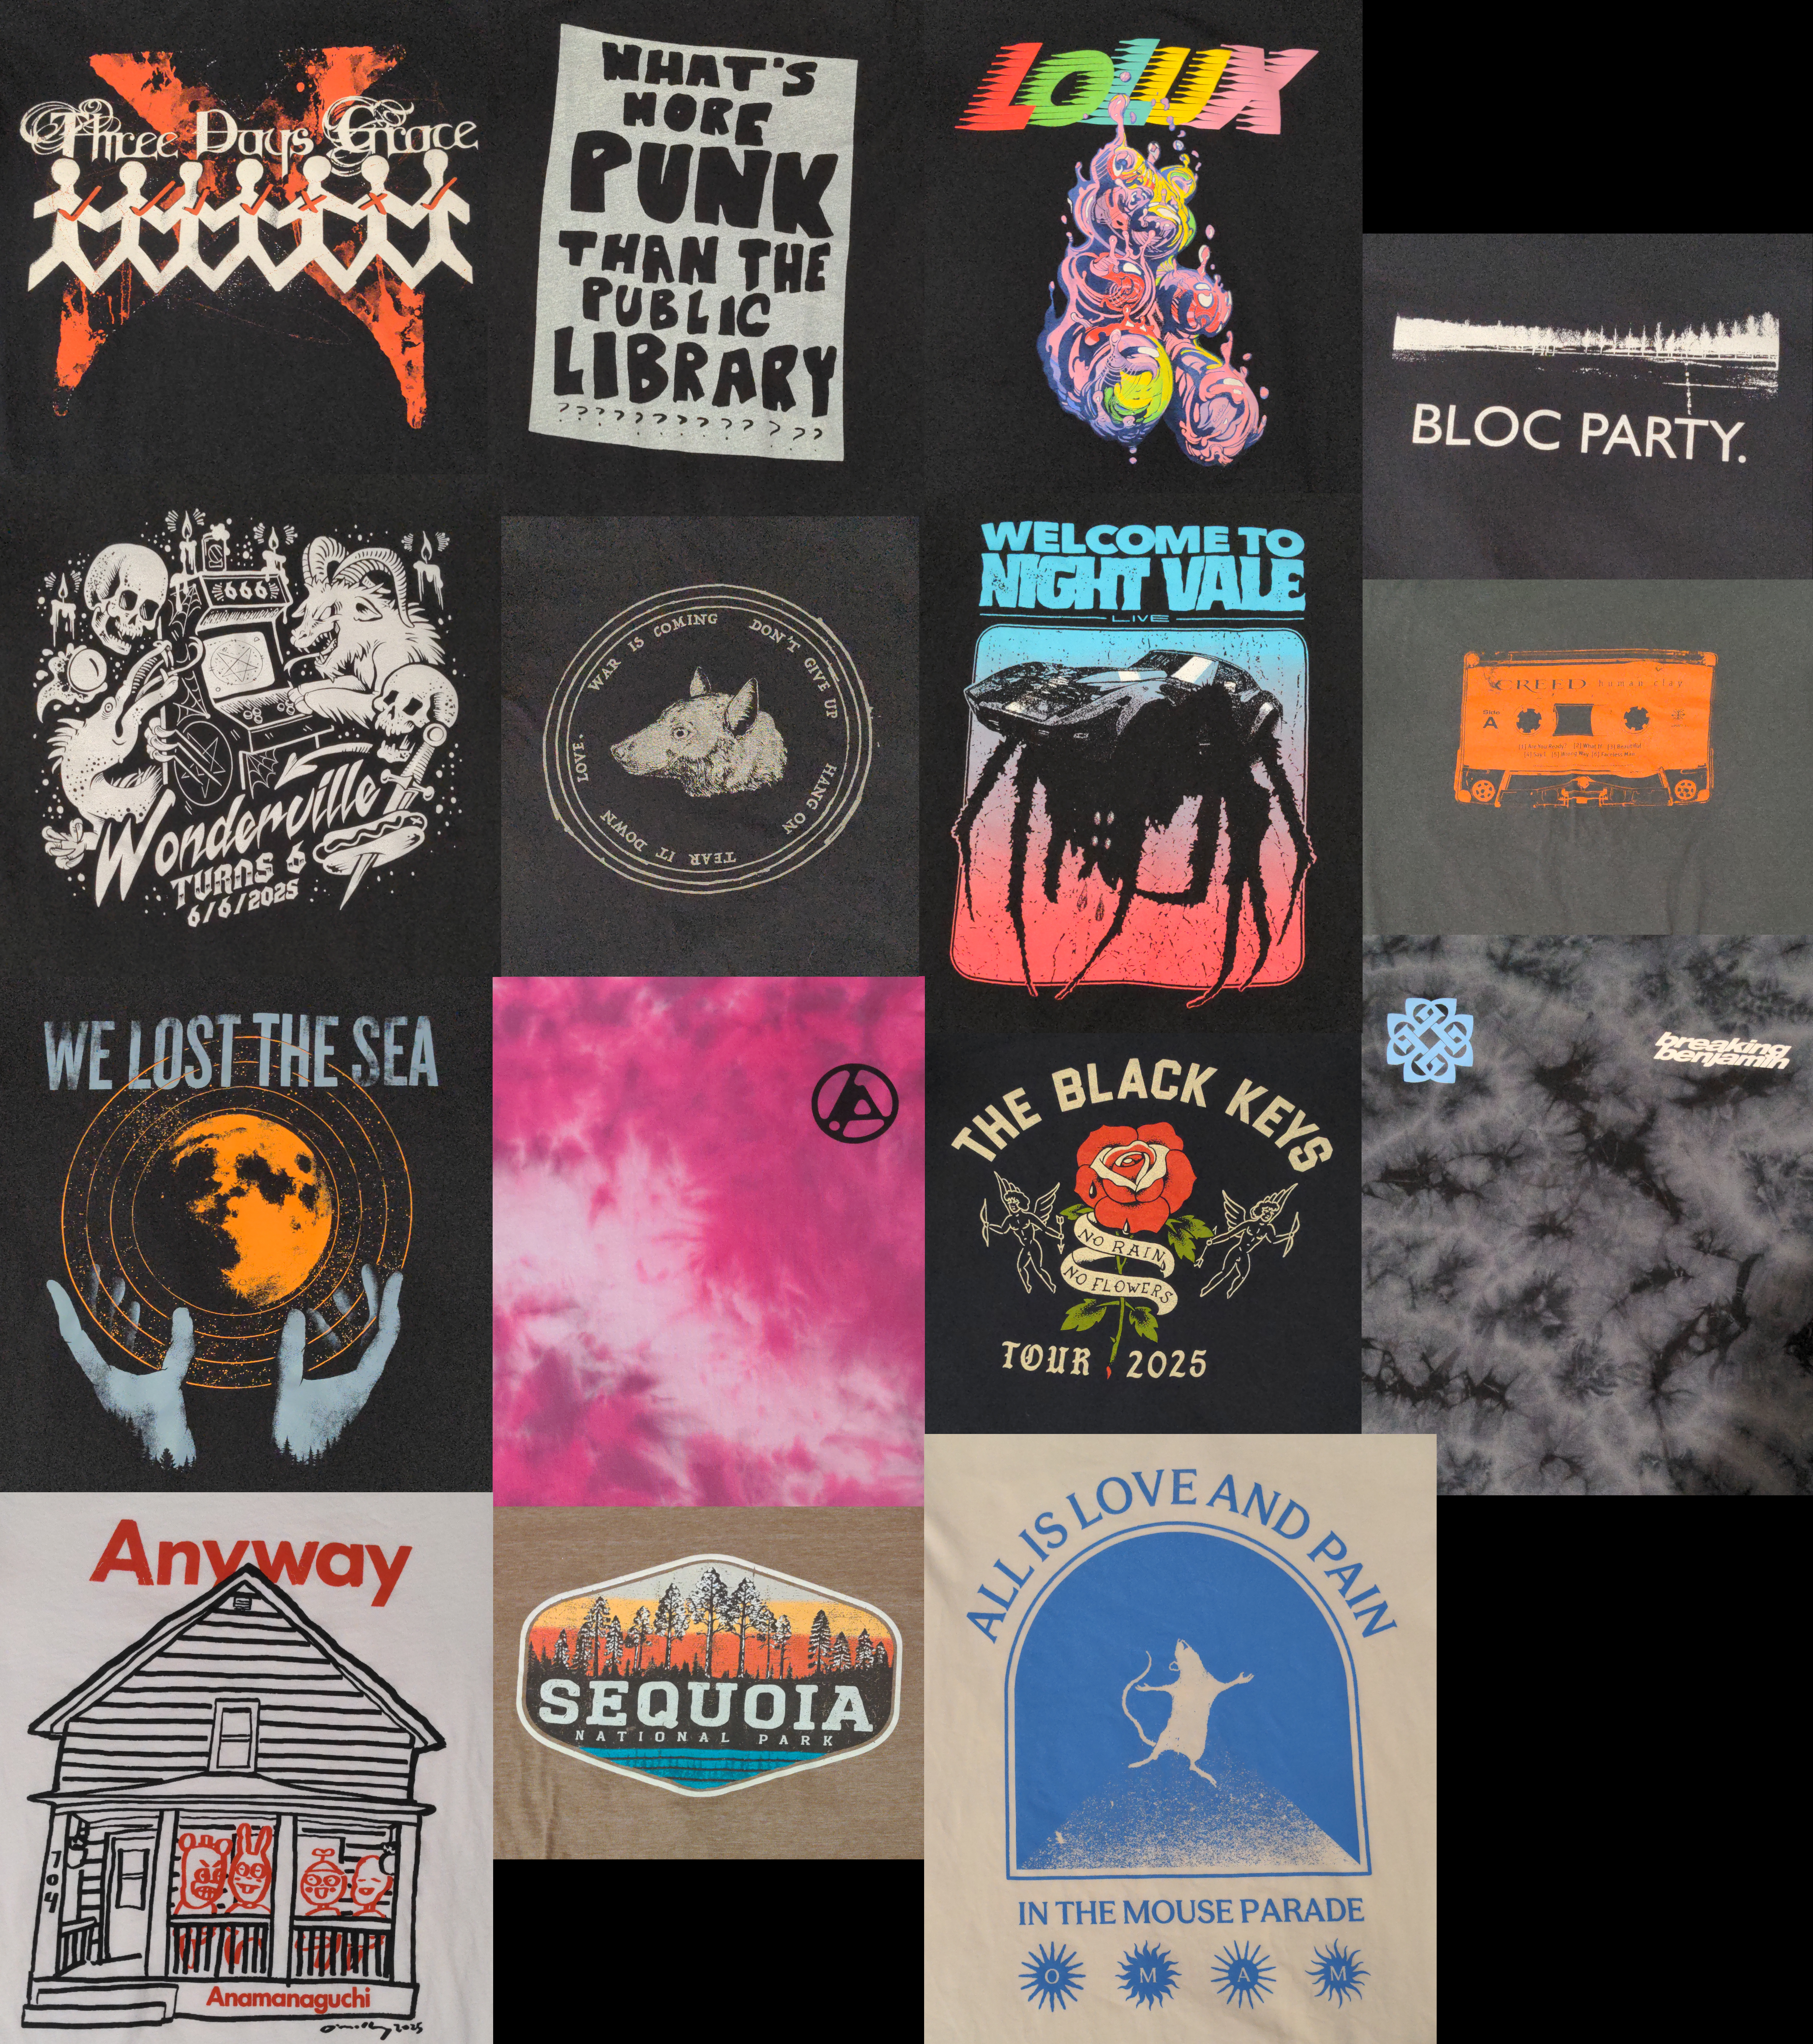
From top left to bottom right:
2025-12-01 11:00:00
Slightly late for November, but better late than never!
As November rolled by, and the Christmas mood took over, I put on an old school Christmas songs playlist on YouTube.
Many of the songs I was hearing for the first time. A few of my favorites were Carol of the Bells, The First Noel and Darlene Love - Christmas (Baby Please Come Home).
But my favorite of all has to be "Do You Hear What I Hear?", particularly the version sung by Andy Williams, so that's my pick for the month:
2025-10-28 11:00:00
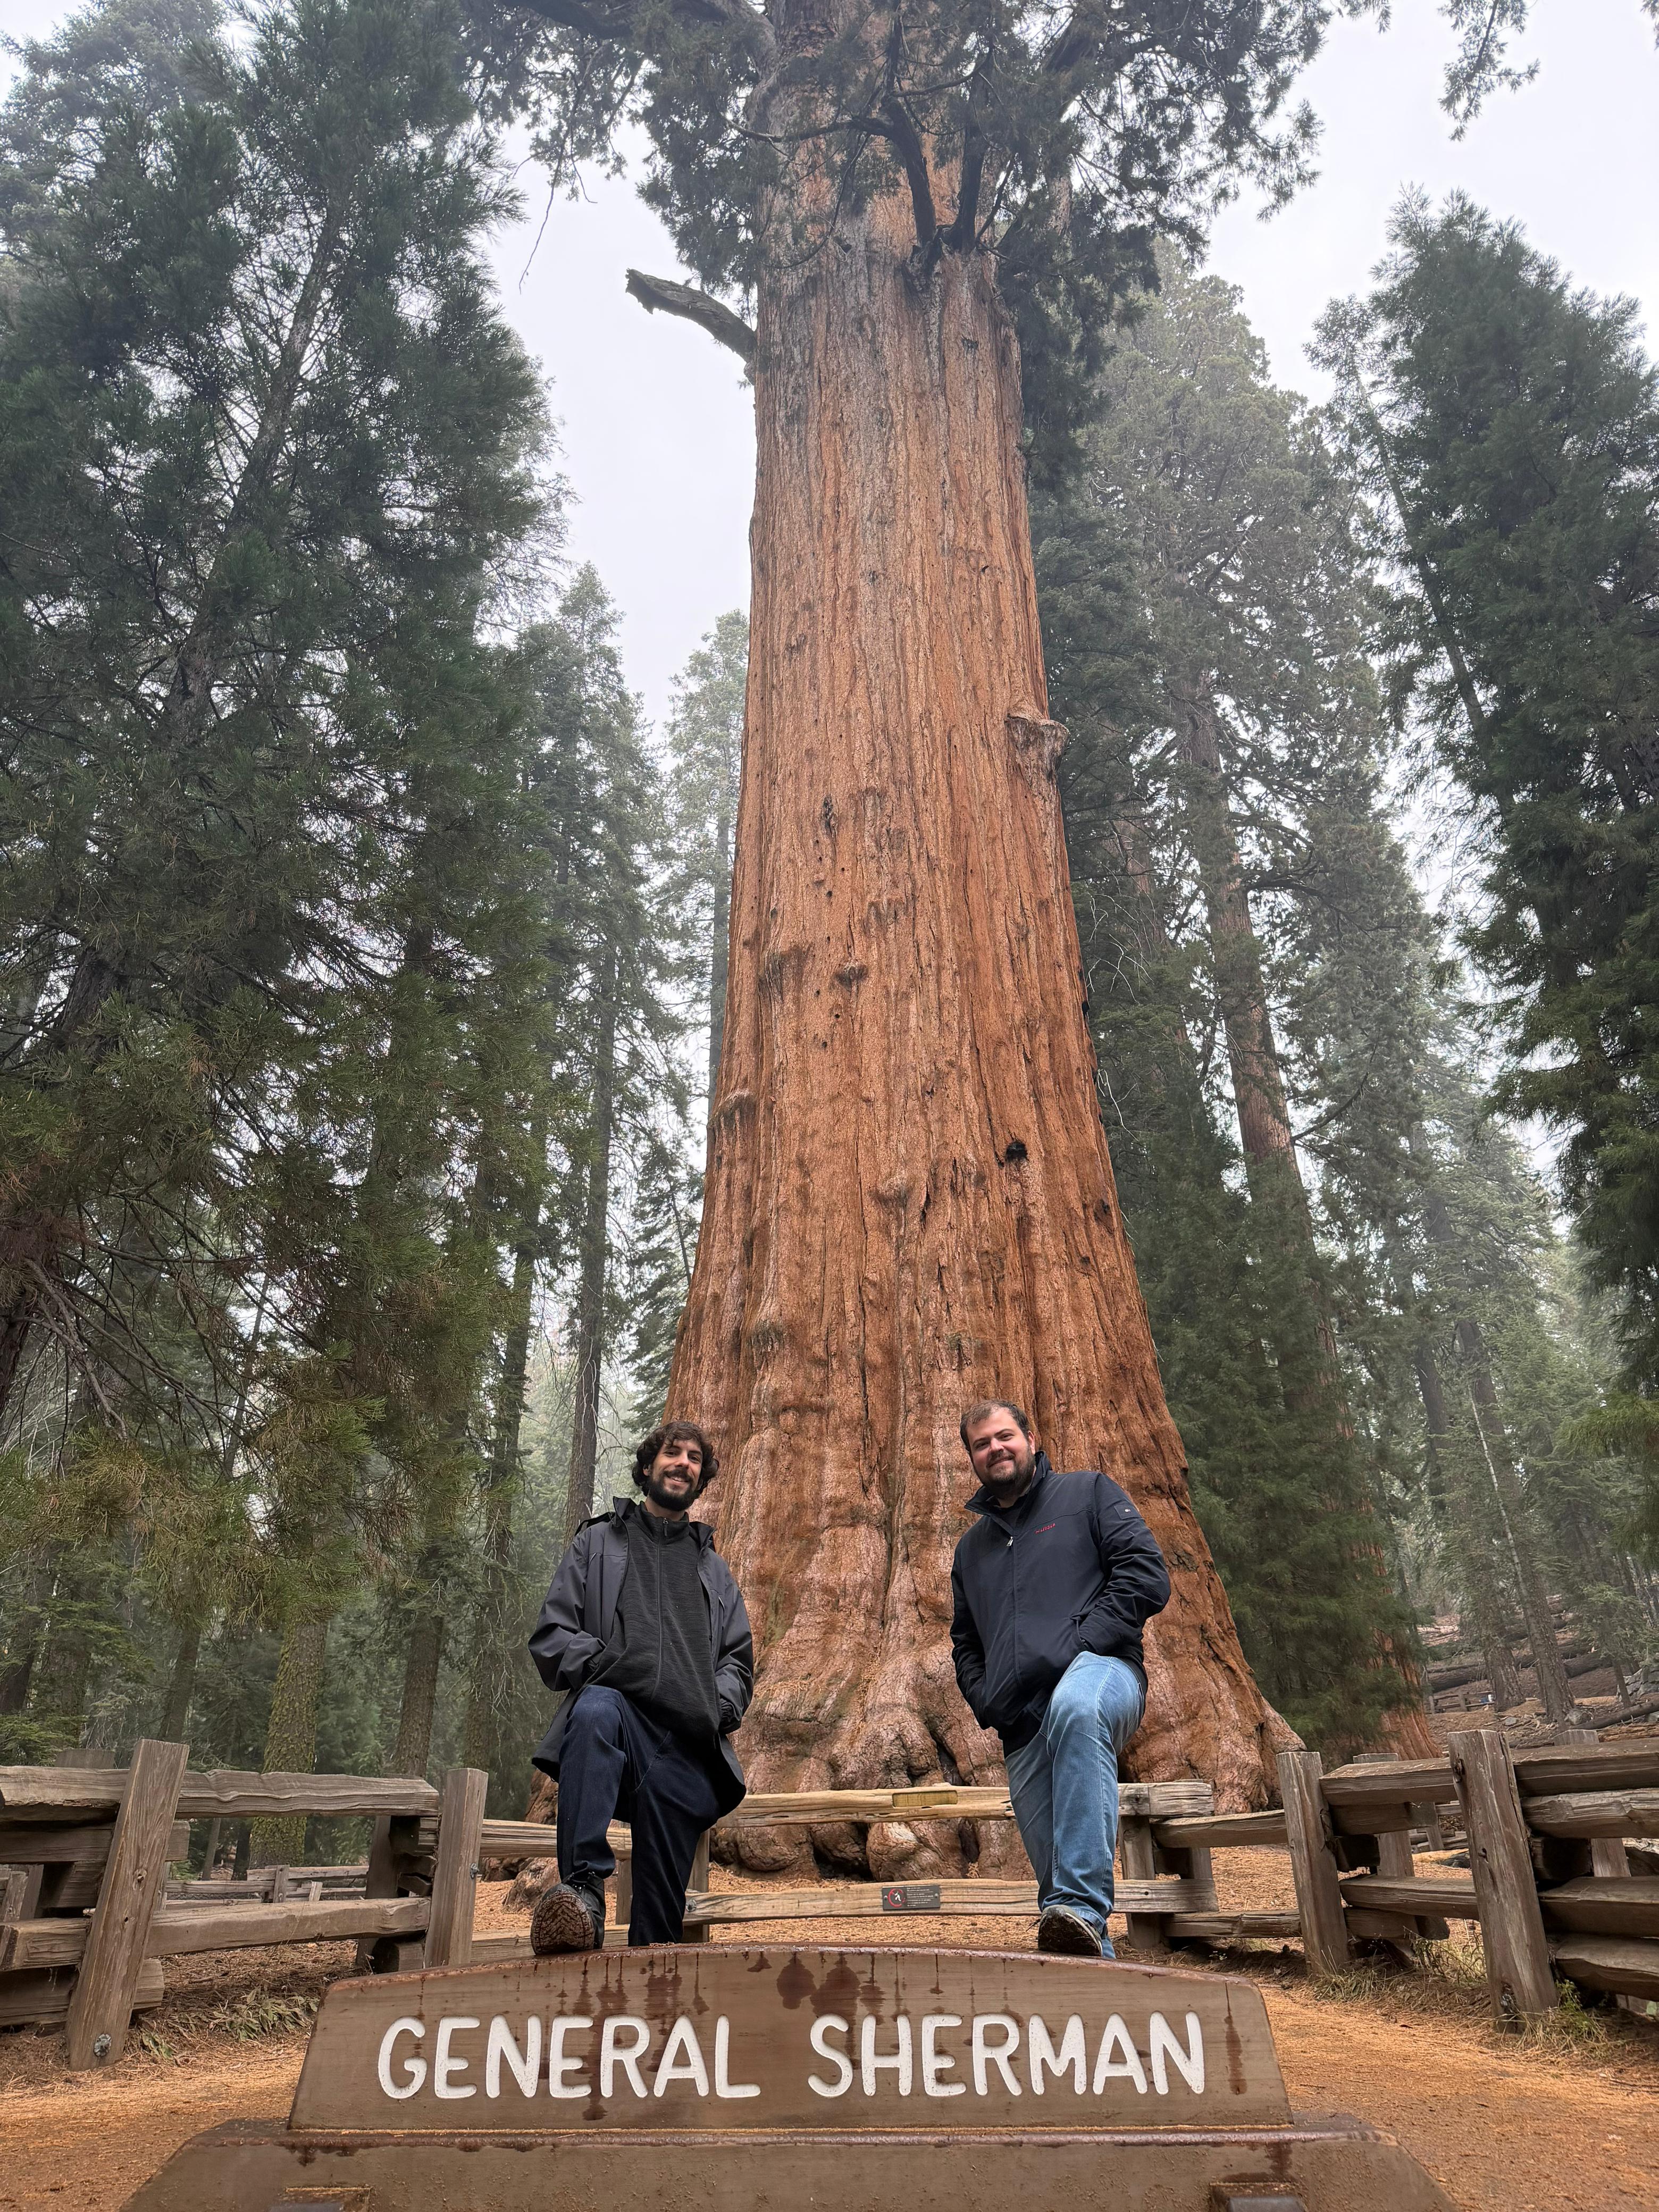
This month I went on a two week long road trip through California with a friend. We sailed on Lake Tahoe, walked over sand dunes in Death Valley, and hiked between the mountains in Yosemite Valley. We saw the oldest trees on Earth at the Ancient Bristlecone Pine Forest, and also the largest trees, at Sequoia National Park, through a mysterious fog.
We listened to many songs throughout the trip, but there was one that popped up and seemingly immediately won my friend over, as he kept putting it back on time and again. It is indeed a beautiful song, and will forever carry the memory of this amazing trip. It is my pick for this month:
2025-09-30 11:00:00
My pick for song of the month this time around is a track that played at Spectacle Theater before the movie started (the movie was Mirage Men (2013), by the way). The lyrics are very poetic, and the instrumentation has this eerie and underground feel to it. It's a great song on its own, but it was elevated by being played at one of my favorite places in NYC and perfectly matching the vibe.
Check it out: